

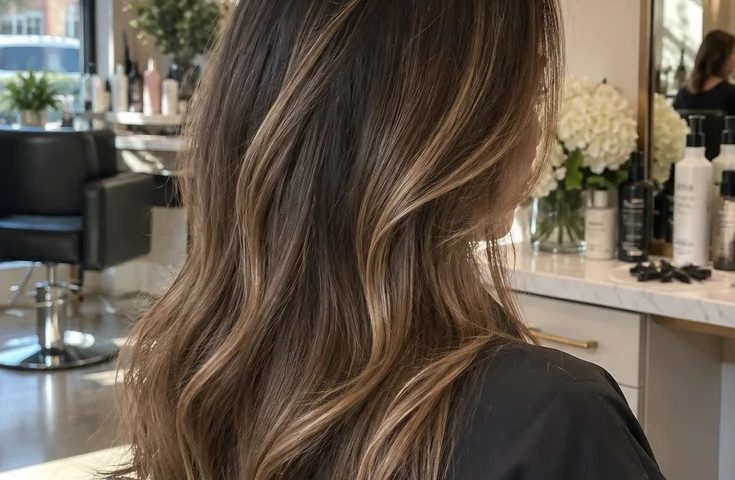
Please note that we do not create all the designs featured in this article. Our primary focus is to curate and collect a diverse range of design collections and products to inspire and share with our audience. While we do not claim ownership or take full credit for the original designs and images, we occasionally make minor adjustments, particularly in home decor and fashion items, to present them more effectively. Additionally, we may produce and edit images to enhance their quality and composition before sharing them on our Pinterest page or website. For the design work we do on these creative designs, we also include our logo on the images shared on Pinterest and our website. This helps our audience recognize that these designs have been published on insiderlyfe.com!
Here is a secret colourists will tell you only if you ask directly: most people who book balayage actually wanted highlights, and most people who book highlights would have been happier with balayage.
The names get used interchangeably online, so people walk in with a photo and the wrong word, and walk out with hair that looks nothing like the photo.
That is the whole problem this guide solves.
Balayage and highlights are not two shades of the same thing. They are two completely different techniques. One is painted by hand onto the surface of the hair. The other is woven in sections and wrapped in foil. That one difference changes how the colour looks, how fast it grows out, how often you pay for it, and how much damage your hair takes.
So below you will find ten real looks, five from each side, with an honest note on who each one suits. Then a side by side table, the exact words to say at the salon, a growth timeline so you know what week six looks like, and a cheat sheet you can screenshot.
Two to watch for. Number 4 is the one that makes fine hair look thicker, which almost nobody expects from colour. And number 9 is the hybrid that colourists quietly use on clients who cannot decide, and it may be the actual answer for you. Keep scrolling.
Balayage vs highlights: the one minute version
Balayage is a freehand painting technique. Lightener is swept onto the surface of chosen sections, heavier at the ends and lighter at the top, with no foil. The result is soft, sun-kissed and blended, and the regrowth line is almost invisible.
Highlights are foiled. Thin or thick sections are woven out, saturated from root to tip, and wrapped so the heat lifts them lighter and brighter. The result is more uniform, more noticeable, and usually lighter overall, but you will see roots.
Neither is better. They just answer different questions. Balayage answers “how do I get low-maintenance dimension?” Highlights answer “how do I get genuinely lighter?”
1. Classic sun-kissed balayage on brunette hair
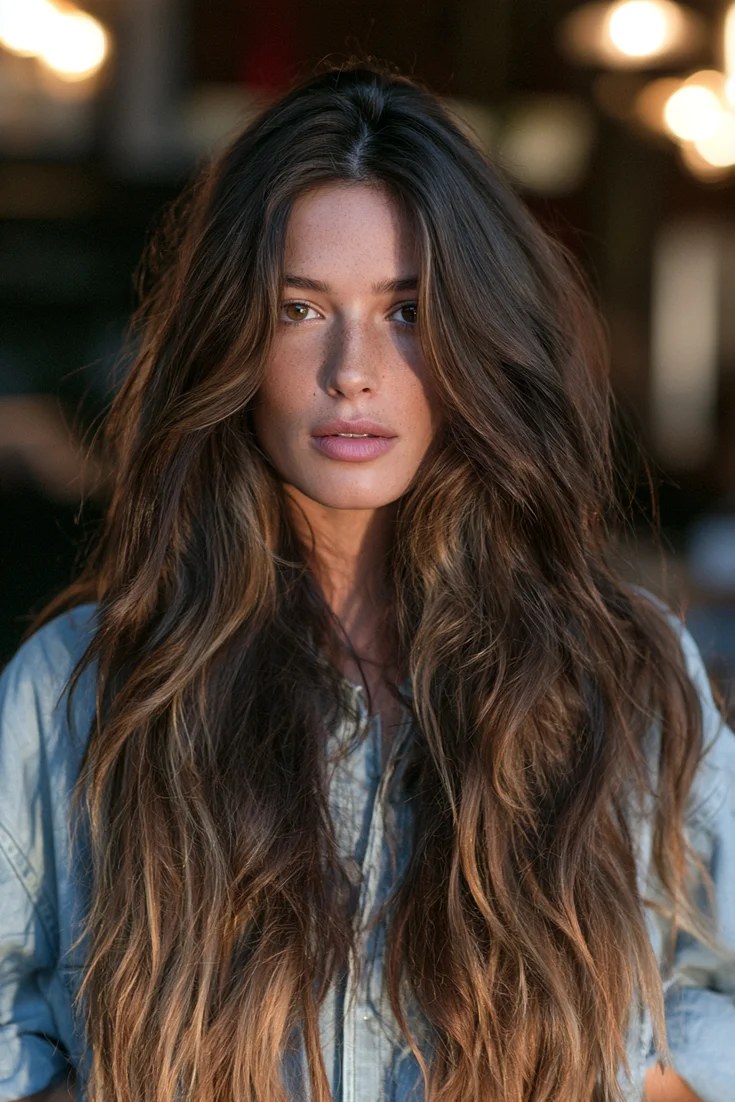
This is the look that made balayage famous. A dark brown base, hand-painted caramel through the mid-lengths, and lighter honey on the ends.
Because the colour starts a few inches from the root, it looks like it has been growing in for months even on day one. That is the entire appeal. It is the “I just got back from somewhere warm” effect, and it works on almost every brunette.
If you are already wearing a warm brown base like our hot cocoa brown hair shades, this is the natural way to add light without changing your base.
Best for: brunettes who want warmth and dimension without a hard regrowth line.
Maintenance: low. Touch ups every 3 to 5 months.
Styling tip: loose waves show balayage off far better than straight hair. The bends catch the light at different points along the strand.
2. Traditional full-head foil highlights
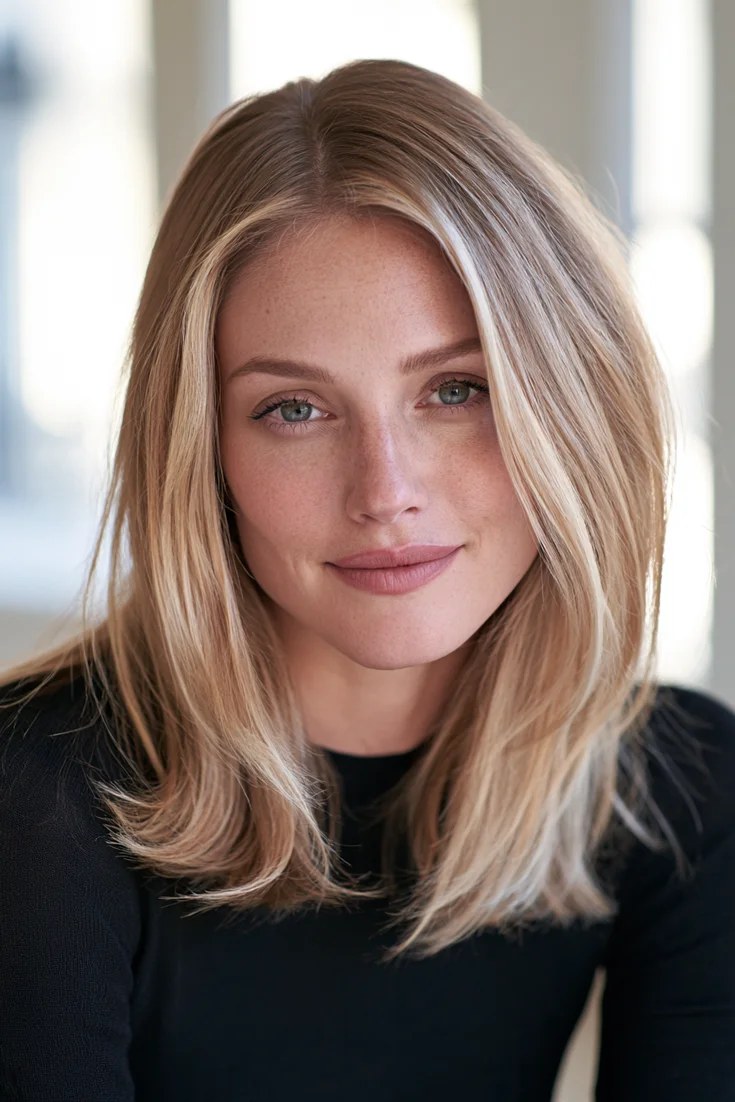
Fine, even foils placed all over the head, lifted several levels lighter than the natural base.
This is the technique that takes a medium brown to a convincing blonde. Foils trap heat, so the lightener works harder and gets the hair brighter than painting ever could. The finish is bright and consistent from root to tip.
The trade-off is honest: because the colour starts right at the scalp, you will see a line of regrowth at around six weeks, and you will be back in the chair.
Best for: anyone who wants to be noticeably, evenly lighter.
Maintenance: high. Every 6 to 8 weeks.
Styling tip: a purple shampoo once a week keeps foiled blonde from turning brassy between appointments.
3. Face-framing balayage, or the “money piece”
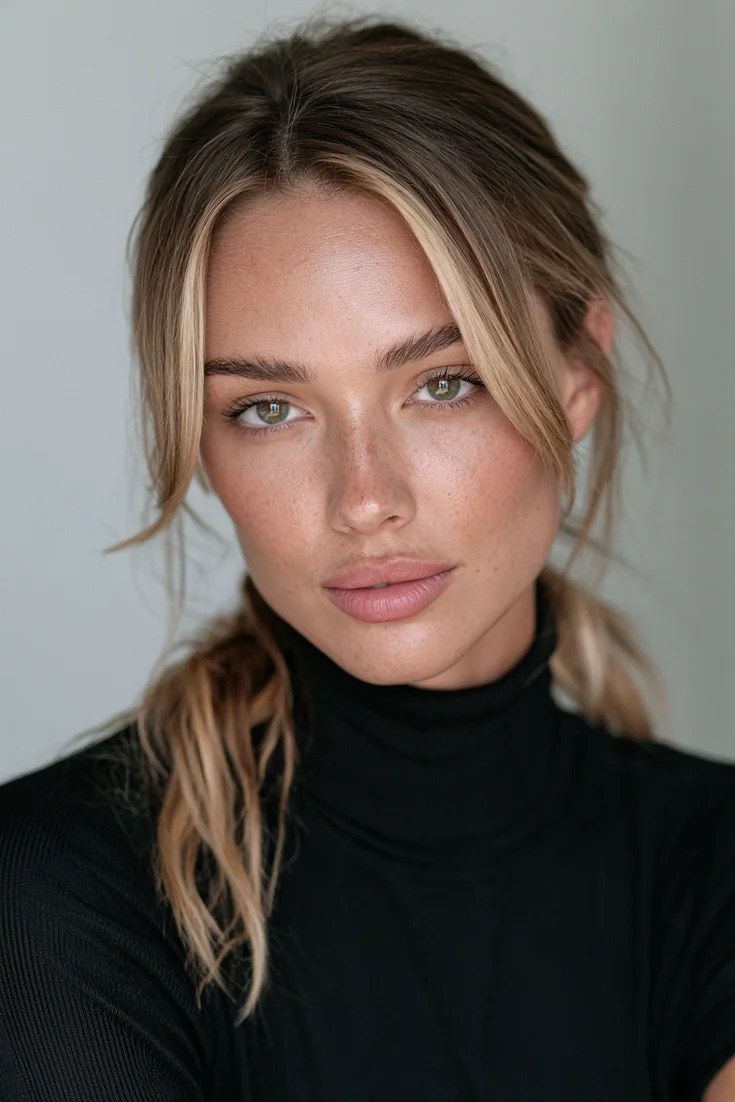
Two bright, hand-painted pieces around the face with a softer, subtle balayage through the rest.
This is the fastest way to look like you had a full colour service when you really had a half-hour appointment. The brighter front sections lift your whole face in photos and make even a plain ponytail look done.
It is also the gentlest way to try lighter hair, because you are only lightening a small amount.
Best for: first-timers, and anyone on a budget who still wants impact.
Maintenance: low to medium. The front grows out more visibly than the back.
Styling tip: if you have a bob or a shorter cut, this is the version of balayage that still reads clearly, because there is less length for a gradient to play out on.
4. Babylights
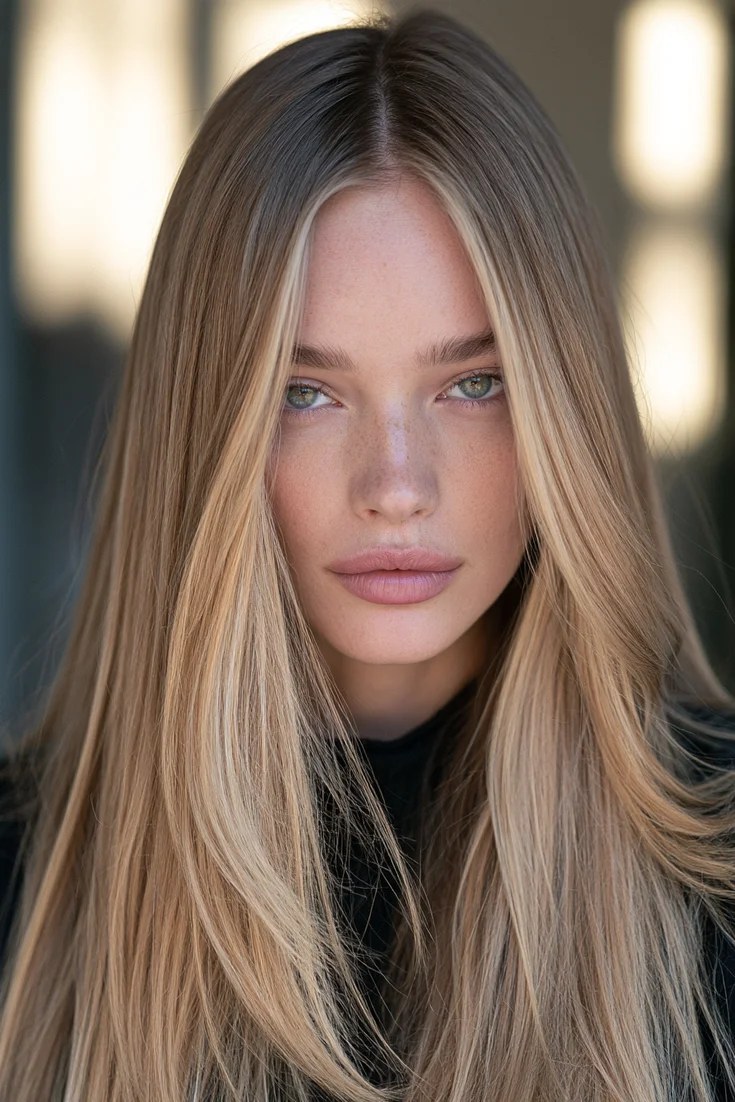
Here is the one we teased. Babylights are extremely fine, closely placed foil highlights, often only a shade or two lighter than the base.
The magic is in the density. Because so many tiny ribbons of light sit through the hair, it reads as thicker and fuller. Flat, fine hair suddenly has depth. It is the colour equivalent of adding texture spray, and it is why so many people with thin hair swear by it.
It takes a long time in the chair, and a skilled colourist, so it is not cheap. But the result looks natural enough that people assume it is simply your hair.
Best for: fine or thin hair that needs the illusion of volume, and natural blondes who want brightness without stripes.
Maintenance: medium. Because the lift is subtle, regrowth is softer than with standard foils. Every 8 to 10 weeks.
Styling tip: ask for a gloss at the end. Babylights plus gloss is the glass-hair look.
5. Reverse balayage
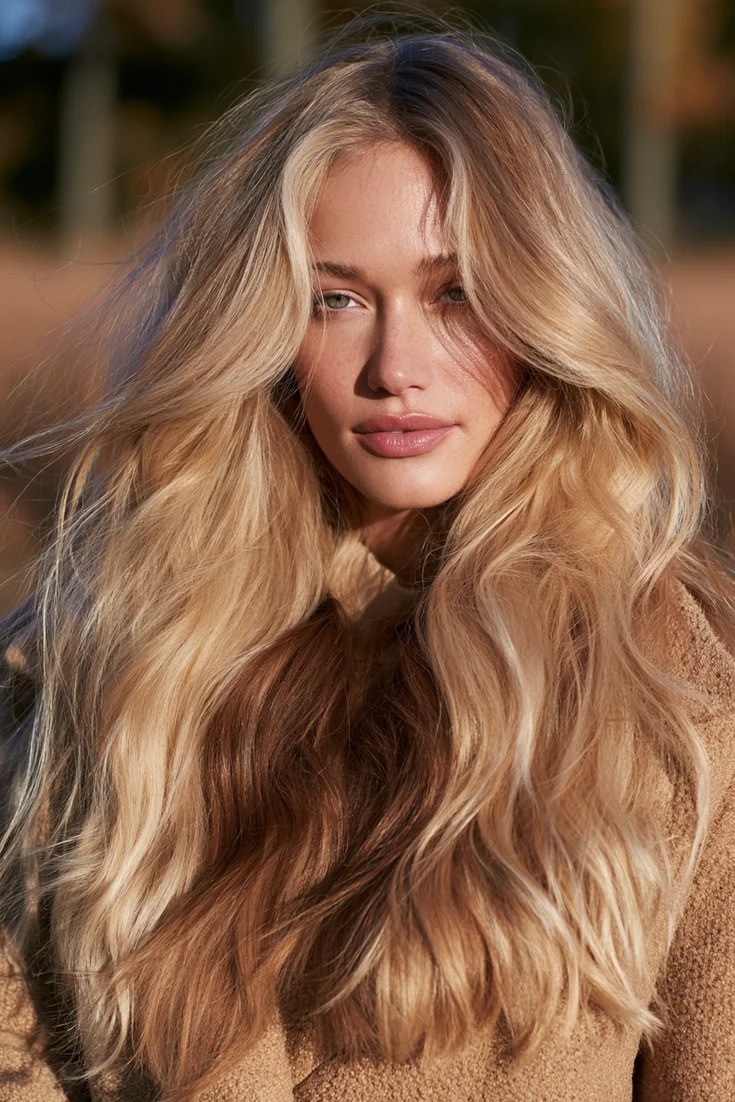
Instead of painting lighter pieces onto dark hair, darker lowlights are painted onto over-lightened hair.
This is the rescue service for anyone who went too blonde over the summer and now wants richness back for the colder months. The painted lowlights restore shadow and depth, and the grow-out is seamless because, again, nothing starts at the root.
It is also kinder on the hair than more lightening, because you are adding colour rather than removing it.
Best for: blondes who want to go darker for winter without a full single-process colour.
Maintenance: low. Three months or more.
Styling tip: halfway through. Number 9 is still ahead, and if you are stuck between the two techniques it is the one to read twice.
6. Chunky or contrast highlights
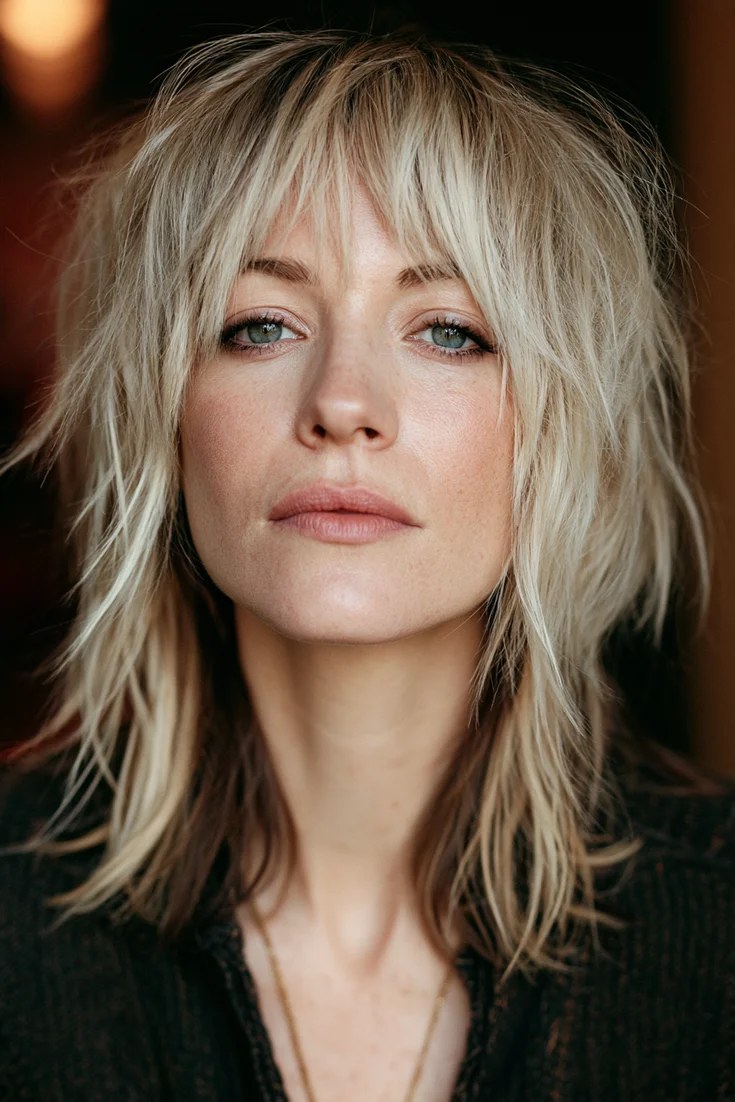
Thick, deliberate foil sections in a shade several levels lighter than the base, placed so the contrast shows.
This is highlighting with the volume turned up. It is a style choice, not a natural effect. Done well, on the right cut, it is bold and very fashion. Done badly it is the 2003 stripe look, so the stylist matters more here than anywhere else on this list.
It also happens to pair beautifully with the shaggy, layered cuts that are everywhere right now, because the layers break up the stripes.
Best for: people who want their colour to be the statement, and anyone with a textured cut.
Maintenance: high. The contrast makes regrowth obvious by week five or six.
Styling tip: keep the base tone and the highlight tone in the same family (both warm or both cool). Contrast in lightness looks intentional. Contrast in tone looks like a mistake.
7. Burgundy or copper balayage
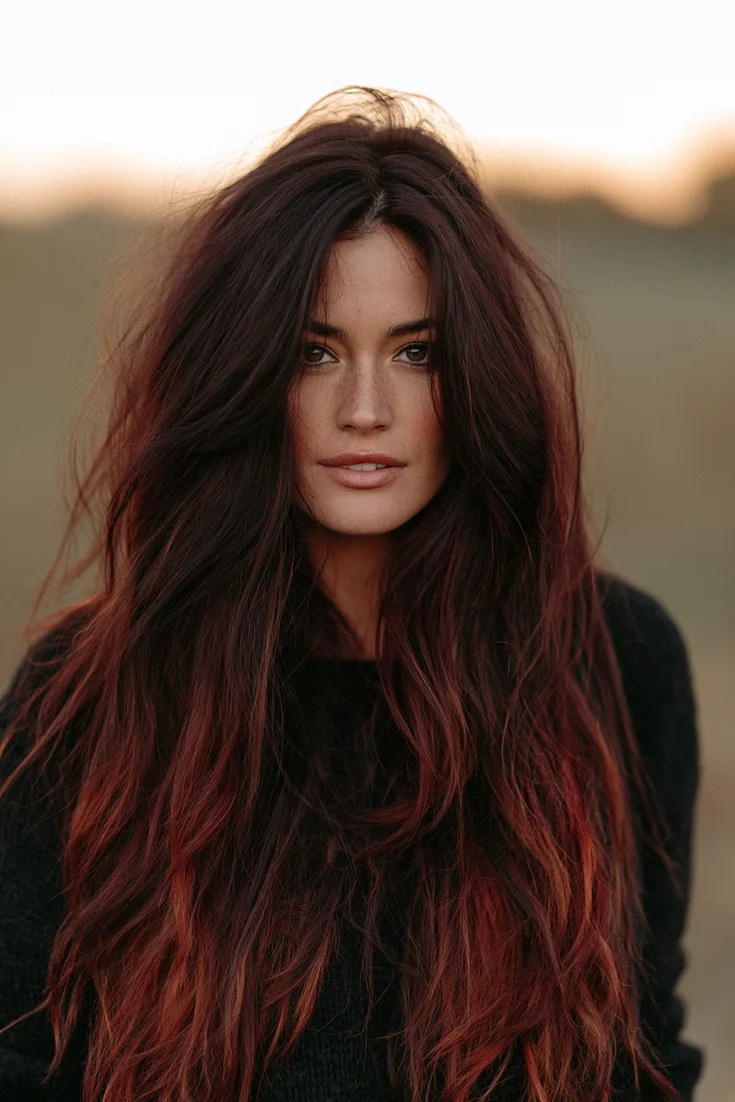
Balayage does not have to be blonde. Hand-painted wine, cherry or copper tones through a dark base give you the same soft gradient in a completely different mood.
Because it is painted rather than foiled, the red sits as a glow on the surface rather than as solid stripes, which is far more wearable than full red hair and much easier to grow out.
We broke down the exact shades in our burgundy hair colour guide if you want to pick a tone before you book.
Best for: dark brunettes who want warmth without going lighter.
Maintenance: medium. The placement is low maintenance, but red tones fade fast, so a toner or gloss every 6 weeks keeps it rich.
Styling tip: wash in cool water and use a colour-safe shampoo. Reds lose pigment in hot water faster than any other shade.
8. Partial highlights (half head)
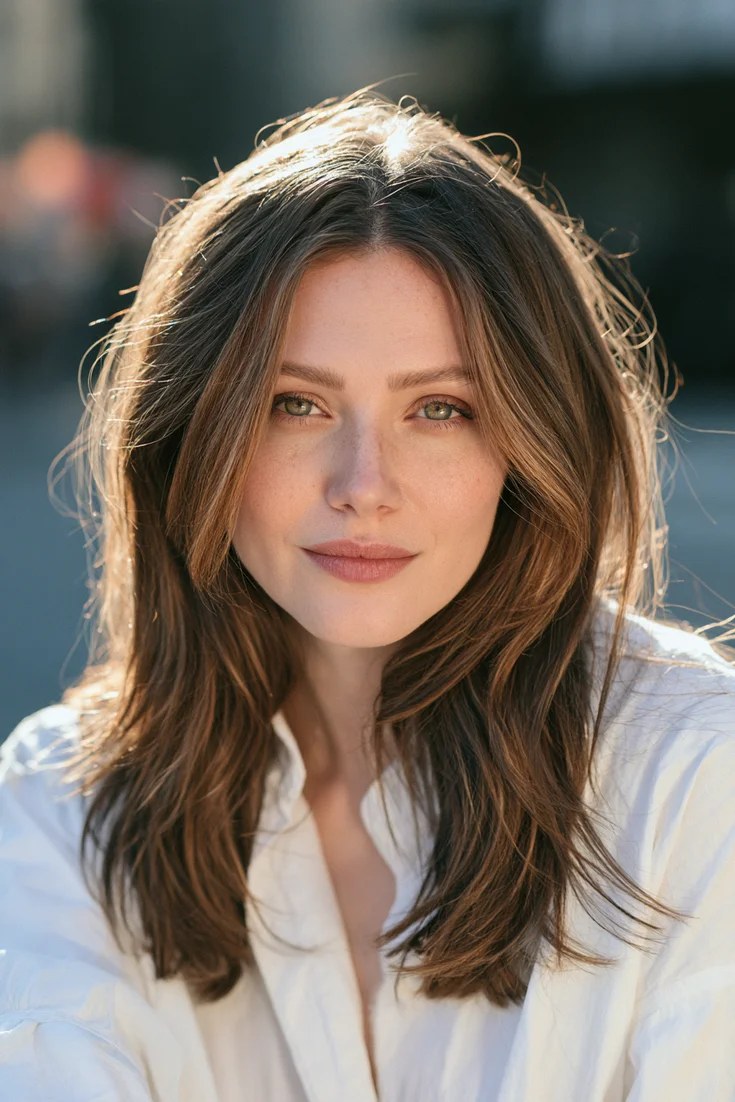
Foils placed only on the top layers and around the face, leaving the underneath untouched.
This is the budget-smart version of foils. You get the brightness where people actually see it, and you skip the time and cost of foiling hair that lives under the top layer anyway. It also gives you natural shadow underneath, which stops the colour looking flat.
Most people who book “full highlights” every time would be perfectly happy alternating with a partial.
Best for: anyone maintaining existing highlights, and anyone who wears their hair down most of the time.
Maintenance: medium to high. Still a root line, but a cheaper appointment.
Styling tip: if you wear a lot of updos, tell your stylist. They will place a few foils lower so the colour still shows when your hair is up.
9. Foilyage: the hybrid
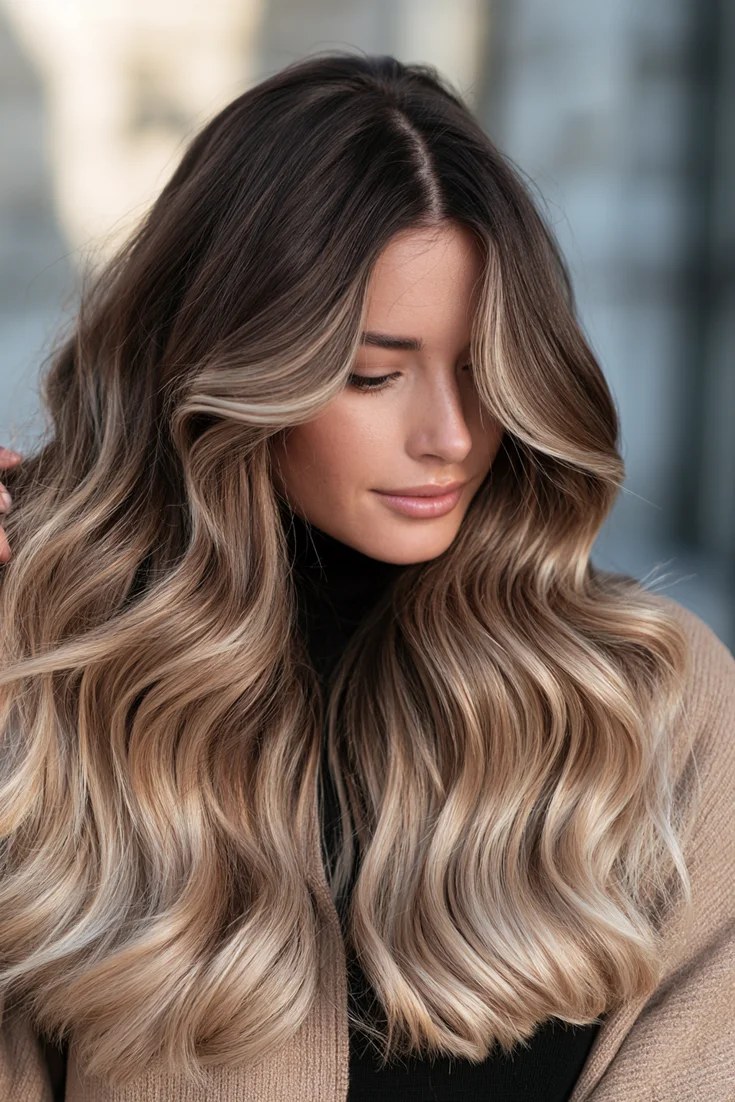
Why colourists reach for this when a client cannot decide
Foilyage is balayage placement with foil power. The colourist hand-paints the sections in the balayage pattern, soft at the top and heavier at the ends, then wraps them in foil so they lift brighter than open-air painting ever could.
You get the blended, no-root-line grow-out of balayage with the brightness of highlights. For a lot of people, especially dark brunettes who want to go genuinely light without a harsh line, this is the actual answer to the question in the title.
It is also the technique most likely to match the Pinterest photo you saved, because most of those “balayage” photos are, in reality, foilyage.
Best for: dark hair that wants real lightness and a soft grow-out at the same time.
Maintenance: low to medium. Every 10 to 14 weeks.
Styling tip: use the word “foilyage” at the salon. If your stylist knows it, you are in good hands. If they do not, ask for “balayage placement, in foils”.
10. Ombré balayage
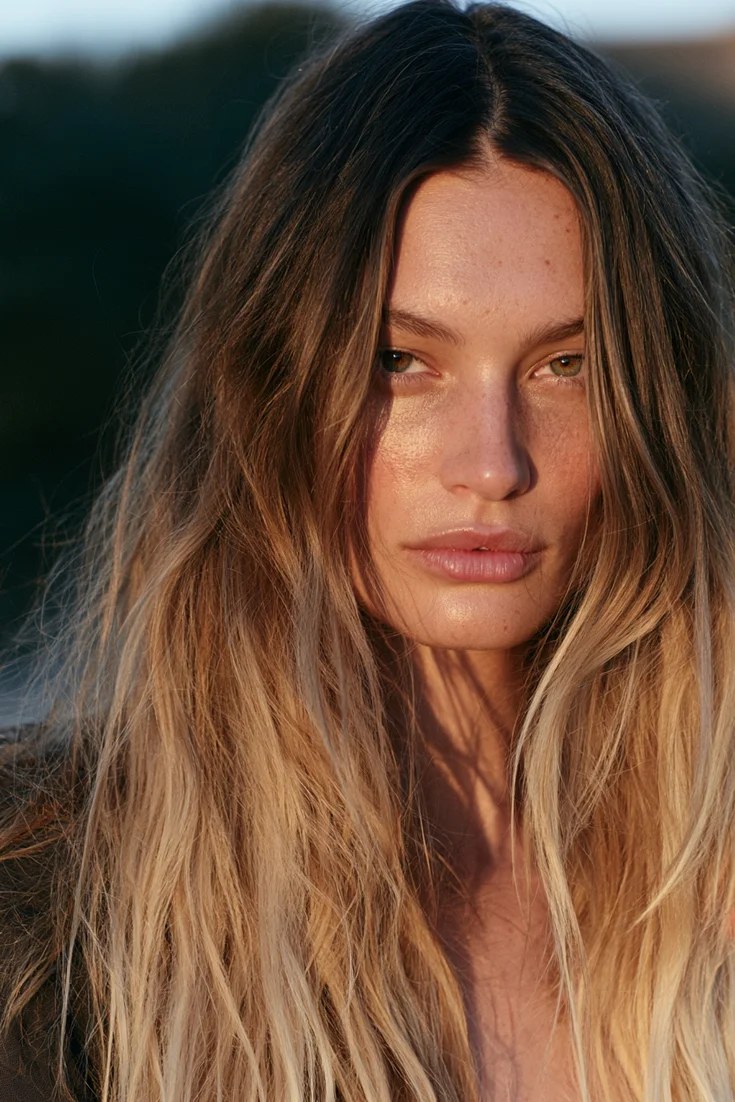
A balayage that gets dramatically lighter towards the ends, so the top is clearly dark and the bottom is clearly light, with a soft blend in the middle.
This is for people who want the contrast of a two-tone look but hate the harsh horizontal line of a true ombré. The painting technique softens the transition so it looks like a long, gradual fade rather than a dip-dye.
It is the single most low-maintenance look on this list, because the darkest part is already your natural colour.
Best for: long hair, and anyone who wants to book colour twice a year at most.
Maintenance: very low. Four to six months.
Styling tip: this look needs length. On anything above the collarbone the gradient does not have room to blend and it starts to look like a mistake.
Balayage vs highlights: side by side
| Balayage | Highlights | Foilyage | |
|---|---|---|---|
| Technique | Hand-painted, no foil | Woven sections in foil | Hand-painted, then foiled |
| How light can it go? | 2 to 3 levels | 4+ levels | 3 to 4 levels |
| Look | Soft, sun-kissed, blended | Bright, uniform, defined | Bright but blended |
| Root line | Almost none | Visible at 6 weeks | Very soft |
| Appointment time | 2 to 3 hours | 2 to 4 hours | 3 to 4 hours |
| Touch-up frequency | 3 to 5 months | 6 to 8 weeks | 10 to 14 weeks |
| Cost per year | Lowest | Highest | Middle |
| Damage | Lowest | Highest | Middle |
| Best on | Brunettes, long hair | Blondes, fine hair, short hair | Dark hair going light |
What to say at the salon
Copy the one that matches you.
For balayage: “I’d like a hand-painted balayage, starting a few inches from the root, lighter towards the ends. I want it soft and blended with no visible line, in a [warm caramel / cool beige / copper] tone. Low maintenance is more important to me than being very light.”
For highlights: “I’d like [full / partial] foil highlights, fine and close together, lifted to a [light golden / cool ash] blonde, with a toner. I’m fine with a root touch-up every 6 to 8 weeks.”
If you cannot decide: “I’d like foilyage, balayage placement in foils, so I get real brightness but a soft grow-out. Here is my photo. Please tell me honestly if my hair can get there in one session.”
What to expect as it grows out
- Week 1: both look their brightest. Wait 48 hours before the first wash so the toner settles.
- Week 4: highlights show a faint shadow at the root. Balayage looks unchanged.
- Week 6 to 8: highlights need a root touch-up. Blonde of either kind may look brassy, so book a gloss.
- Week 10 to 12: foilyage is ready for a refresh. Balayage still looks intentional.
- Month 4 to 5: balayage is due. By now you have paid for one appointment where a highlight client has paid for three.
Save this: which one to book
Screenshot this and match yourself to a line.
- I want to be a lot lighter: highlights.
- I want low maintenance above everything: balayage.
- I am a dark brunette who wants to be light with no root line: foilyage.
- My hair is fine and flat: babylights.
- I went too blonde and want depth back: reverse balayage.
- I want warmth, not lightness: copper or burgundy balayage.
- I have short hair: highlights or face-framing balayage, not ombré.
- I want colour twice a year max: ombré balayage.
Frequently asked questions
Is balayage less damaging than highlights?
Usually, yes. Balayage lifts fewer levels, does not use foil heat, and does not touch the root, so less of the hair is processed. Highlights lift harder and go root to tip, which means more damage over the year, especially with regular touch-ups.
Which is more expensive, balayage or highlights?
A single balayage appointment often costs more than a single highlight appointment because it takes more skill and time. Over a year, highlights cost more because you need them roughly three times as often.
Can you get balayage on short hair?
You can, but the gradient has less room to show. Face-framing balayage works well on bobs. For very short cuts, fine highlights usually give a clearer result.
Does balayage work on dark hair?
Yes, and some of the best balayage is on dark hair. Just know that open-air painting only lifts a few levels, so if you want to go genuinely blonde from black or dark brown, ask for foilyage instead.
How long does balayage take at the salon?
Plan on two to three hours for a first session, including toner. Foilyage and full foils can run closer to four.
The honest answer
If you want to be lighter, book highlights. If you want to be easier, book balayage. If you want both, book foilyage and bring the photo.
And whichever you choose, use the right word at the salon. It is the difference between leaving with the hair in your photo and leaving with a surprise.
Related Post