
Please note that we do not create all the designs featured in this article. Our primary focus is to curate and collect a diverse range of design collections and products to inspire and share with our audience. While we do not claim ownership or take full credit for the original designs and images, we occasionally make minor adjustments, particularly in home decor and fashion items, to present them more effectively. Additionally, we may produce and edit images to enhance their quality and composition before sharing them on our Pinterest page or website. For the design work we do on these creative designs, we also include our logo on the images shared on Pinterest and our website. This helps our audience recognize that these designs have been published on insiderlyfe.com!
You swipe a powder blush across your cheeks at 8am and it looks like a soft, healthy flush. By lunch it has settled into the dry patches around your nose and the colour has faded to almost nothing. Or the reverse: you dot a creamy blush over a full face of powder and it drags, streaks and sits in patches no matter how much you blend.
Neither of those is a technique problem. It is a formula problem, and it comes down to a single choice most of us make by shade name or packaging rather than by texture.
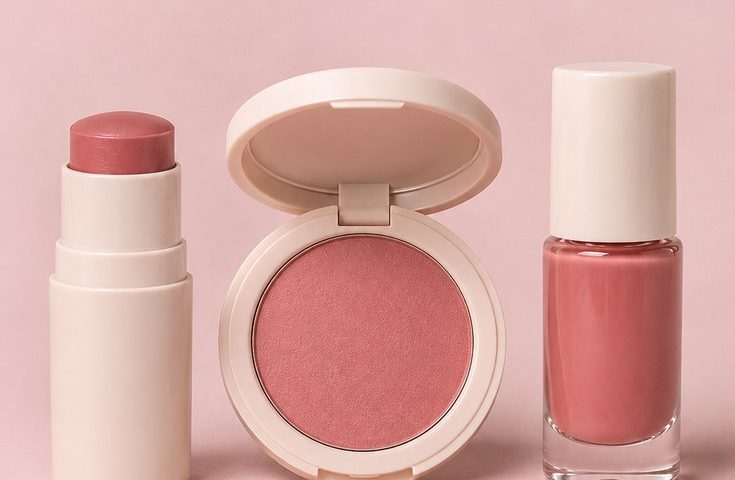
This guide is for anyone who owns one blush and suspects it is the wrong type for their skin. It explains cream vs powder blush (and liquid, the third contender) in plain terms, shows eight real formats from stick to palette, and gives you the order to layer them over foundation so the colour lasts. You will also find what to ask for at the beauty counter, price ranges in USD and GBP, and a skin type chart to screenshot.
One format is cheaper than most people expect and works on almost every skin type, and it is number 2. Keep scrolling.
Cream vs powder blush: the quick verdict
Pick cream if your skin is normal to dry, you want a dewy, skin-like flush, and you like blending with your fingers. Cream is also the most beginner-friendly format because it sheers out easily and is hard to overdo.
Pick powder if your skin is oily or combination, you want a soft-focus matte or satin finish, and you like building colour slowly with a brush. Powder sets in place and does not slip.
Pick liquid if you want the longest wear and the most pigment from a single dot. Liquid blush sets quickly, so you need to blend fast, but it tends to stay put the longest.
If you wear both cream and powder in one look, that is not cheating. Several brands recommend it for extra staying power, and it is the trick behind most flushes that last through a long winter evening.
Cream vs powder blush at a glance
| Cream | Powder | Liquid | |
|---|---|---|---|
| Finish | Dewy, skin-like, luminous | Soft-focus, matte, satin or shimmer | Natural to glossy, depending on formula |
| Best skin type | Normal to dry | Oily and combination | Dry to normal; gel versions suit most |
| Longevity | Moderate, can move on oily skin | Moderate, easy to refresh | Often the longest wear once set |
| Pigment | Buildable, sheer to medium | Buildable, can be sheer or bold | Often the most pigmented |
| Application | Fingers or a dense brush | Fluffy brush | Fingers, sponge or small brush, blended fast |
| Typical price | About $8 to $37 / £7 and up | About $9 to $36 / from about £7 | About $11 to $25 / £10 and up |
| Biggest downside | Can slip on very oily skin | Can look dry or cakey on dry skin | Sets fast, so mistakes are hard to fix |
Prices above are ranges drawn from the products named in this guide (drugstore at the low end, department store at the high end). Treat them as typical rather than fixed, since retailers change prices often and run promotions.
How to choose by skin type
This is the part most blush guides skip, and it matters more than the shade.
Dry skin: choose cream or liquid. Powder can sit on dry patches and look dull, so if you love it, use a tiny amount over a cream layer and press instead of sweeping.
Oily skin: powder is the safest start, especially over a lightly set base, because it leaves less slip. Cream still works if you use a small amount and set only the areas that move.
Combination skin: wear cream on the drier upper cheeks and a touch of powder where oil builds up, or apply cream first and set it selectively.
Mature skin: cream and gel-cream formulas tend to look more natural because they do not emphasise texture. If you use powder, pick a finely milled one with a satin finish rather than a heavy matte.
Sensitive or blemish-prone skin: check the ingredient list and stop using anything that irritates. Keep brushes and sponges clean either way.
If you are building a full face for the party season, our holiday makeup looks show how these flushes sit with different lip and eye colours.
How to layer blush over foundation
The order matters more than any product you buy. Get it wrong and a good blush looks patchy.
- Skincare first. Let moisturiser settle for a couple of minutes so it is not tacky.
- Foundation or skin tint in a thin layer.
- Cream or liquid blush next, tapped onto the apples of the cheeks and blended upward toward the temples. Blend the edges while the product is still workable.
- Set only the T-zone with powder, and lightly dust the blush area if your skin is oily.
- Powder blush last. If you want extra hold, sweep a similar powder shade over the cream.
- Check your face in natural light before you leave the house.
The rule underneath all of it: wet over wet, dry over dry. Cream and liquid go on top of liquid or cream bases. Powder goes on top of set skin. Reverse that and you get streaks.
1. Cream stick blush
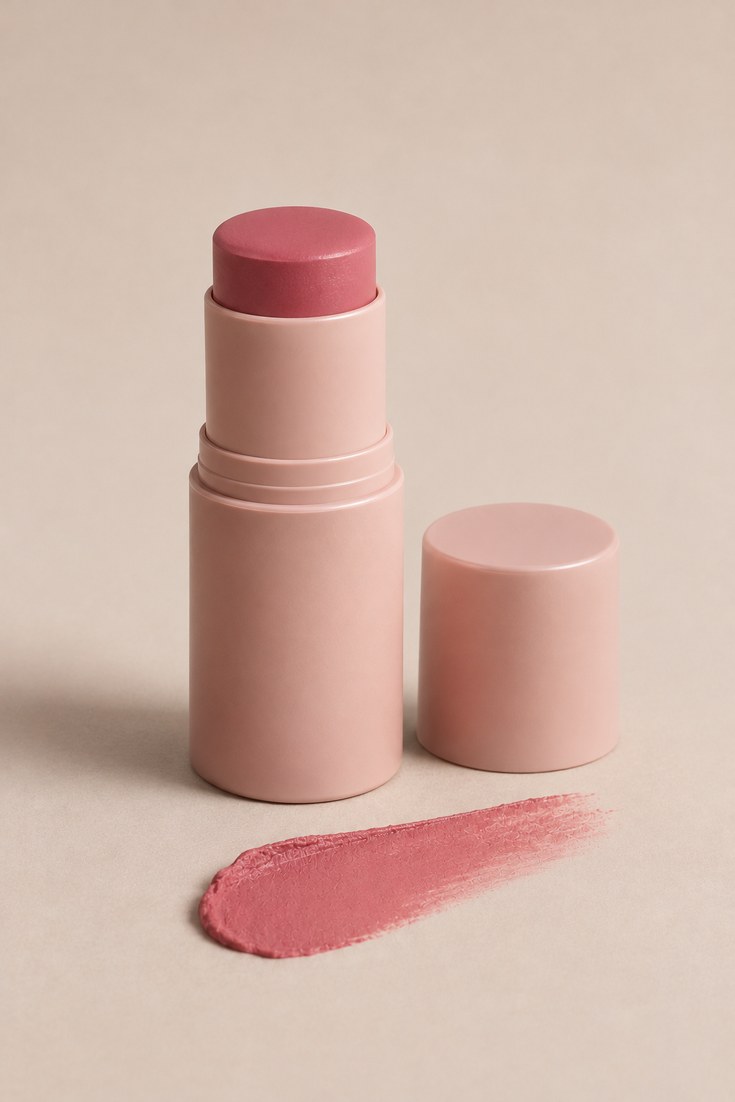
A cream stick is a twist-up or swivel bar of creamy pigment you swipe straight onto the cheek. It is the fastest format here and the one most stylists reach for when time is short.
The finish is dewy and soft, which is why it flatters winter skin that has lost its glow. Many sticks double as a lip and eye colour, so one product covers the whole face. An example is the Nudestix Nudies Bloom Cream Blush + Lip + Eye Color Stick, listed around $37 in the US.
Ask for a stick with a pillowy, not waxy, texture. Draw two short stripes on each cheek, then tap with your fingertips. Do not drag or rub, since that moves the foundation underneath.
It suits normal and dry skin best. Skip it on very oily skin unless you set it.
2. Cream pot or putty blush
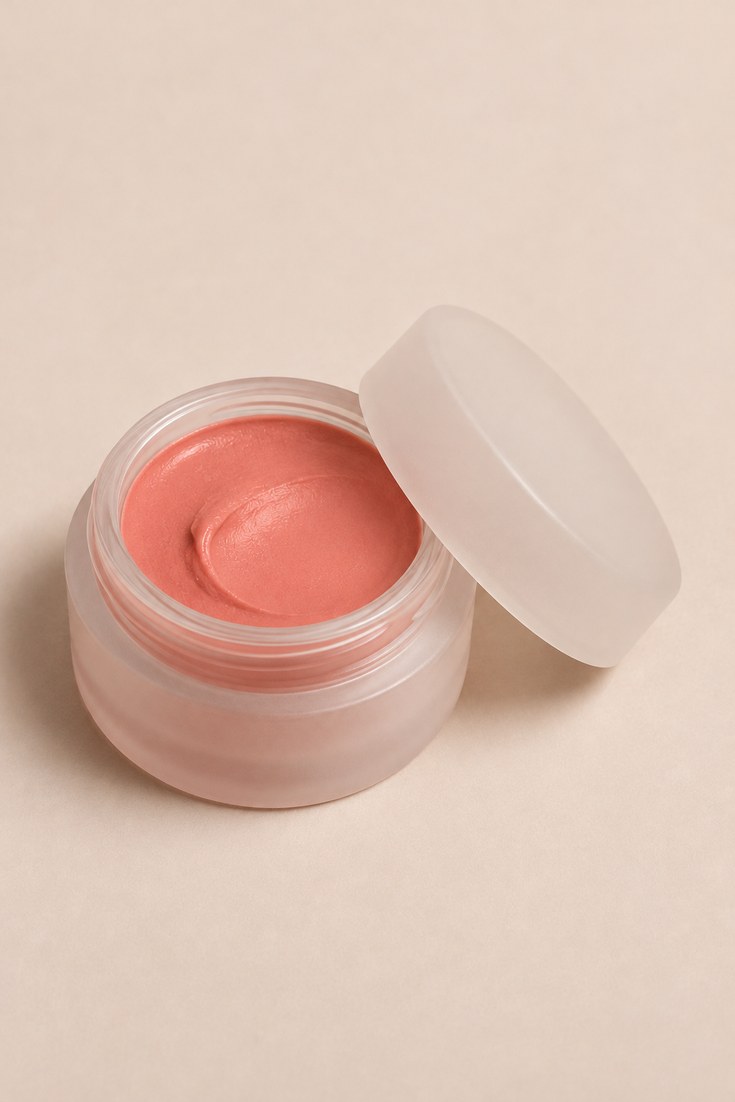
A cream pot, often sold as a putty or balm blush, is a soft, pressed-in compact you tap with a finger. It is the beginner pick because the colour starts sheer and you build it one tap at a time.
This is the one that surprises people on price. The e.l.f. putty blush is listed at about $8 in the US, and the Luminous Putty Blush is £7 at Beauty Bay in the UK. That makes it one of the cheapest formats that works on dry, normal and even mildly oily skin.
Ask for a shade one step warmer than your lip colour. Warm up the product on the back of your hand first so it blends in one pass.
It suits most skin types. The one caveat is very oily skin in humid weather, where it can drift without powder.
3. Pressed powder compact
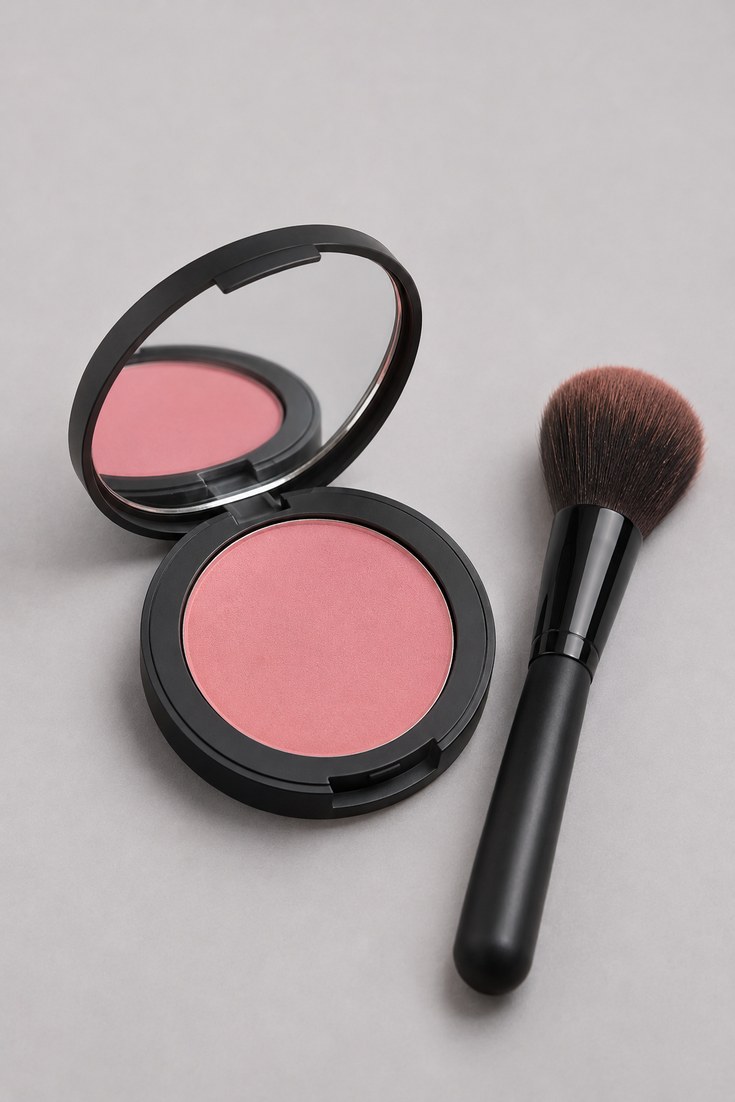
This is the classic. A pressed powder compact is a finely milled disc you pick up with a fluffy brush. It gives the soft, blurred, airbrushed flush you see in magazine beauty shots.
Powder is the best fit for oily and combination skin because it sets in place and does not run. Department store examples include NARS Blush in Orgasm (listed around $36) and the Tarte Amazonian Clay 12-Hour Blush (around $30), which the brand says lasts up to 12 hours. We have not tested that claim.
Ask for a satin or matte finish if you have texture, and a shimmer one only if your skin is smooth. Dip the brush lightly, tap off the excess, and sweep in a smile shape.
Skip it on dry skin unless you press it over a cream layer.
4. Baked powder blush
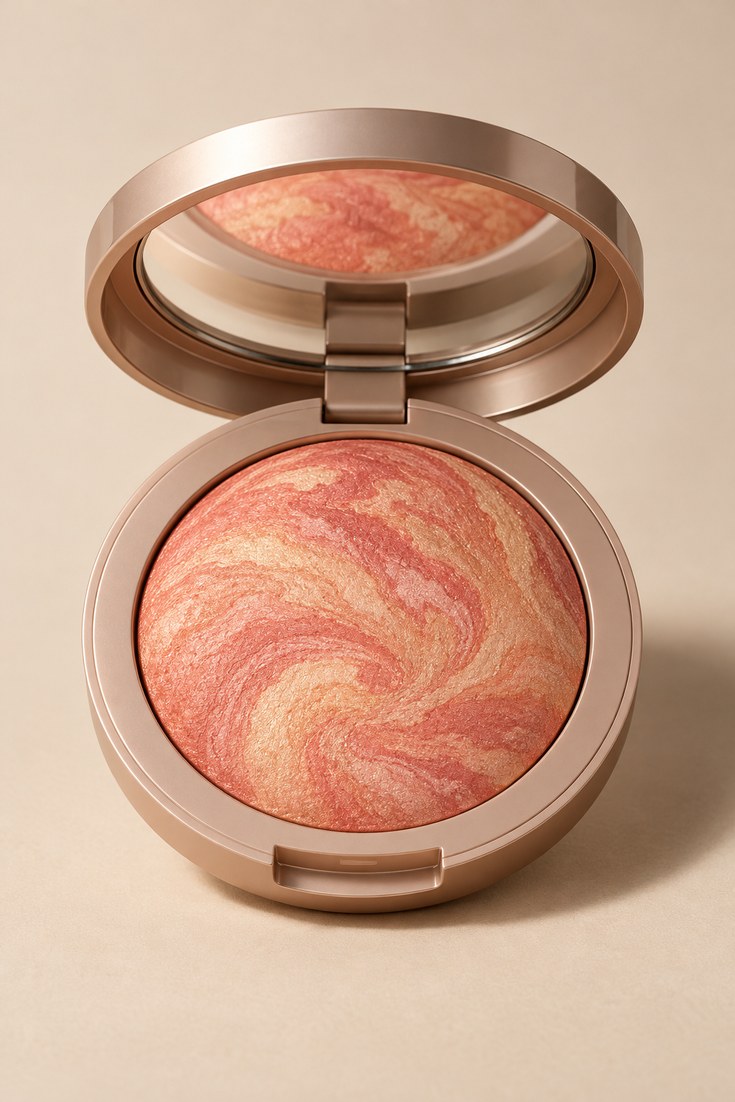
Baked blush is powder that has been fired or moulded into a marbled, slightly raised disc. The texture is silkier than standard pressed powder and the colour often has a built-in glow.
It is a drugstore favourite. The Milani Baked Blush in Luminoso is listed around $9.47 at Walmart, so it is easy to try.
Use a big, soft brush and a light hand, because baked formulas can be very pigmented. One sweep is often enough. Swirl the brush through all the marbled colours for a more natural, multi-tone flush.
It suits normal to oily skin. On dry skin it can emphasise flaky patches, so moisturise well first.
5. Liquid dropper or wand blush
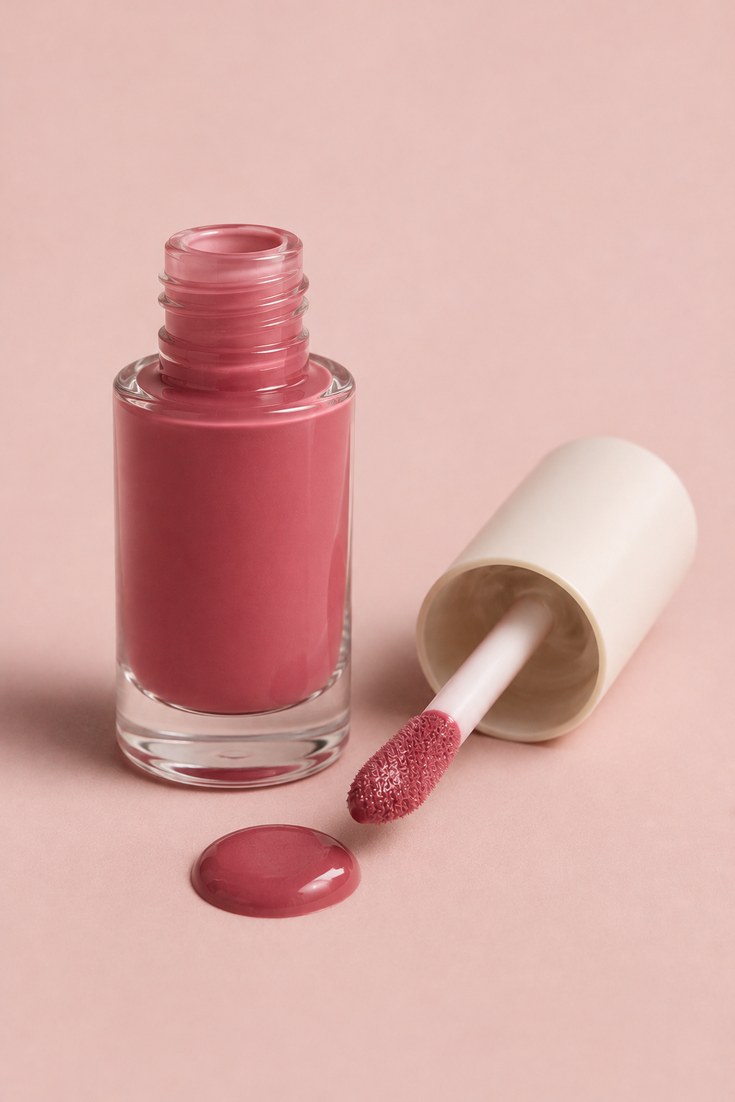
Liquid blush comes in a bottle with a dropper, a wand or a doe-foot applicator. It is the most pigmented format, so a single dot goes a long way.
The finish looks like skin, not makeup, and it tends to be among the longest wearing once set. The Rare Beauty Soft Pinch Liquid Blush is listed around $25 in the US. The brand also sells a mini in the UK that Space NK showed at £10.50 on promotion (down from £15.00).
Dot, do not swipe. Place one dot on each cheek, then blend with your fingertips or a damp sponge straight away, because it sets in seconds.
It suits dry and normal skin best. If you are new to liquids, start with half a dot.
6. Liquid lip and cheek tint
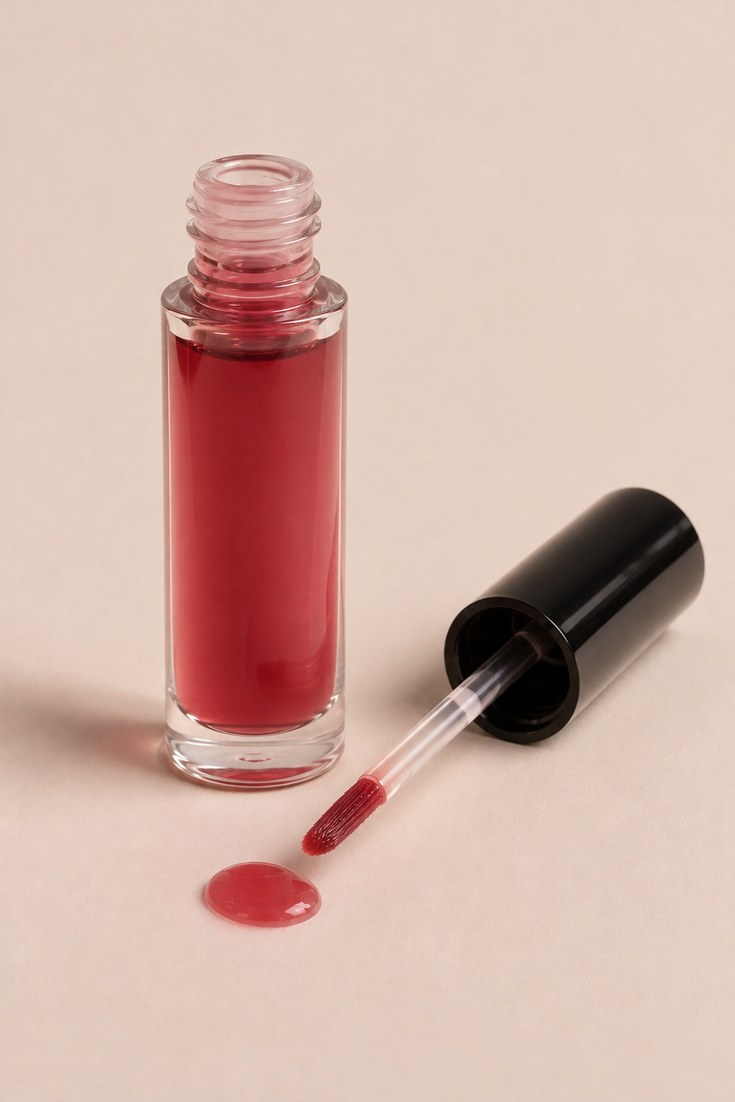
A lip and cheek tint is a thin, sheer liquid designed to stain both. It is the gateway to a no-makeup flush, and a favourite for the “clean girl” look in our clean girl makeup looks.
The colour sinks into the skin rather than sitting on top, so it looks like natural blood flow and wears off evenly. Because it is so thin, it works best on bare skin or over a skin tint, never over heavy powder.
Ask for a shade close to your natural lip colour. Press a single drop onto the cheeks with your ring finger, then blend outward.
Skip it on very oily skin, since it can slide, and always patch test if you have sensitive skin.
7. Gel-cream blush
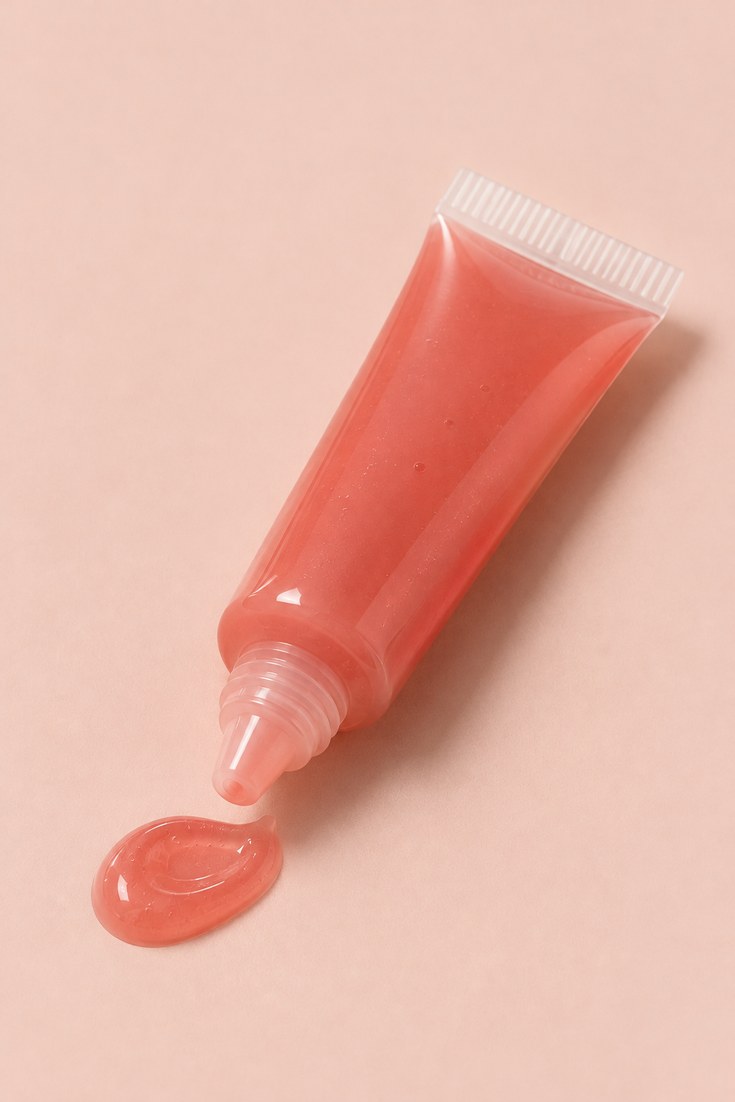
Gel-cream sits between a gel and a cream. It feels cool and watery on the skin, then dries to a light, almost second-skin finish that does not look heavy.
This is the format to try if you find creams too greasy and liquids too fast. The texture gives you more blending time than a liquid and less shine than a cream.
Tap it on with your fingertip, working quickly but not frantically. It looks especially good under a light dusting of powder in the T-zone.
It suits combination skin, mature skin and anyone who wants a fresh, translucent flush. If your skin is very dry, add a hydrating primer underneath.
8. Blush palette
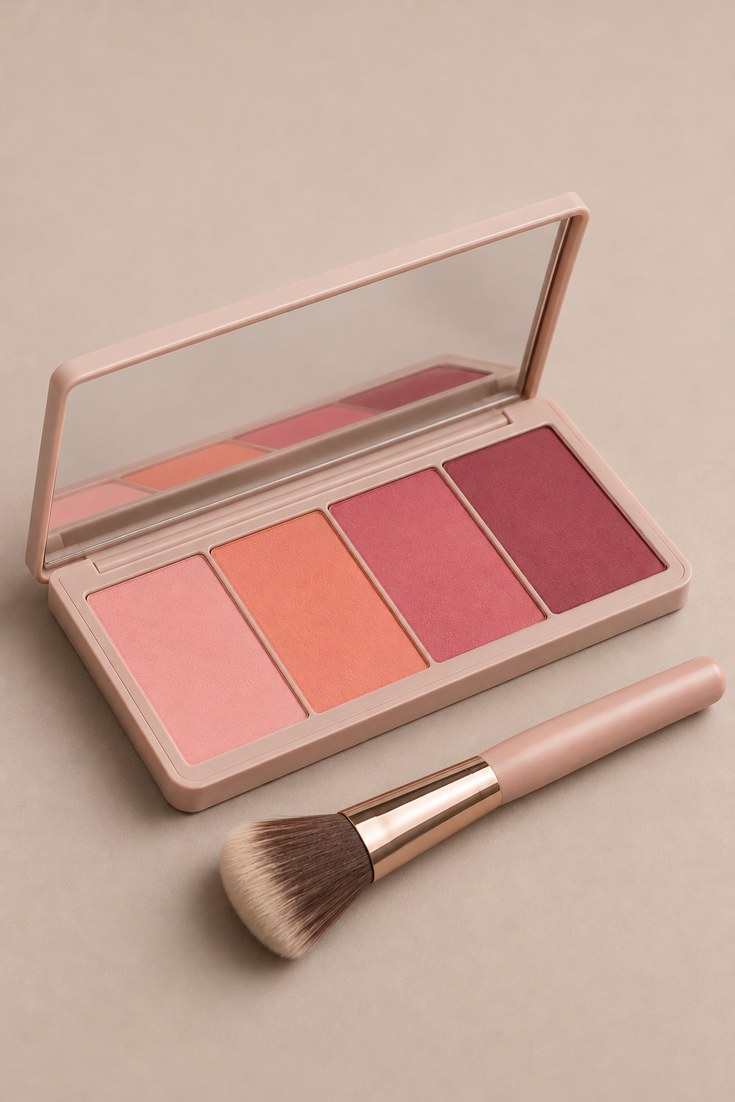
A blush palette gives you several shades in one compact, usually a mix of pinks, peaches and berries. It is the best value if you like changing your look, and it lets you blend two shades together.
Choose a palette with a single finish, matte or satin, so the shades can be layered without clashing. A good palette has one soft shade for everyday, one deeper shade for evenings and one warm tone for contouring.
Layer the lightest shade across the apples, then the deeper shade on the outer cheek. It is also a clever way to fix a blush that came out too strong, since you can tone it down with a neutral shade.
It suits all skin types, with powder palettes working best on oily skin and cream palettes on dry skin.
What to say at the beauty counter
- “I have dry skin and want a blush that looks like a natural flush, not powder.”
- “Can I try a cream blush over my foundation to see if it moves?”
- “I have oily skin and my blush fades by lunch. What lasts longest?”
- “Which of these can I also use on my lips?”
- “Is there a shade that suits my undertone, warm, cool or neutral?”
- “Can you show me how to layer cream and powder together?”
Price ranges we found
Blush spans a wide price range. Drugstore options sit at roughly $8 to $11, mid-range department store picks at about $25 to $37, and the same pattern holds in the UK, where we found e.l.f. at £7 and a Rare Beauty mini at £10.50 on promotion.
| Product | Type | Price found |
|---|---|---|
| e.l.f. Putty Blush | Cream pot | About $8 (US listing); Luminous Putty Blush £7.00 (Beauty Bay) |
| Milani Baked Blush, Luminoso | Baked powder | $9.47 (Walmart) |
| Milani Cheek Kiss Liquid Blush + Glow, Luminoso | Liquid | $10.97 (Walmart) |
| Rare Beauty Soft Pinch Liquid Blush | Liquid | About $25 (US listing) |
| Tarte Amazonian Clay 12-Hour Blush | Powder | About $30 (US listing) |
| NARS Blush in Orgasm | Powder | About $36 (US listing) |
| Nudestix Nudies Bloom stick | Cream stick | About $37 (US listing) |
Prices checked at the time of research and may have changed. Always check the retailer before buying.
How long each type lasts
- Liquid: typically the longest, sometimes all day once set. Brands claim anywhere from 8 to 12 hours, but results vary with skin and weather.
- Powder: moderate wear, and easy to refresh with a quick brush sweep. Too many layers can look heavy.
- Cream: moderate, and it can move on oily skin or over a very moisturising base.
- Cream under powder: the best of both worlds, and the combination stylists most often recommend for evening wear.
For a long winter day, try our layered approach from the section above. For party looks, pair it with the lip colours in our winter makeup looks.
Common mistakes to avoid
- Applying powder blush over wet cream without letting it settle: wait a minute, or press with a sponge.
- Using a cream blush over a heavy powder base: switch to a liquid or gel-cream, or keep the powder to the T-zone.
- Picking the shade for the pan, not the skin: swatch on your cheek in daylight.
- Placing blush too low: start at the apples and blend up toward the temples to lift the face.
- Using too much at once: build in thin layers, especially with liquid and baked formulas.
- Forgetting undertone: warm skin tends to suit peach and coral, cool skin pink and berry, and neutral skin both.
If you have a fuller face and want to shape it with colour, our plus size makeup ideas cover placement in more depth.
Shade and undertone fit guide
Format decides how the blush behaves. Shade decides whether it looks like you. The simplest test is to look at the veins on your wrist in daylight: green-leaning usually means warm, blue or purple means cool, and a mix means neutral.
Fair skin: soft pinks and sheer peaches. Go for cream or liquid so the colour does not look painted on.
Medium and olive skin: warm coral, apricot, rose and terracotta. These suit both cream and powder.
Tan and deep skin: richer berry, deep rose, warm brick and bright coral show up best. Powder needs enough pigment to register, and liquid or cream often delivers that in one pass.
When in doubt, pick a shade close to the colour your cheeks turn after a brisk walk in the cold.
A simple day timeline
- Morning: cream or gel-cream over foundation, blended with fingertips.
- Midday: a quick sweep of powder blush over the top to refresh.
- Evening: add a second thin layer of the same shade, or switch to a deeper palette shade for candlelight.
The seasonal fit
In winter, cream and gel-cream formulas tend to work best because central heating and cold wind dry out skin. In summer or humid climates, powder and liquid hold up better. If you are dressing for the late autumn table, our Thanksgiving makeup looks are a good starting point for warm, berry-toned flushes.
Frequently asked questions
Is cream or powder blush better?
Neither is better overall. Cream suits dry and normal skin and gives a dewy finish. Powder suits oily and combination skin and gives a soft matte finish. The right one depends on your skin type and the look you want.
Can I use cream and powder blush together?
Yes, and it is a popular trick for longer wear. Apply the cream first, set the rest of your face, then sweep a similar powder shade over the top. The powder holds the cream in place.
What goes first, foundation or blush?
Foundation goes first. Apply cream or liquid blush after foundation but before setting powder. Powder blush goes after you have set your base.
Which blush lasts the longest?
Liquid blush is typically the longest wearing once it sets, with several brands claiming up to 12 hours. Cream under powder is the next best option. Wear time varies with skin type, climate and prep.
Which blush is best for oily skin?
Powder blush is usually the safest choice because it sets in place. If you prefer cream, use a small amount, set only the areas that move, and blot before adding more.
Pick your format and save this guide
Start with the format that matches your skin, not the shade that looks prettiest in the pan. Cream for dry, powder for oily, liquid when you need it to last, and cream plus powder when you want both. If this helped, save it to your Pinterest board so you can find it the next time you are standing in front of the blush shelf.
Related Post