
Please note that we do not create all the designs featured in this article. Our primary focus is to curate and collect a diverse range of design collections and products to inspire and share with our audience. While we do not claim ownership or take full credit for the original designs and images, we occasionally make minor adjustments, particularly in home decor and fashion items, to present them more effectively. Additionally, we may produce and edit images to enhance their quality and composition before sharing them on our Pinterest page or website. For the design work we do on these creative designs, we also include our logo on the images shared on Pinterest and our website. This helps our audience recognize that these designs have been published on insiderlyfe.com!
You don’t need to be a nail artist to pull off Halloween nails. You need a dotting tool, a thin brush and about 30 minutes.
That’s really it.
Most of the cutest spooky designs are built from the same few moves: dots, lines, simple silhouettes and a good top coat.
So this list sticks to creepy-cute designs you can actually do at home, with a difficulty rating, the nail shape each one looks best on and a pro tip for every look.
Complete beginner? Start with number 24. It’s the easiest design here. Want a real showstopper? Number 13 is the one people will grab your hand to look at.
Your at-home Halloween nail kit
- A base coat and a glossy or matte top coat
- Black, white and orange polish (plus one purple or pastel)
- A dotting tool (or a bobby pin)
- A thin striping brush
- Optional: glow-in-the-dark polish, glitter and small rhinestones
Always let each layer dry before adding details. It’s the number one rule for crisp nail art.
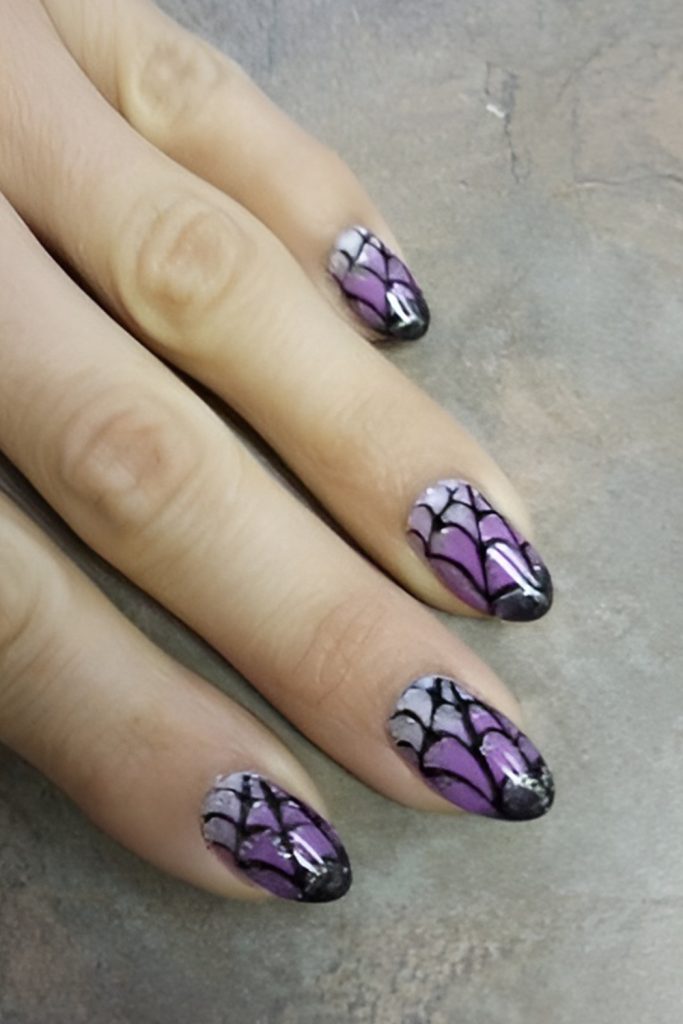
1. Purple ombre with spiderwebs
A violet to lavender fade, finished with delicate white spiderwebs.
Sponge the two shades together, let it dry, then draw your webs with a thin brush.
Difficulty: medium.
Best nail shape: almond or oval.
Pro tip: add one tiny rhinestone at the center of each web.
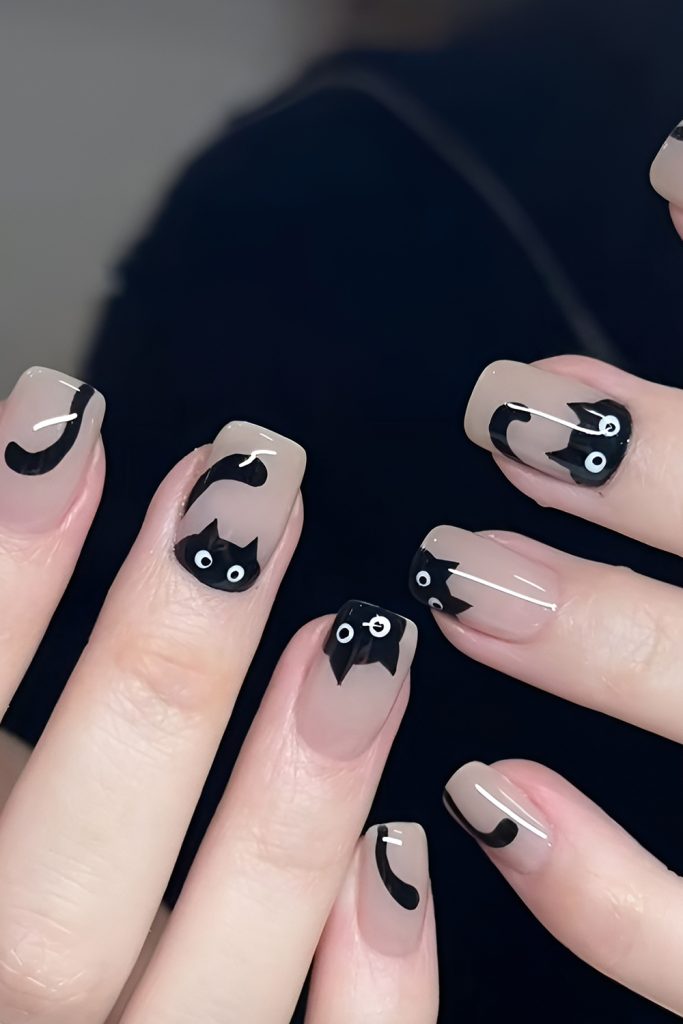
2. Black cats on nude
Little black cat silhouettes on a soft nude base.
Add ears, a curled tail or tiny whiskers.
Difficulty: easy to medium.
Best nail shape: short square or round.
Pro tip: put a cat on just two nails and keep the rest nude. It looks chic, not busy.
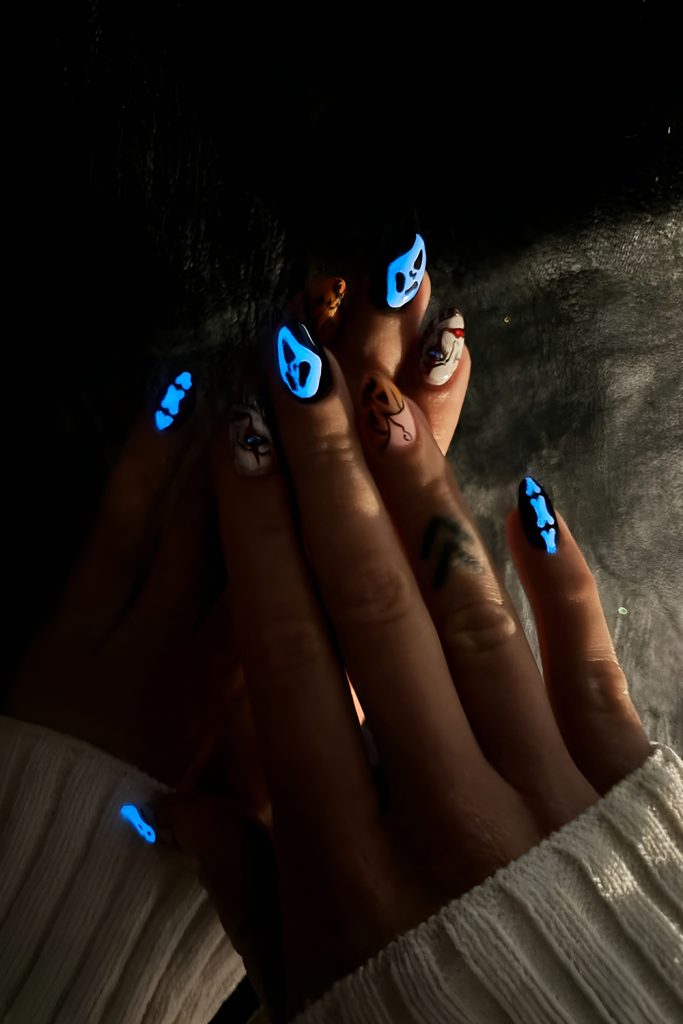
3. Glow-in-the-dark ghosts
Dark purple or black nails with ghosts painted in glow polish.
By day, they’re cute. At night, they glow.
Difficulty: easy.
Best nail shape: any.
Pro tip: charge them under a lamp for a few minutes before you head out.
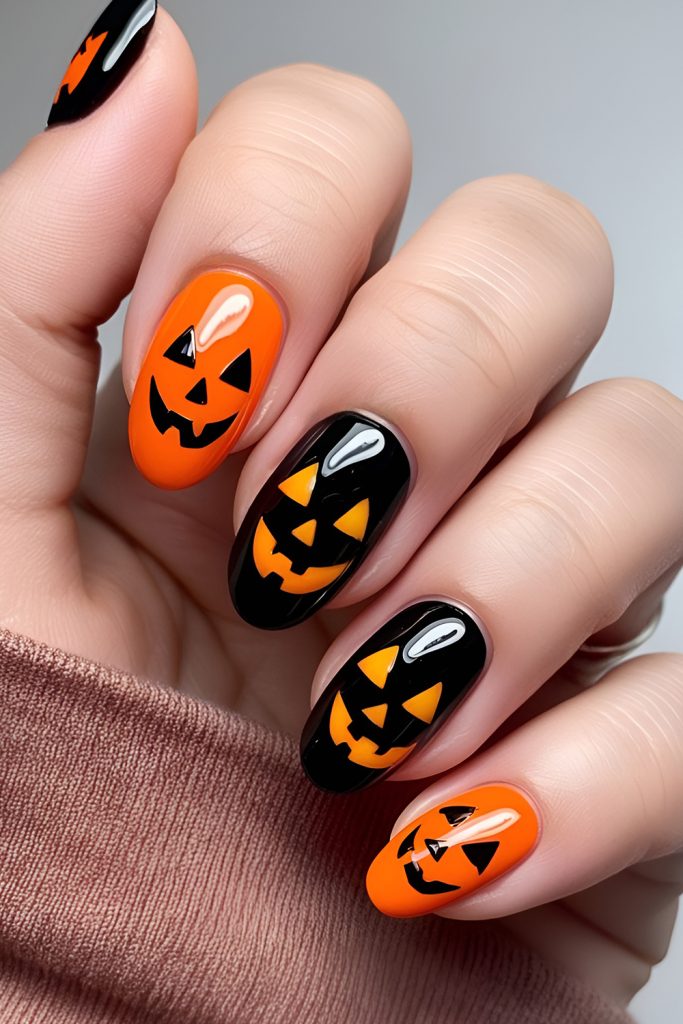
4. Pumpkin patch nails
Orange polish with tiny pumpkin faces, green vines and polka dots.
Mix the designs across your nails for a playful set.
Difficulty: easy.
Best nail shape: round or squoval.
Pro tip: a glossy top coat makes the pumpkins look like shiny candy.
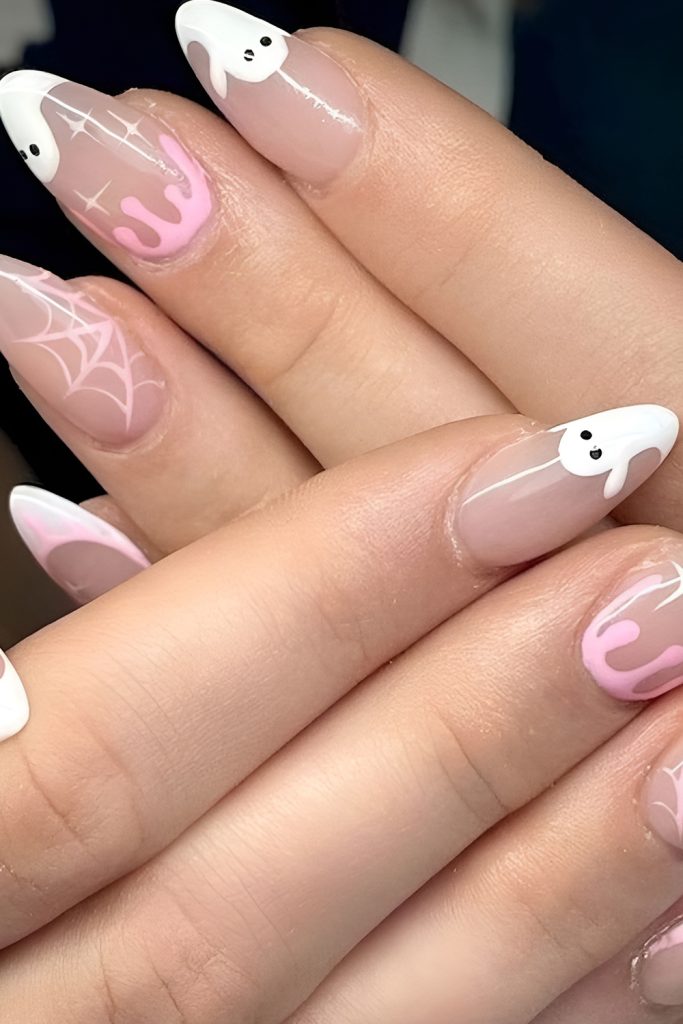
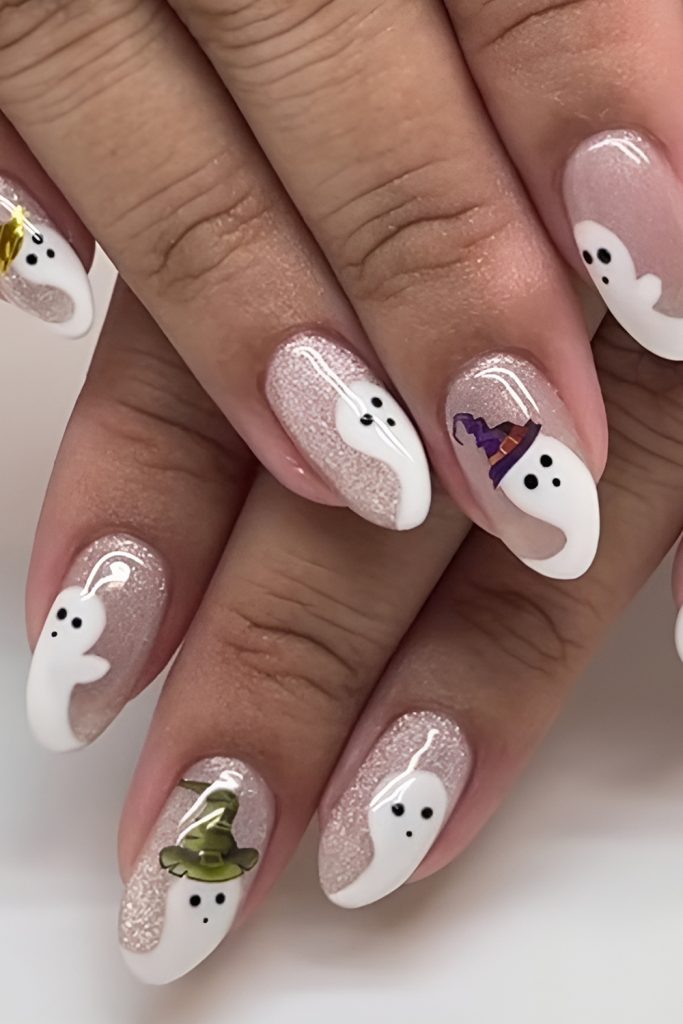
5. Pastel ghosts
Lavender or mint nails with little white ghosts and black dot eyes.
Sweet, soft and more cute than spooky.
Difficulty: easy.
Best nail shape: short or medium.
Pro tip: make each ghost’s expression a little different.
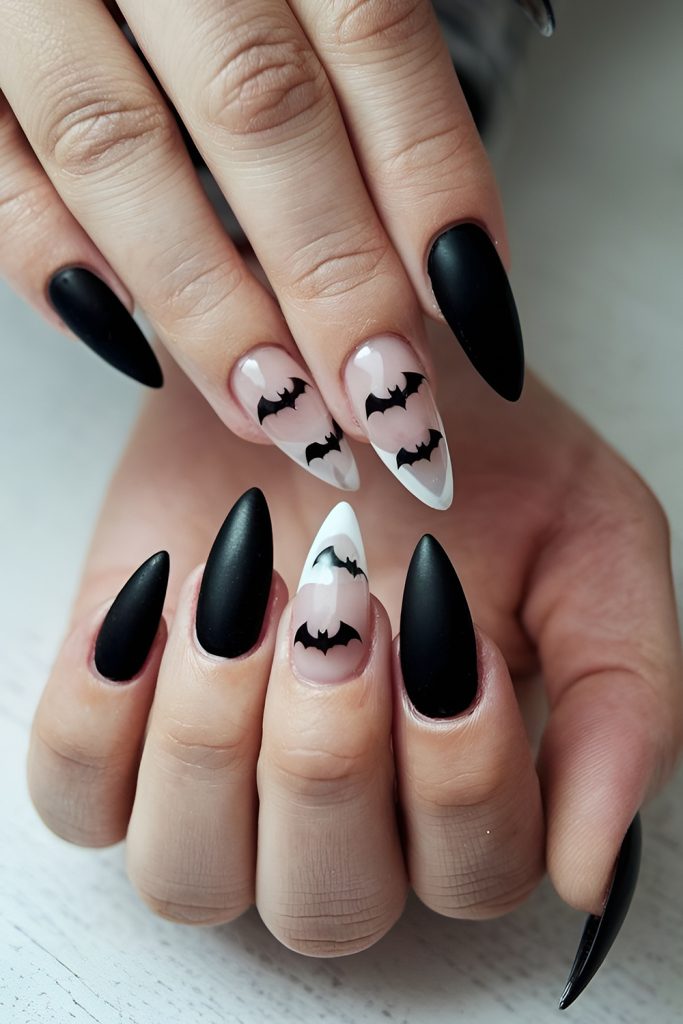
6. Matte black with glitter bats
A matte black base with tiny glittery bats.
Simple, dramatic and stylish.
Difficulty: easy with stickers, medium freehand.
Best nail shape: coffin or almond.
Pro tip: holographic glitter makes the bats catch the light.
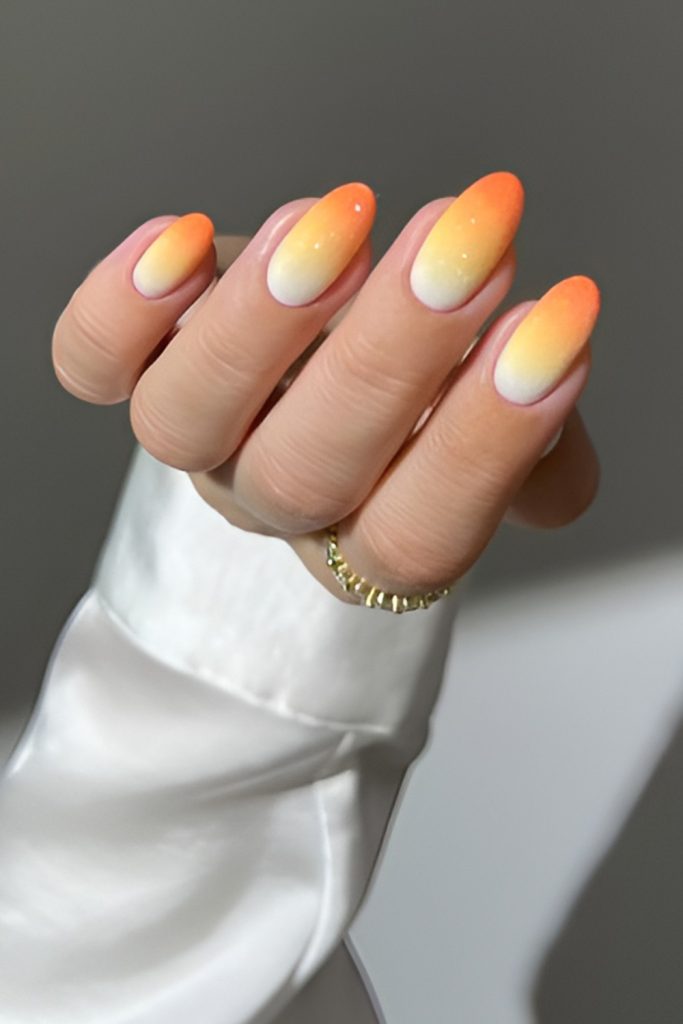
7. Candy corn gradient
Yellow, orange and white blended from base to tip.
It’s the classic candy, turned into a soft gradient.
Difficulty: medium.
Best nail shape: medium to long.
Pro tip: use a makeup sponge to blend. Dab, don’t swipe.
8. Witch hats and broomsticks
Tiny witch hats and brooms over black or deep purple, with silver stars.
Difficulty: medium.
Best nail shape: almond.
Pro tip: use this as an accent on one or two nails only.
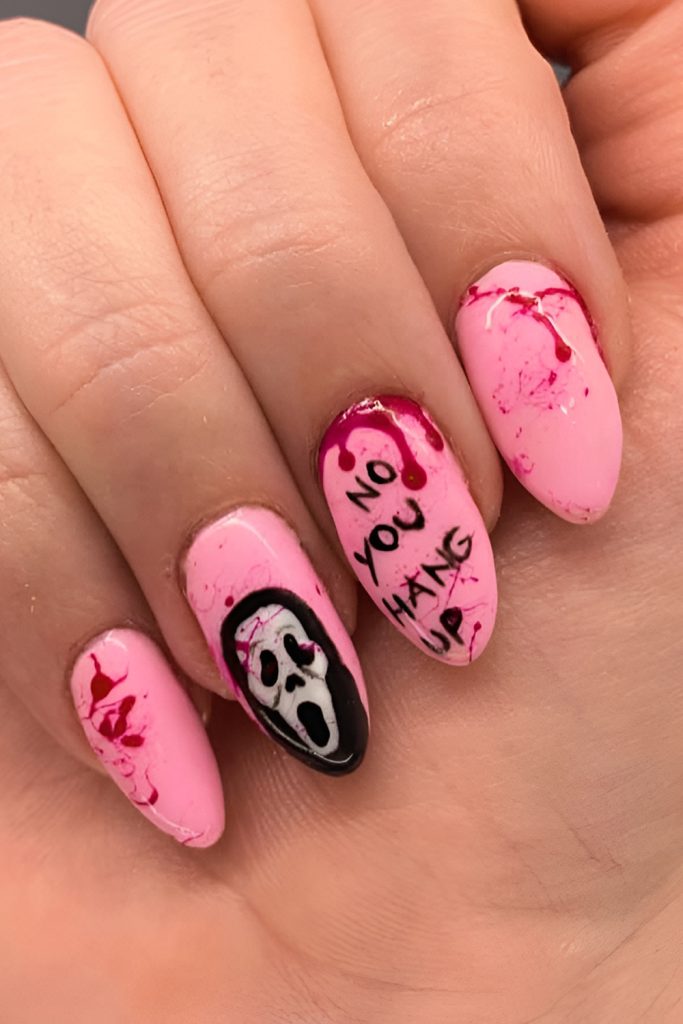
9. Pink nails with eyeballs
Soft pink polish with little cartoon eyeballs.
Girly and a bit gross, in the best way.
Difficulty: medium.
Best nail shape: any.
Pro tip: give each eyeball a different colored iris.
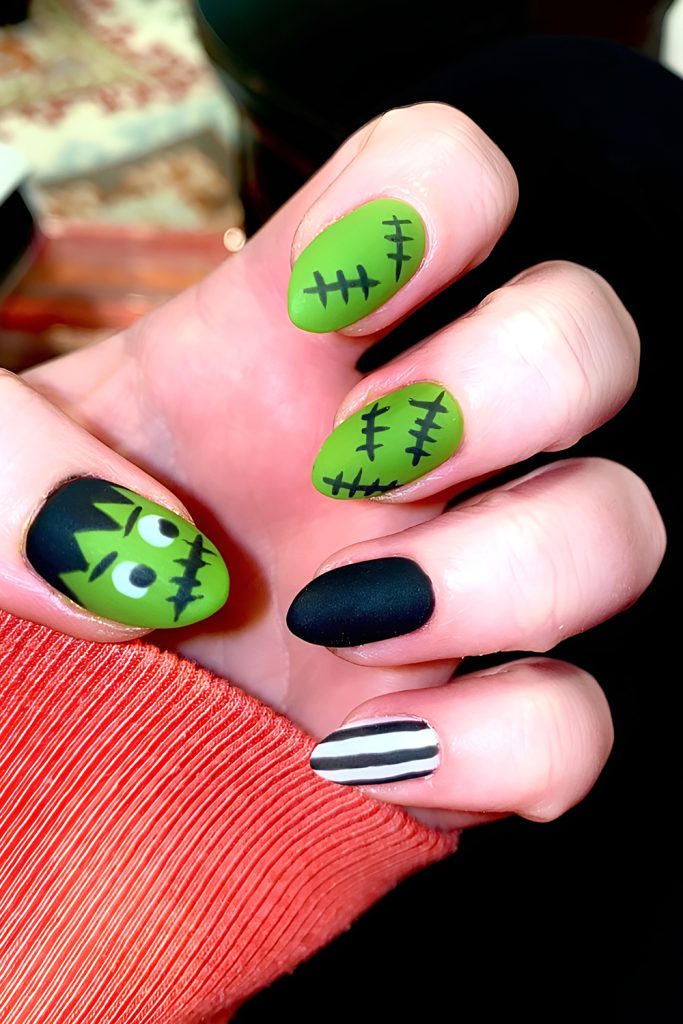
10. Frankenstein green
Pastel or neon green with black stitches across the nails.
Add a tiny happy Frankenstein face on your accent nail.
Difficulty: easy to medium.
Best nail shape: square.
Pro tip: square nails make the “Frankenstein head” shape look even better.
11. Glitter purple with crescent moons
Shimmery violet polish with little silver or gold moons and stars.
Difficulty: easy.
Best nail shape: any.
Pro tip: press on a moon-shaped nail sticker if freehand feels tricky.
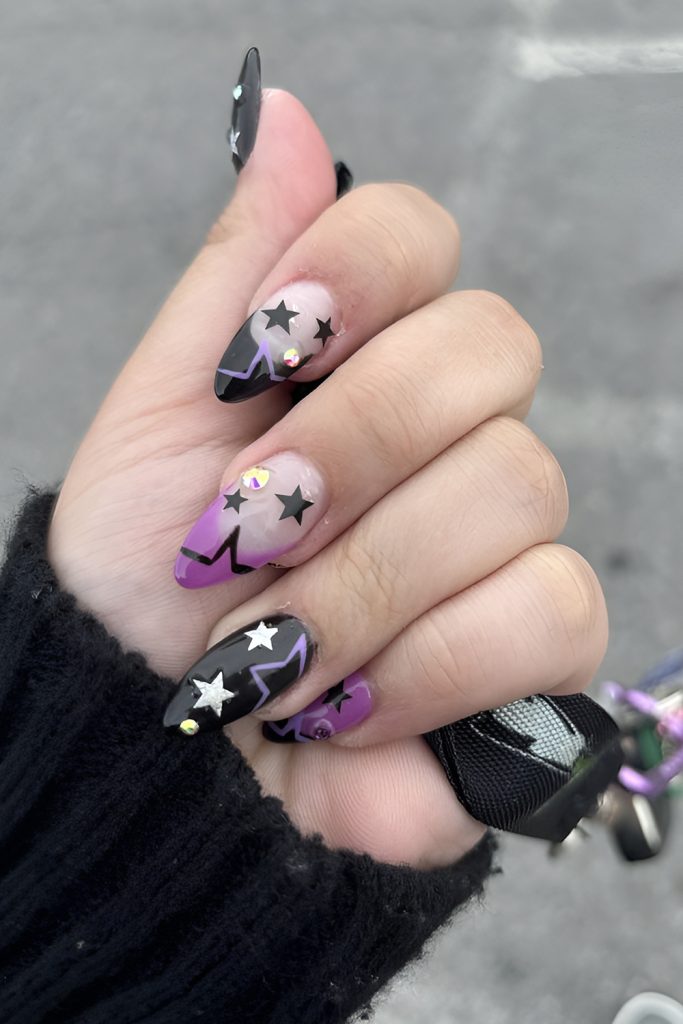
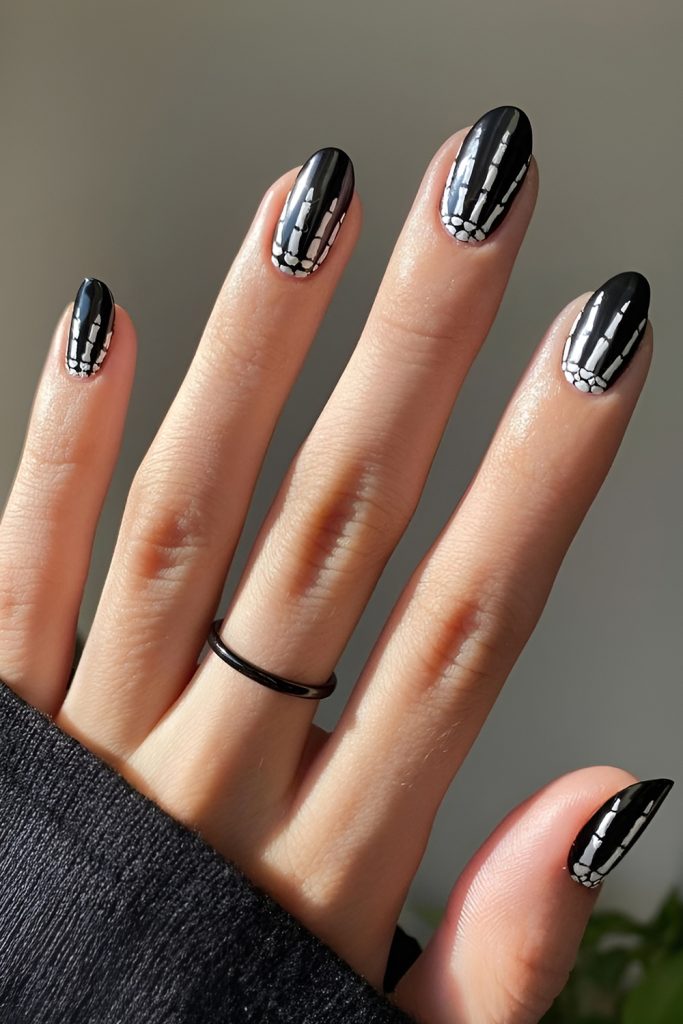
12. Skeleton hand nails
Black nails with white bone details painted on each finger.
Difficulty: medium.
Best nail shape: long, so the bones have room.
Pro tip: do simple outlines, not realistic bones. It looks cuter.
Halfway there. Number 13 is up next, and it’s the showstopper.
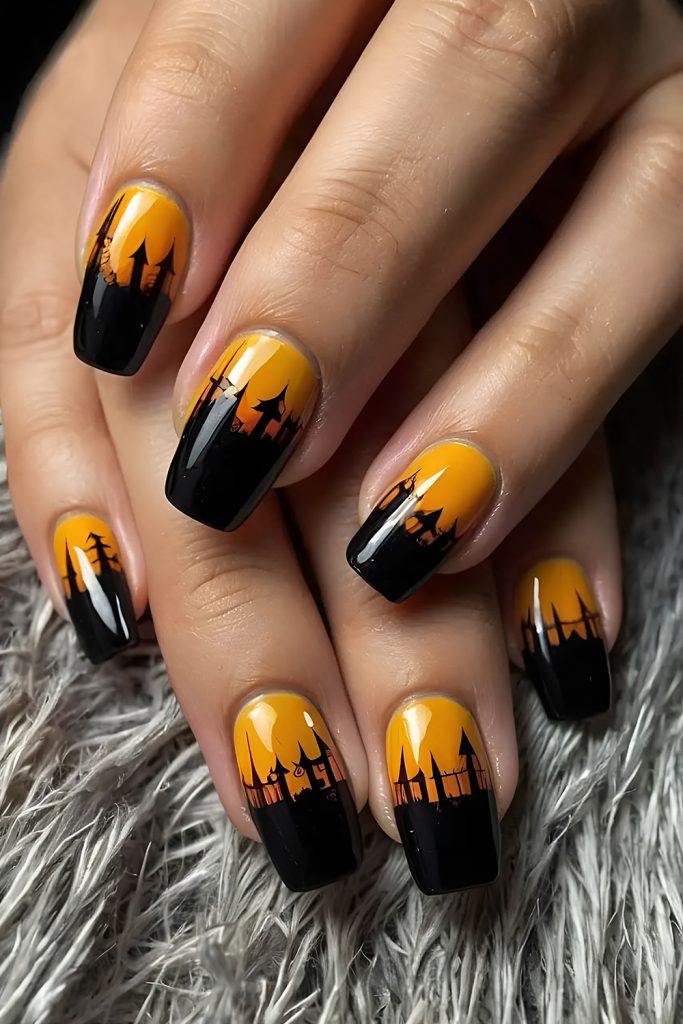
13. Haunted house scenes
Here’s the one people grab your hand to see.
A midnight blue or black base with tiny house silhouettes and glowing yellow windows. Add bats, a moon and bare trees.
Each nail tells part of the story.
Difficulty: hard.
Best nail shape: long almond or coffin.
Pro tip: paint the yellow windows first, then the black house around them.
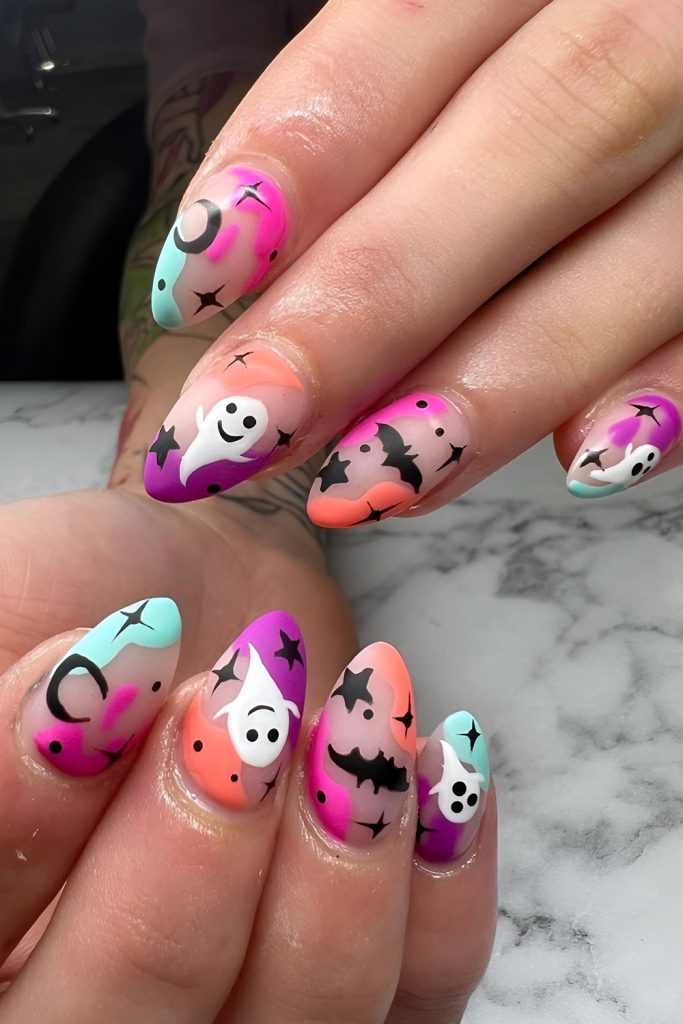
14. Pastel candy nails
Pastel pink, blue, orange and yellow with swirls and lollipops.
Tuck in a tiny bat or pumpkin to keep it Halloween.
Difficulty: medium.
Best nail shape: short to medium.
Pro tip: a thick glossy top coat gives it that “hard candy” shine.
15. Cute vampire nails
A red base with black tips and little red drips, plus a tiny bat or fang.
Difficulty: medium.
Best nail shape: stiletto or almond.
Pro tip: use a dotting tool to pull the drips down.
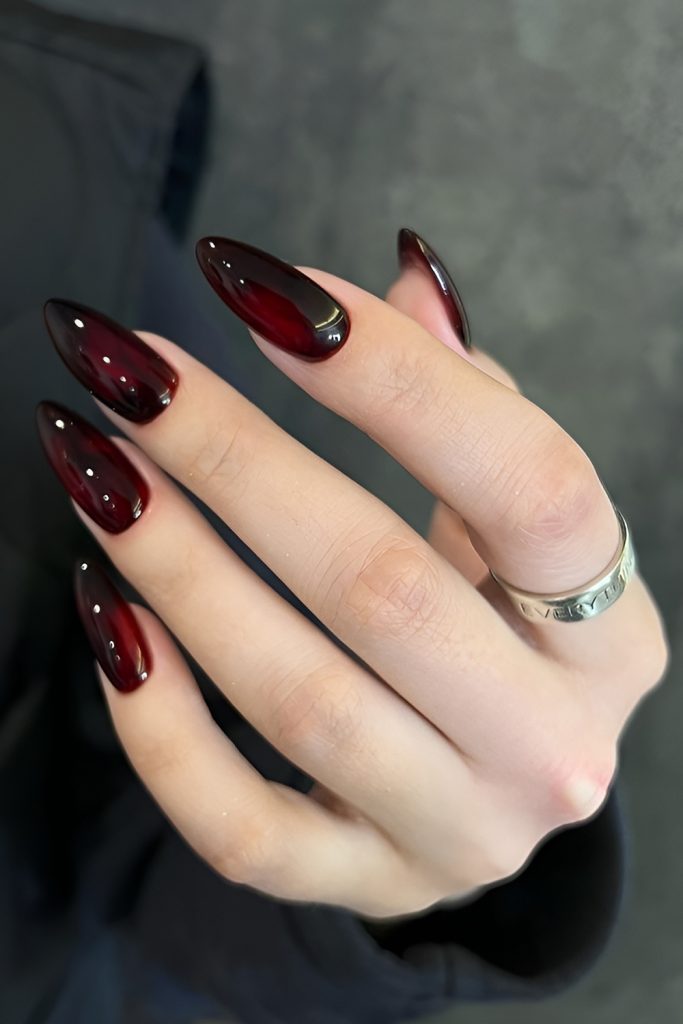
16. Starry night with witch silhouettes
A dark blue to purple gradient with white stars, a crescent moon and a flying witch.
Difficulty: medium to hard.
Best nail shape: long.
Pro tip: put the witch on your ring finger and keep the others starry.
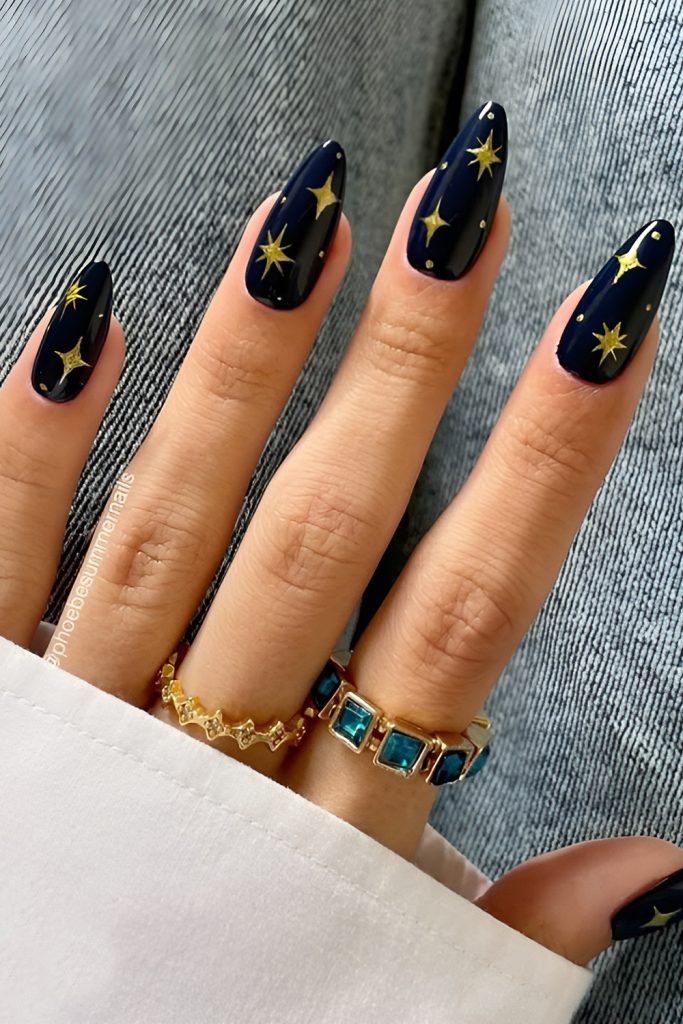
17. Smiling jack-o’-lanterns
Pastel orange nails with happy, goofy pumpkin faces.
Difficulty: easy.
Best nail shape: round.
Pro tip: great for kids too.
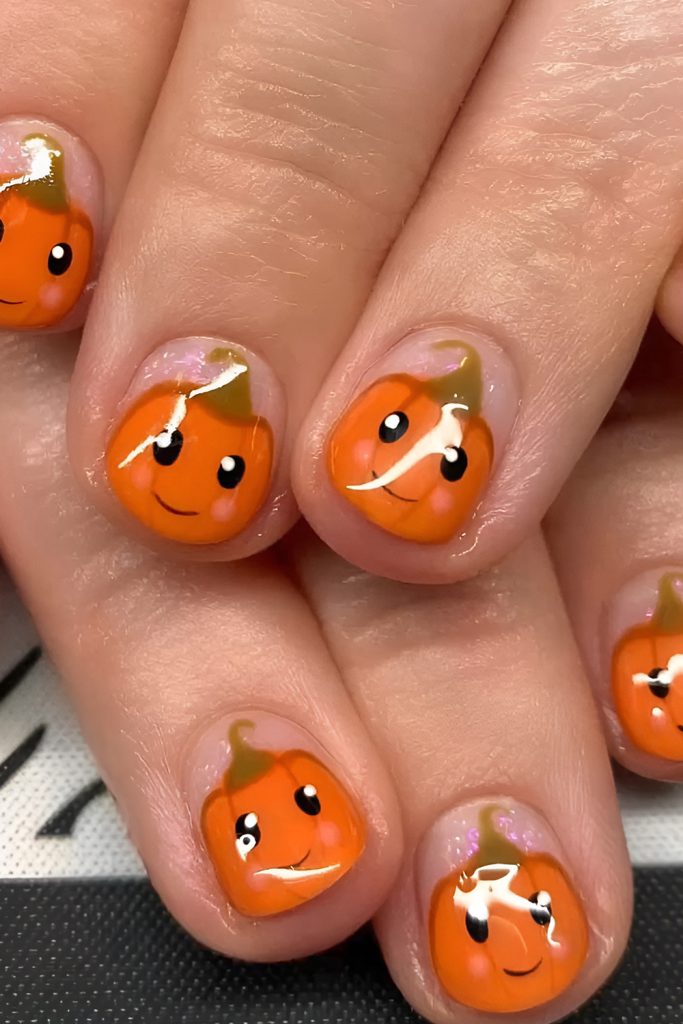
18. Black and white stripes with symbols
Black and white stripes, with a tiny bat, ghost or skull on top.
Difficulty: medium.
Best nail shape: square or squoval.
Pro tip: use striping tape for perfectly straight lines.
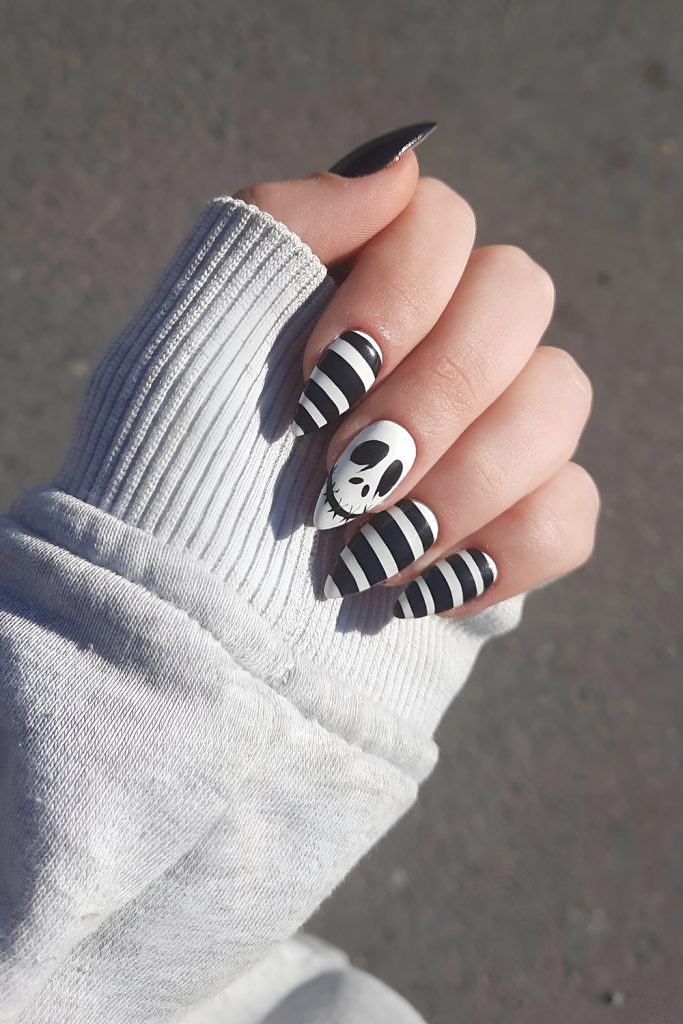
19. Tarot card nails
A black, navy or burgundy base with small gold symbols like stars, moons and suns.
Difficulty: medium.
Best nail shape: long rectangle or coffin.
Pro tip: gold foil pen makes the symbols pop.
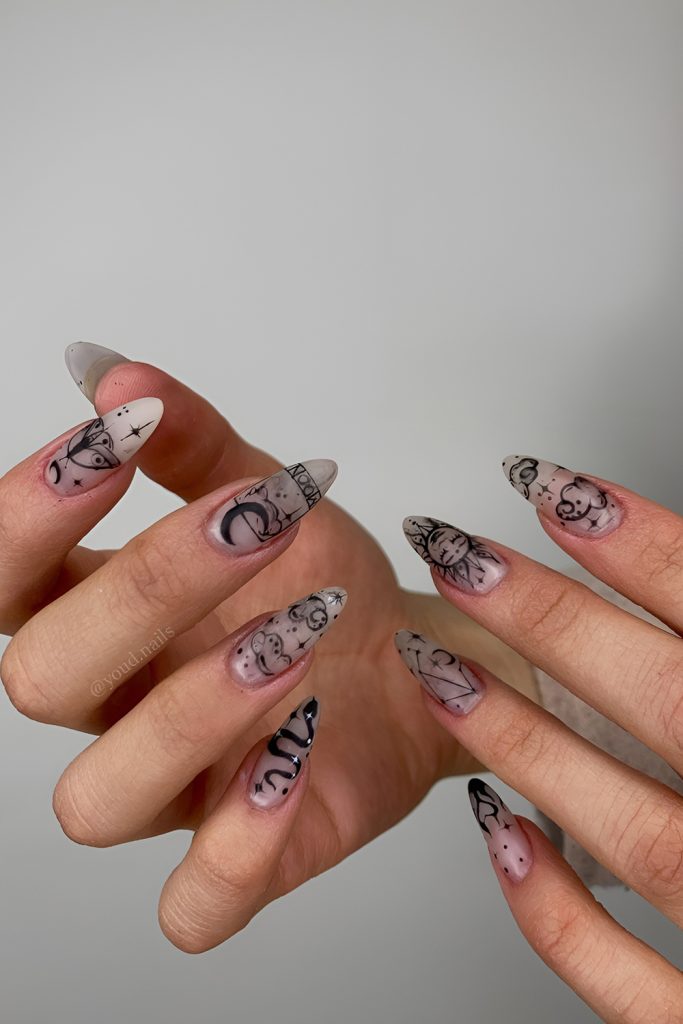
20. Mismatched Halloween nails
A different design on every nail: a ghost, a pumpkin, a bat, a star, a candy.
Keep one color palette to tie it together.
Difficulty: easy to medium.
Best nail shape: any.
Pro tip: perfect when you can’t pick just one design.
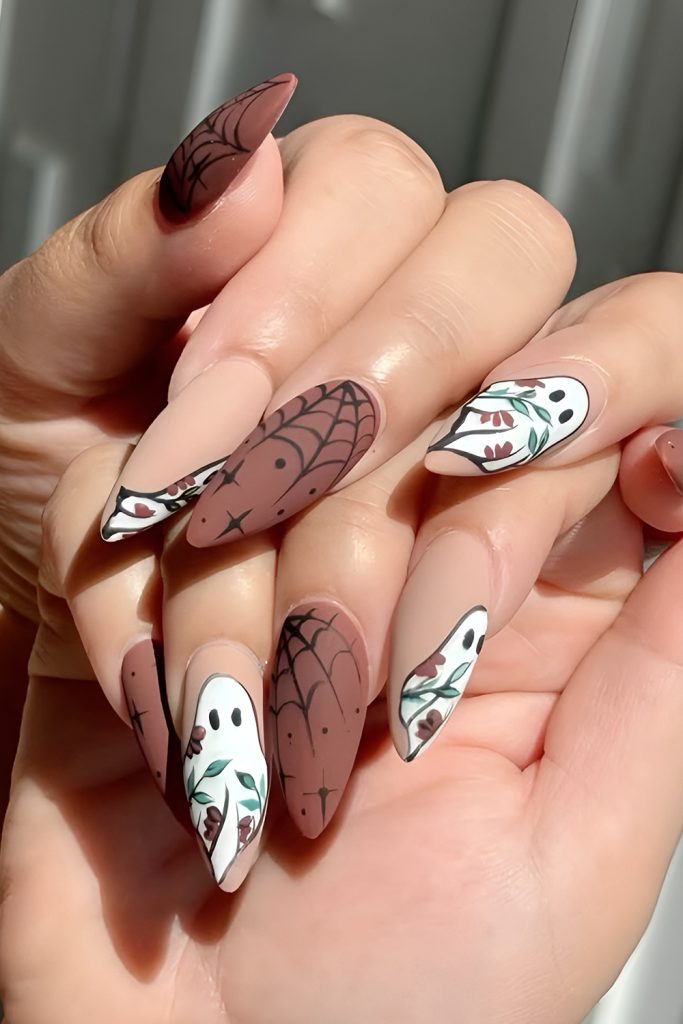
21. Soft ombre with bats
Lavender to black, or orange to white, with little flying bats on top.
Difficulty: medium.
Best nail shape: almond or coffin.
Pro tip: place the bats in a line, like they’re flying across your hand.
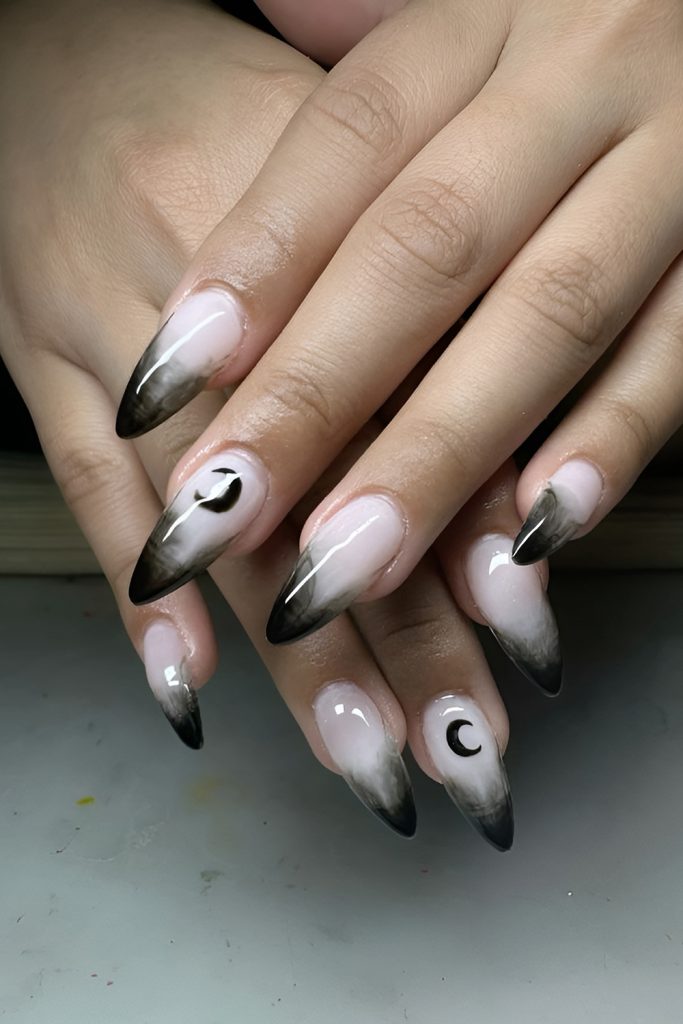
22. Pastel zombie nails
Pastel green with cartoon stitches, eyes and scars.
Difficulty: medium.
Best nail shape: any.
Pro tip: a matte top coat makes it look extra quirky.
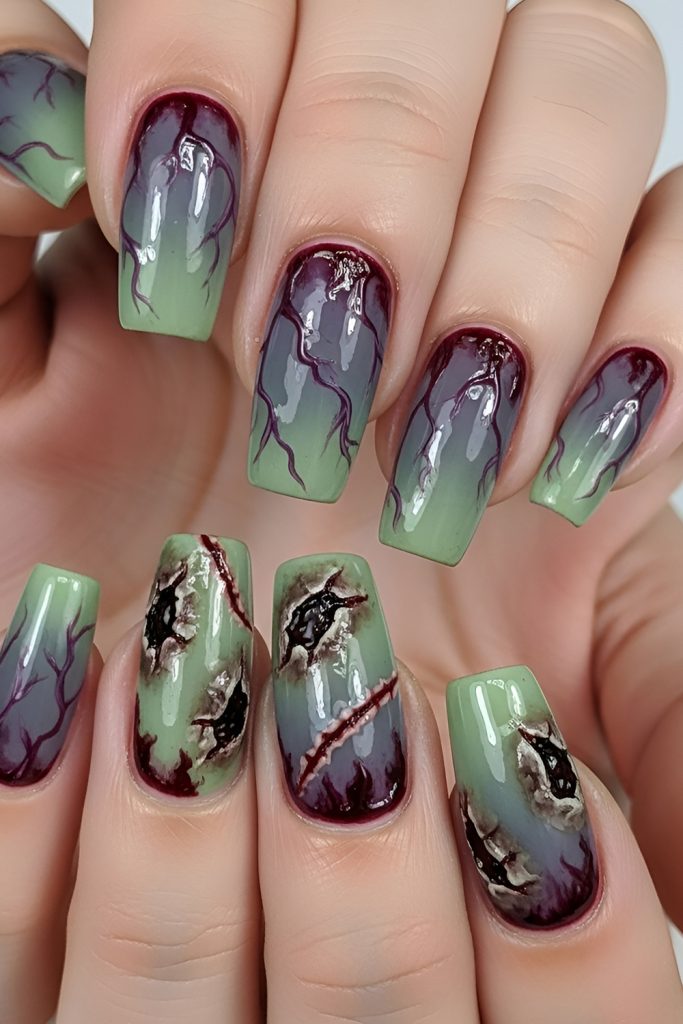
23. Glitter tips with Halloween motifs
A nude or pastel base with glitter fading up from the tips. Add a tiny pumpkin or bat on top.
Difficulty: easy.
Best nail shape: any.
Pro tip: apply glitter only on the top third and dab upward for a soft fade.

24. Peek-a-boo ghosts
Here’s the easiest design on the list.
Matte black or nude nails with tiny white ghost faces peeking from the corner of the nail.
Just one white half-circle and two black dots.
Difficulty: very easy.
Best nail shape: short.
Pro tip: vary the expressions: surprised, sleepy, smiling.
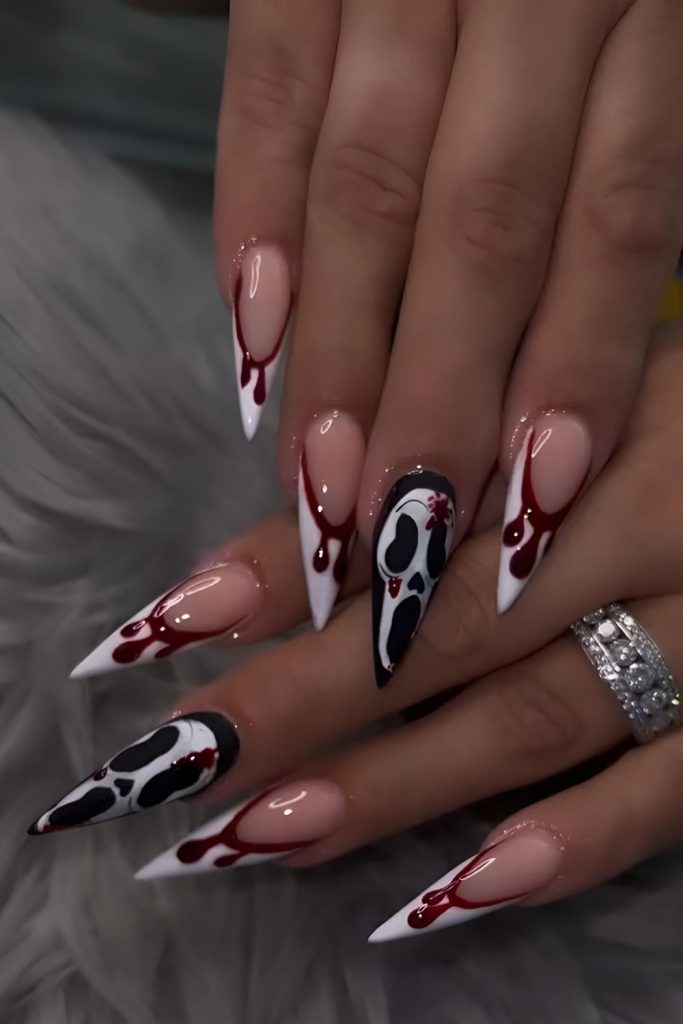
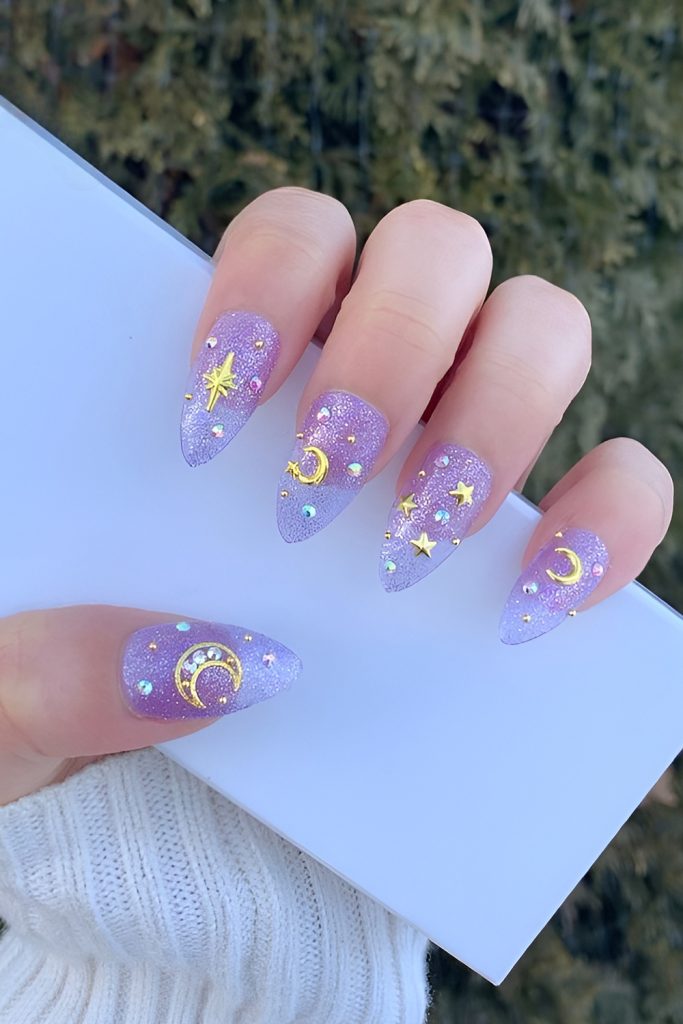
25. Pastel witchy nails with crystals
Pale purple, pink or mint with silver crystals, moons and sparkles.
Difficulty: easy to medium.
Best nail shape: almond.
Pro tip: add tiny rhinestones for the crystals.
Frequently asked questions
What are the easiest Halloween nails to do at home?
Peek-a-boo ghosts, glow-in-the-dark ghosts and pumpkin patch nails. All three use simple shapes and dots.
What Halloween nails are trending in 2026?
Chrome finishes, tiny 3D charms and “quiet” Halloween designs (nude bases with one small spooky accent) are all popular this year.
How do I make nail art last longer?
Use a base coat, let each layer dry fully and seal with a top coat. Reapply top coat every two to three days.
Can I do these on short nails?
Yes. Black cats, pastel ghosts, peek-a-boo ghosts and jack-o’-lanterns look great on short nails.
Get your nails Halloween-ready
You don’t need a salon appointment to have the cutest nails at the party.
Pick one design, grab your dotting tool and have fun with it.
Want more ideas? These spooky yet sweet Halloween nails and these scary good Halloween nails are full of inspo.
Need a costume to match? Try these Halloween costumes for women that totally slay.
Related Post