

Please note that we do not create all the designs featured in this article. Our primary focus is to curate and collect a diverse range of design collections and products to inspire and share with our audience. While we do not claim ownership or take full credit for the original designs and images, we occasionally make minor adjustments, particularly in home decor and fashion items, to present them more effectively. Additionally, we may produce and edit images to enhance their quality and composition before sharing them on our Pinterest page or website. For the design work we do on these creative designs, we also include our logo on the images shared on Pinterest and our website. This helps our audience recognize that these designs have been published on insiderlyfe.com!
Verdict in one breath: choose dip powder if you want a sturdy, no lamp manicure that lasts about 3 to 4 weeks, and choose gel polish if you want a thinner, more flexible finish with a bigger range of effects that lasts about 2 to 3 weeks.
Both look glossy and both survive dishes, keyboards and a very questionable relationship with opening cans. The difference shows up on day 20, and again on removal day, which is when most people discover what they actually paid for.
This guide covers the real costs, what each service feels like on your nails, who should skip which one, and a script to read to your nail tech. If you only remember one thing, make it number 5, the part about layers, because thickness is where most nail damage starts.
Prices below are rough ranges: around $40 to $80 for dip and $35 to $70 for gel in the US, or about £30 to £50 and £25 to £45 in the UK. Salon level and nail art change them a lot.
Dip vs gel at a glance
| Dip powder | Gel polish | |
|---|---|---|
| How it is applied | Base glue, dipped in coloured powder, then an activator | Thin polish layers cured under an LED or UV lamp |
| Lamp needed? | No | Yes |
| Lasts about | 3 to 4 weeks | 2 to 3 weeks |
| Rough cost (US) | Around $40 to $80 | Around $35 to $70 |
| Rough cost (UK) | Around £30 to £50 | Around £25 to £45 |
| Feel on the nail | Thicker and sturdier | Thinner and more flexible |
| Nail art | Best for solid colours, glitter and ombre | Best for detail, chrome and hand painted art |
| Removal | Soak in 100 percent acetone | Soak in 100 percent acetone |
| Biggest catch | Double dipping and thick layers | Lamp cure and acetone removal |
1. Short natural nails: the honest starting point
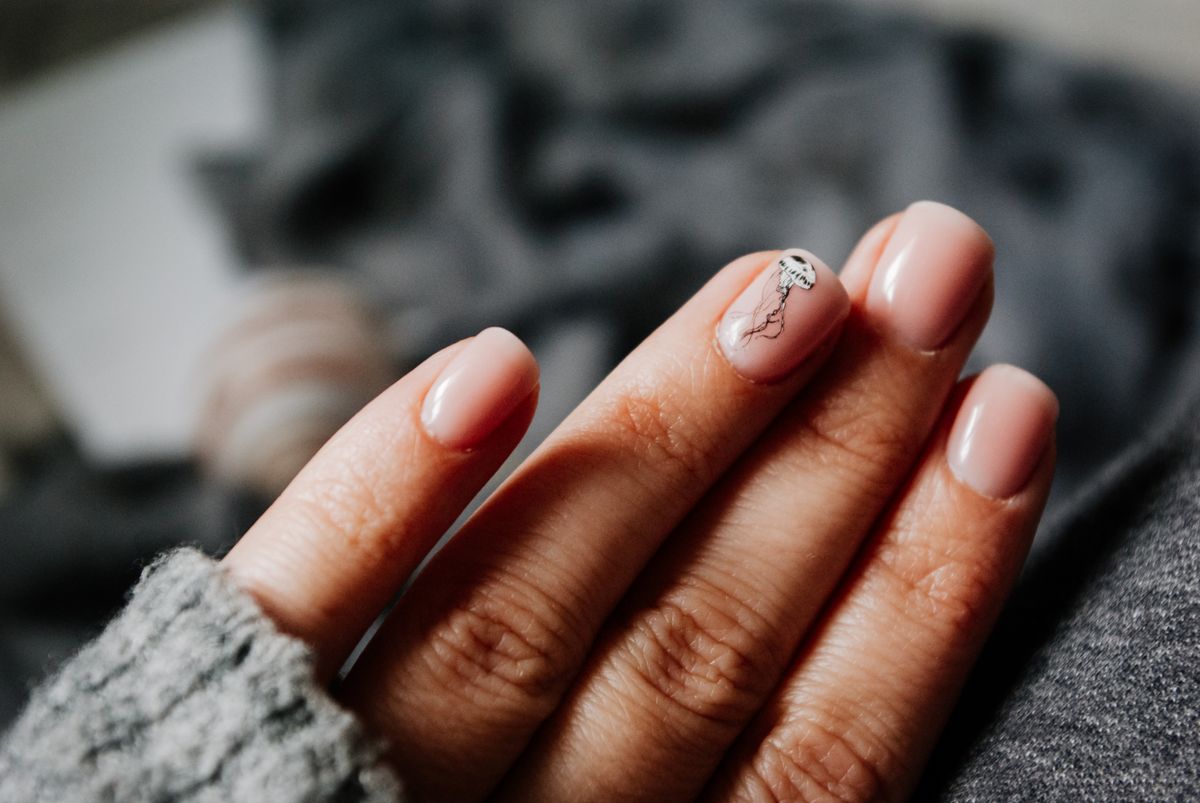
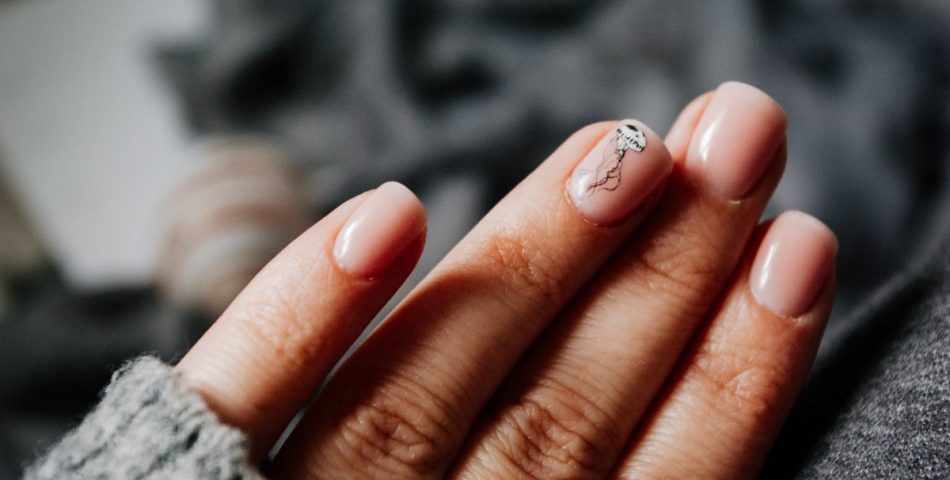
Before comparing anything, look at your own nails. Short, natural nails like these can wear either service well, and a clean, bare nail is a good place to start.
Gel polish is the lighter option here. It follows the natural curve of a short nail and rarely feels bulky, which matters if you type all day.
Dip is a fine choice too, particularly if your nails tend to peel at the tips and you want a stiffer shell for a few weeks. Just ask your tech to keep the layers slim.
Best for: short nails, first timers and anyone who likes a light, natural look.
Upkeep: Both need a nourishing oil on the cuticles every night. Do not skip it.
Styling tip: Ask for a neutral shade first, so chips and growth are less obvious on day 15.
2. The filing step: prep decides how long it lasts
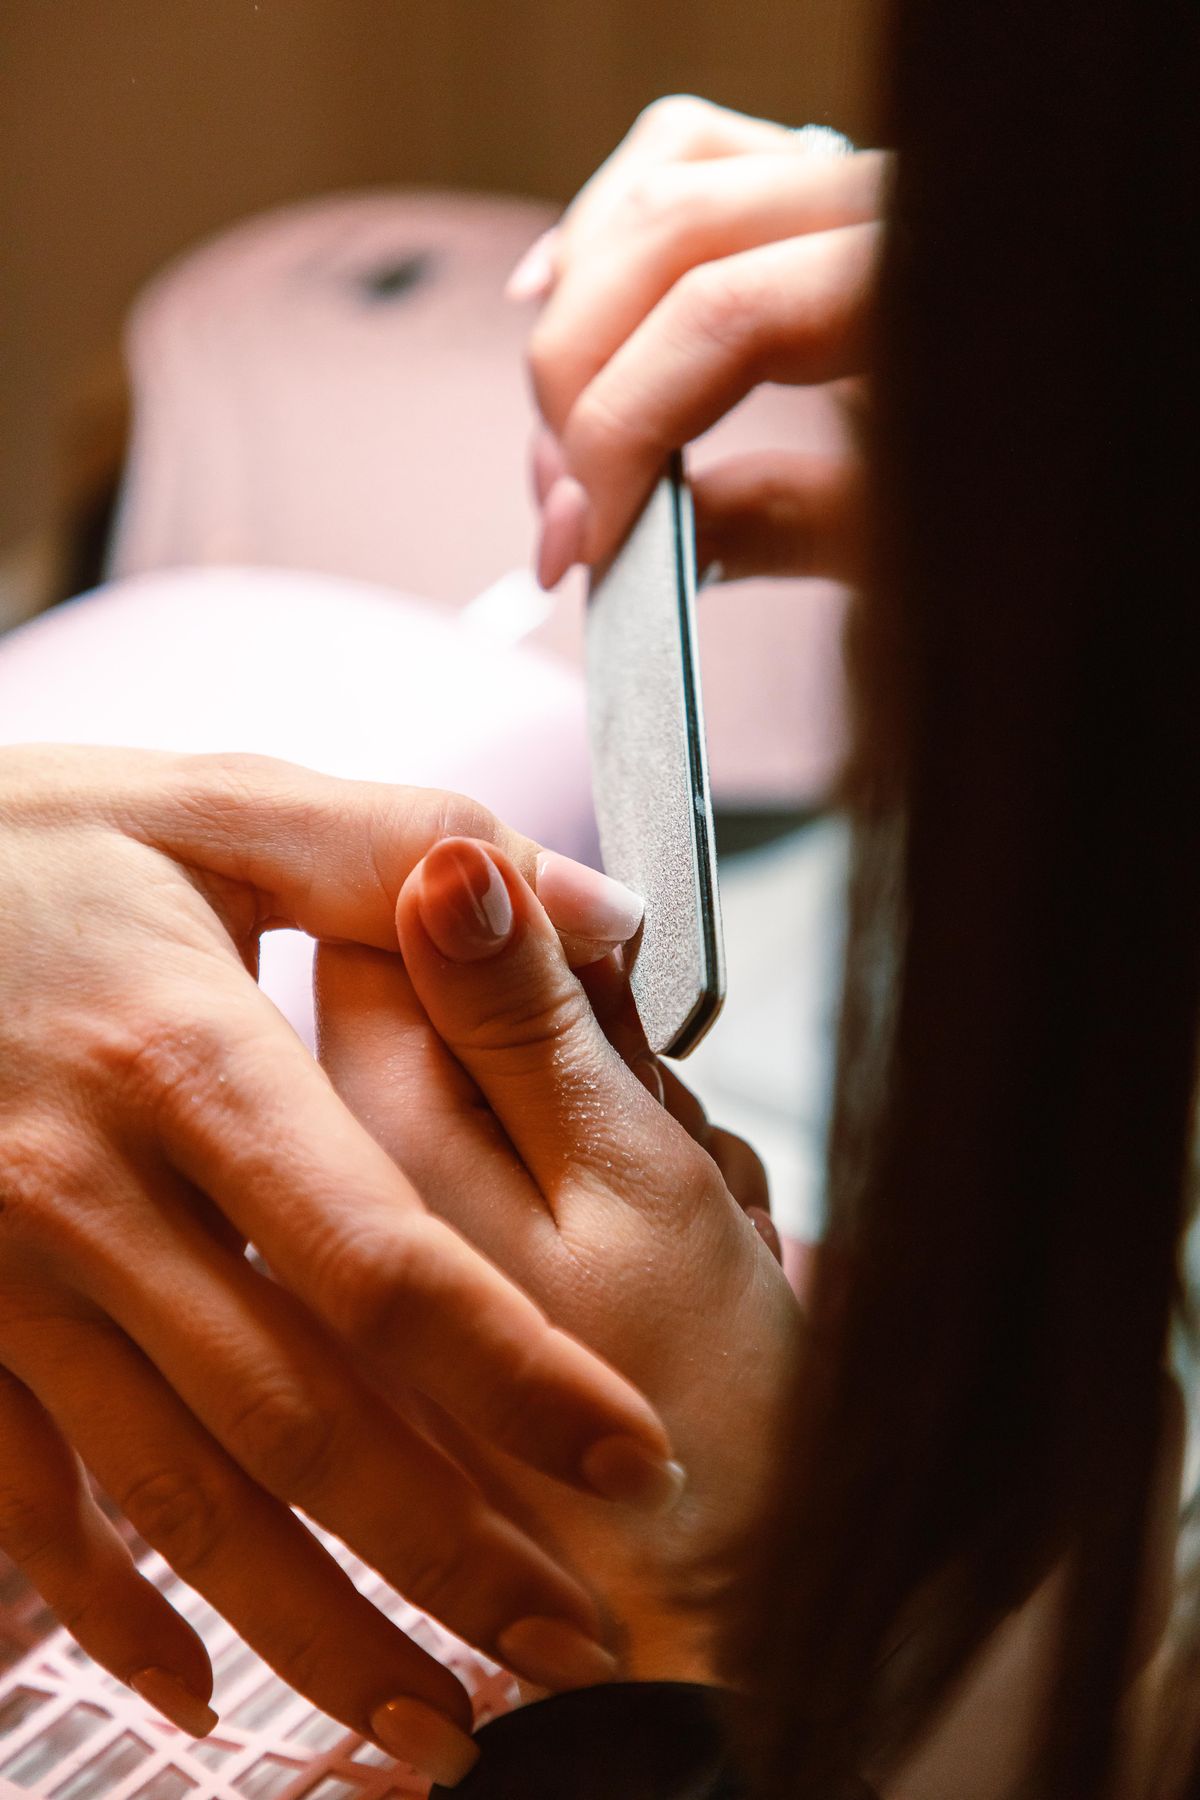
Most manicures fail at the prep stage, not at the polish. Light shaping, a clean dry nail and careful, gentle buffing are what let either system stay put.
Too much filing thins the nail plate, though, and that is where trouble starts. If your tech grinds hard on the surface, say so politely. You want the shine removed, not the nail.
My opinion: a tech who spends five good minutes on prep is worth a bigger tip than one who rushes to the colour.
Best for: anyone who has had lifting or peeling in the past.
Upkeep: Keep nails short for the first week if you are prone to lifting, since long nails take more leverage on the edge.
Styling tip: Ask for a gentle buff only, with no heavy drilling on natural nails.
3. Gel under the lamp: the cure step
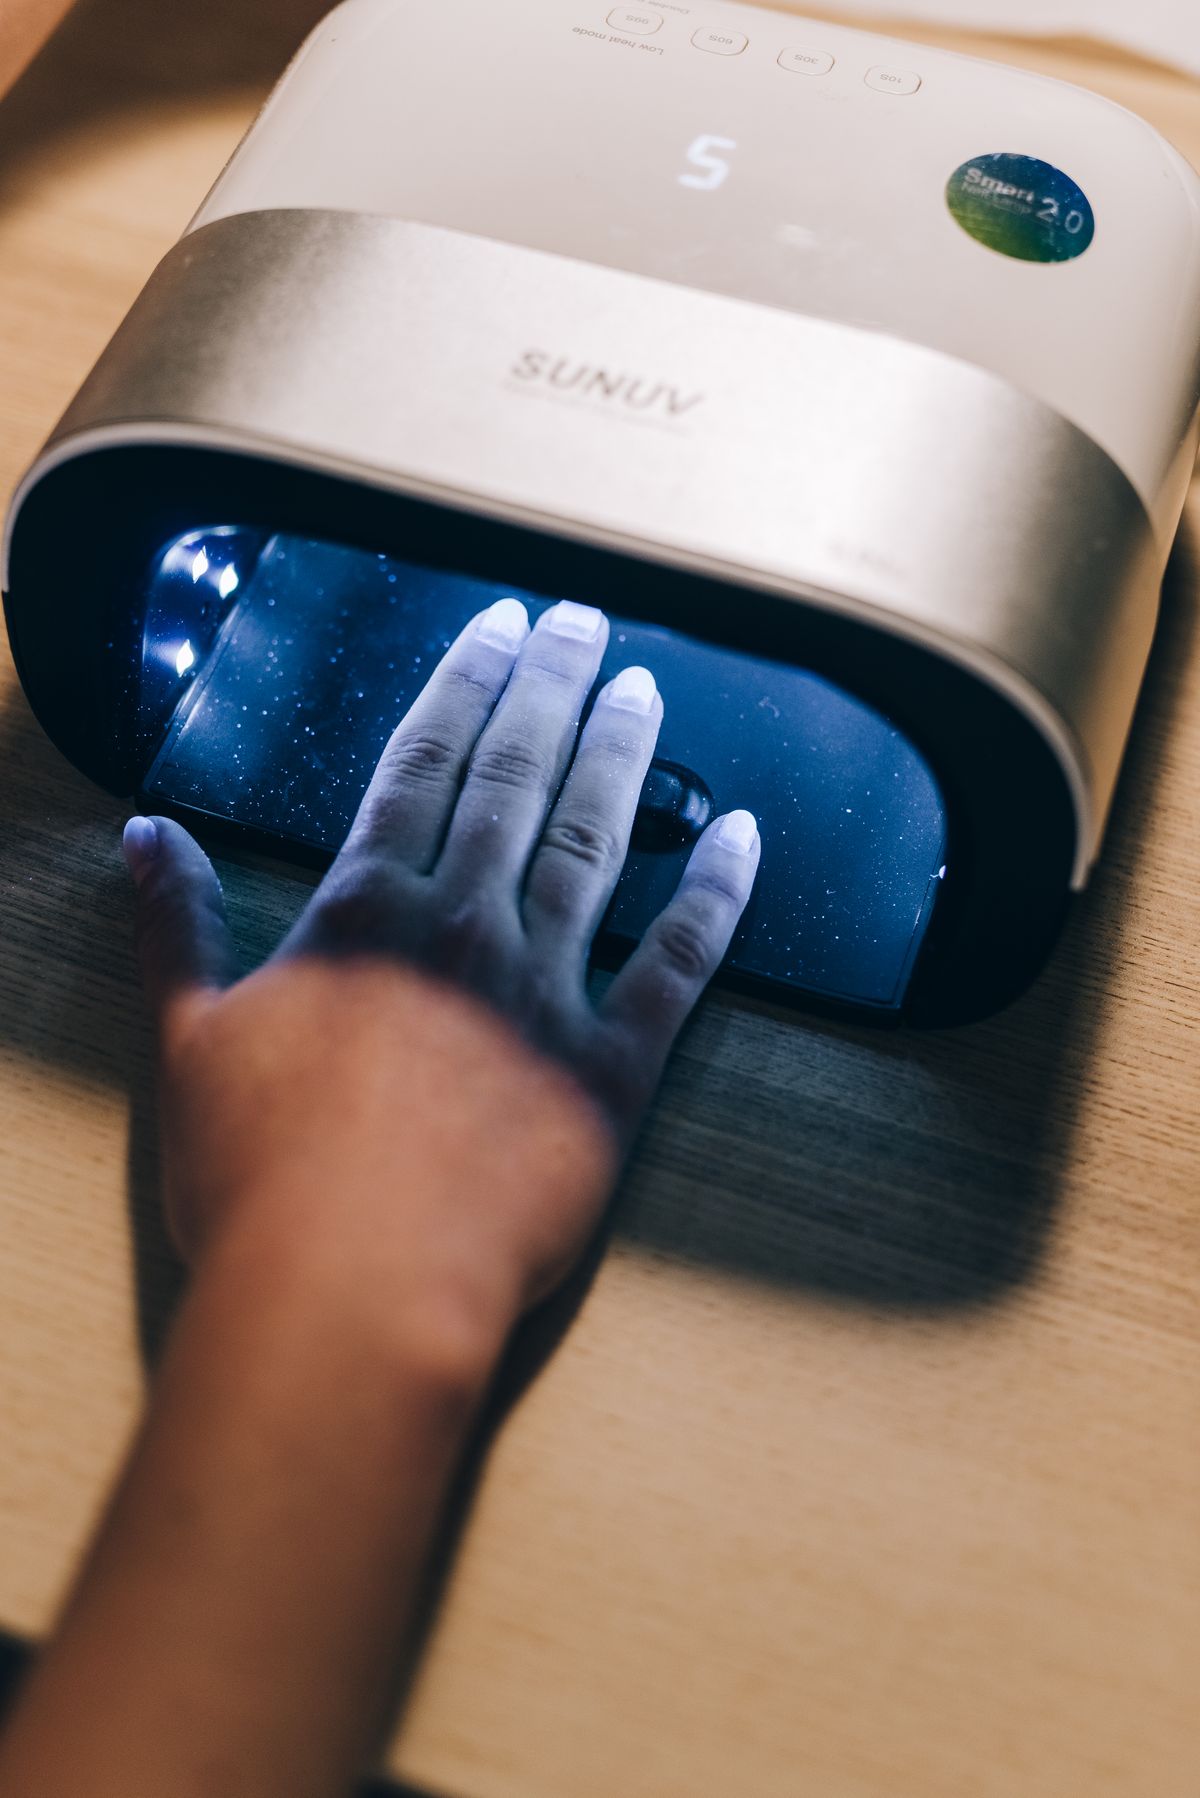
Gel polish does not dry, it cures. Each thin layer goes under an LED or UV lamp for a short time, which hardens it into a glossy finish that comes out ready to use.
That means no smudging when you leave the salon, which is a real perk if you are rushing out the door. Dip powder works without a lamp, so it suits people who dislike lamps or have a lamp heavy salon routine.
If lamp exposure worries you, ask your nail tech about their lamp type and and speak to a dermatologist if you have any skin concern.
Best for: people who want a thin, quick, fully cured finish.
Upkeep: Plan 2 to 3 weeks of wear and expect a bit of growth line near the cuticle by the end.
Styling tip: Bring your hands out of the lamp only when the tech says it is finished, to avoid tacky spots.
4. Choosing a tech: look for clean, careful work
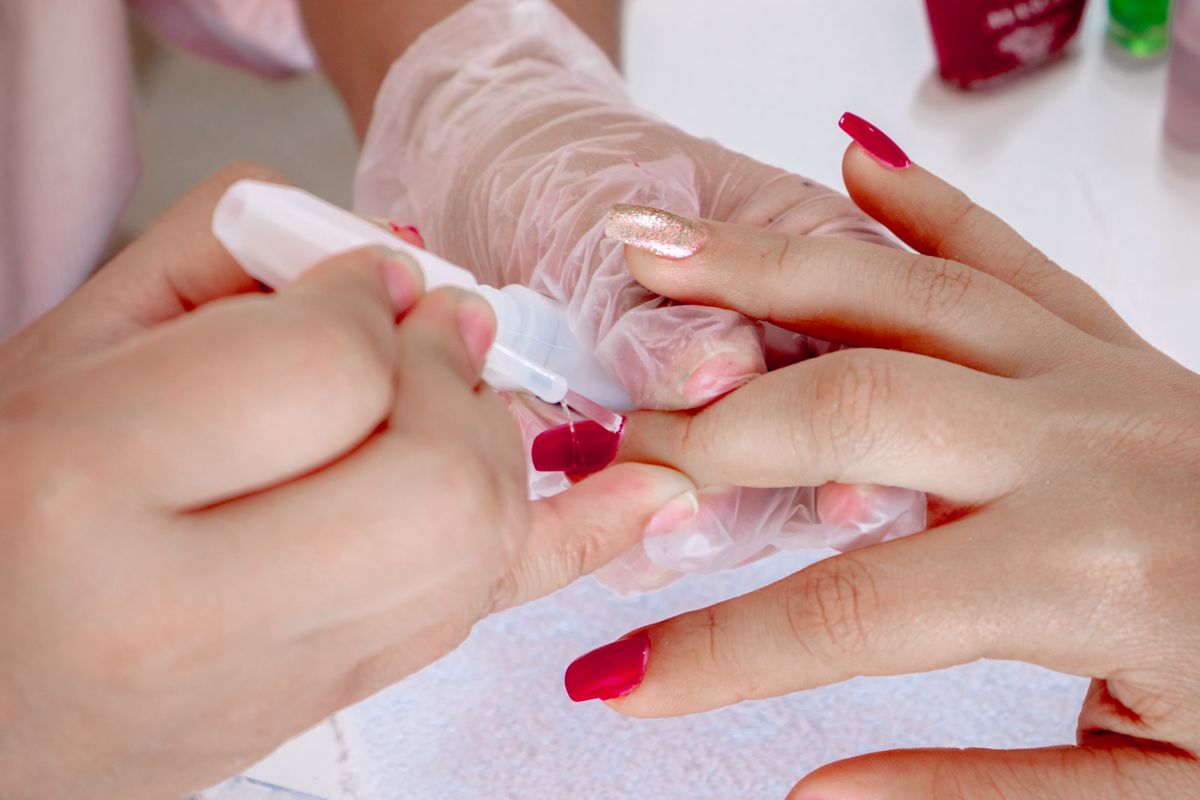
A good tech wears clean gloves, uses fresh files and works in a calm, tidy way. You can see all of this in the first two minutes, so use them.
For dip in particular, the American Academy of Dermatology warns against double dipping, where one jar of powder is used on many clients. Ask for powder poured into a separate container for you, or sprinkled over the nail.
Skip any salon that looks rushed, crowded or unwilling to answer a simple question about hygiene.
Best for: everyone, but especially dip fans.
Upkeep: Book the same tech again if you like their work. Your nails like consistency.
Styling tip: Ask about cuticle care before they start, and say clearly that you do not want them cut.
5. The base layer: thin is better
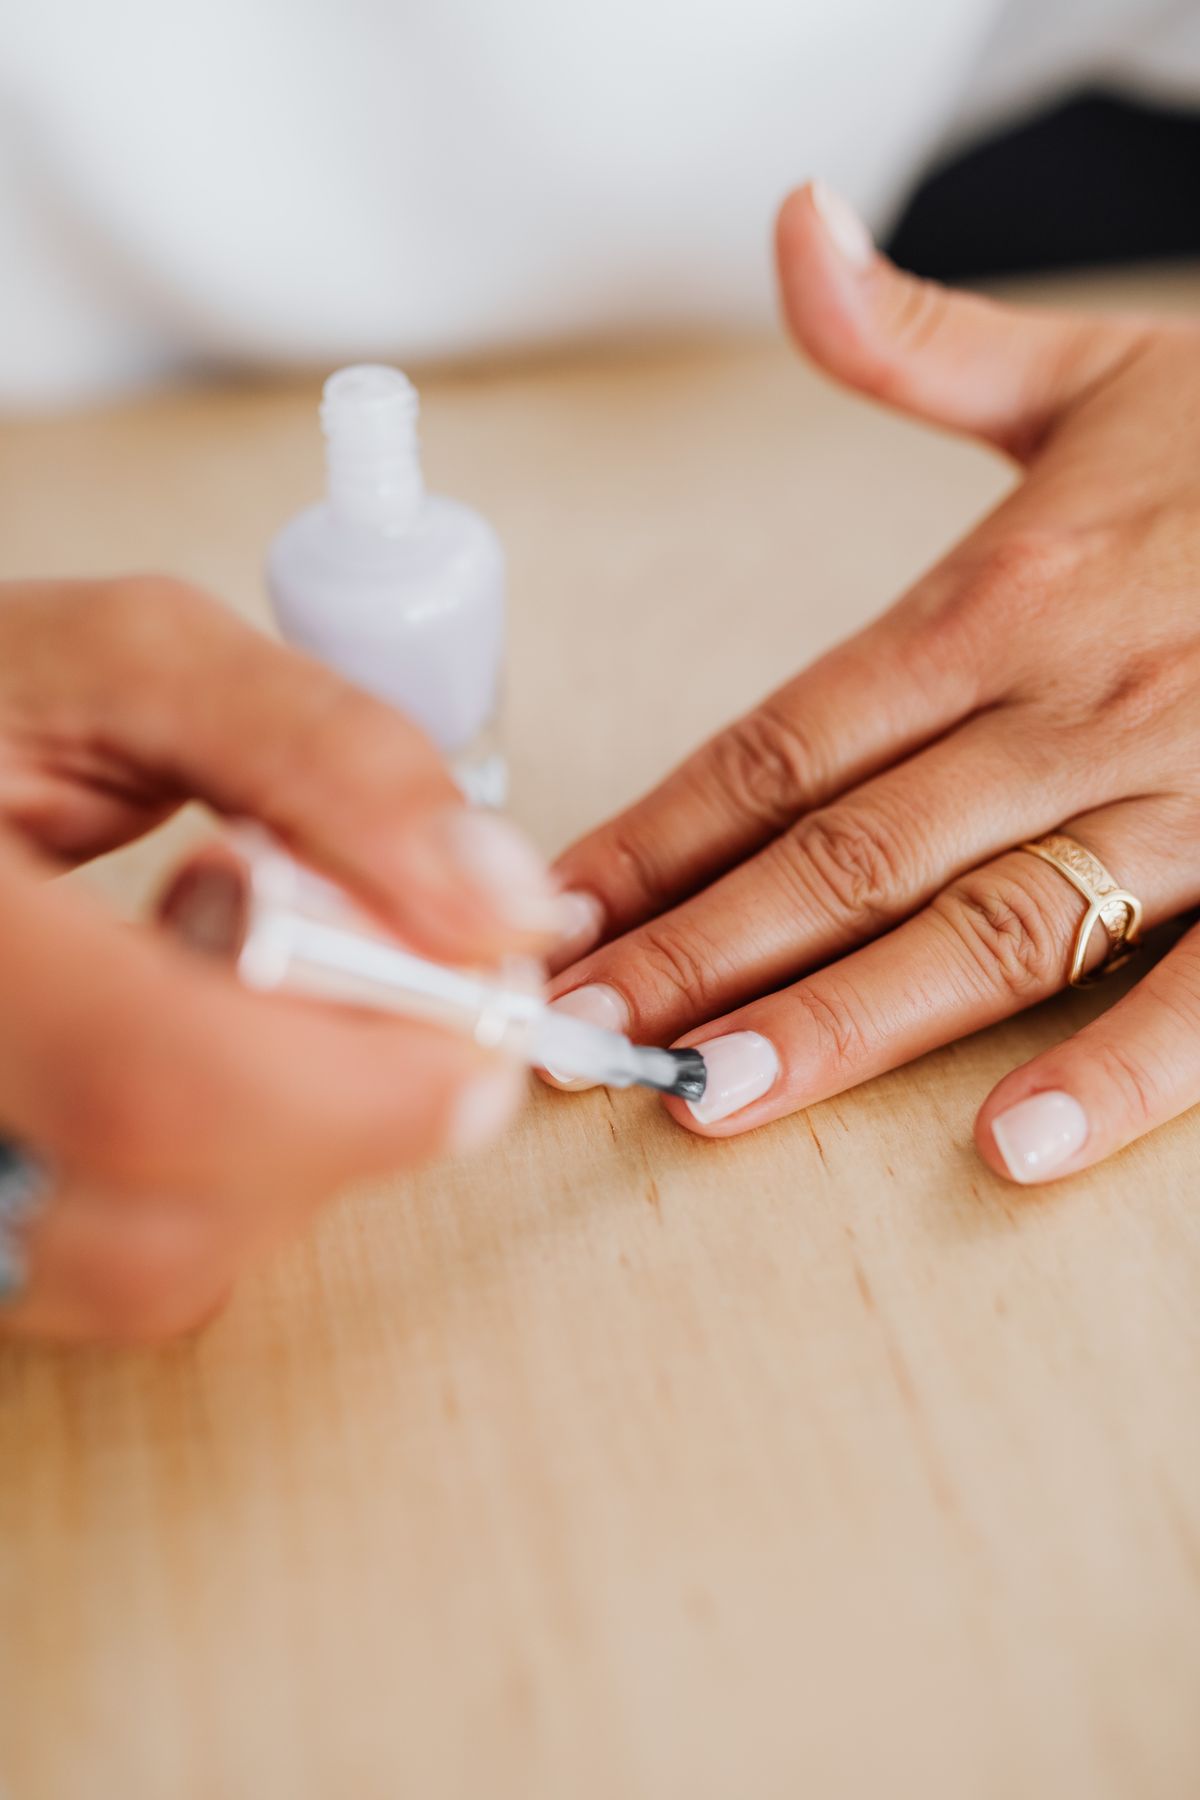
Here is the part most people miss: thickness. A thicker coat is stiffer and can lift or crack, and a bulky layer on a thin natural nail adds leverage that can bend it.
Gel is usually built from thin coats, while dip stacks base glue and powder layers. Neither is bad, but a skilled tech keeps both slim and even, with no flooding at the cuticle.
If your nails already bend or tear, ask for a thin application and a lighter shape. That one request changes how your nails feel by week two.
Best for: thin, flexible or easily bending natural nails.
Upkeep: Rebook at the first sign of lifting, rather than picking. Picking removes layers of the nail with it.
Styling tip: Ask the tech to keep polish off the skin so it does not lift at the edges.
6. Gloves, tools and cuticles: the safety checklist
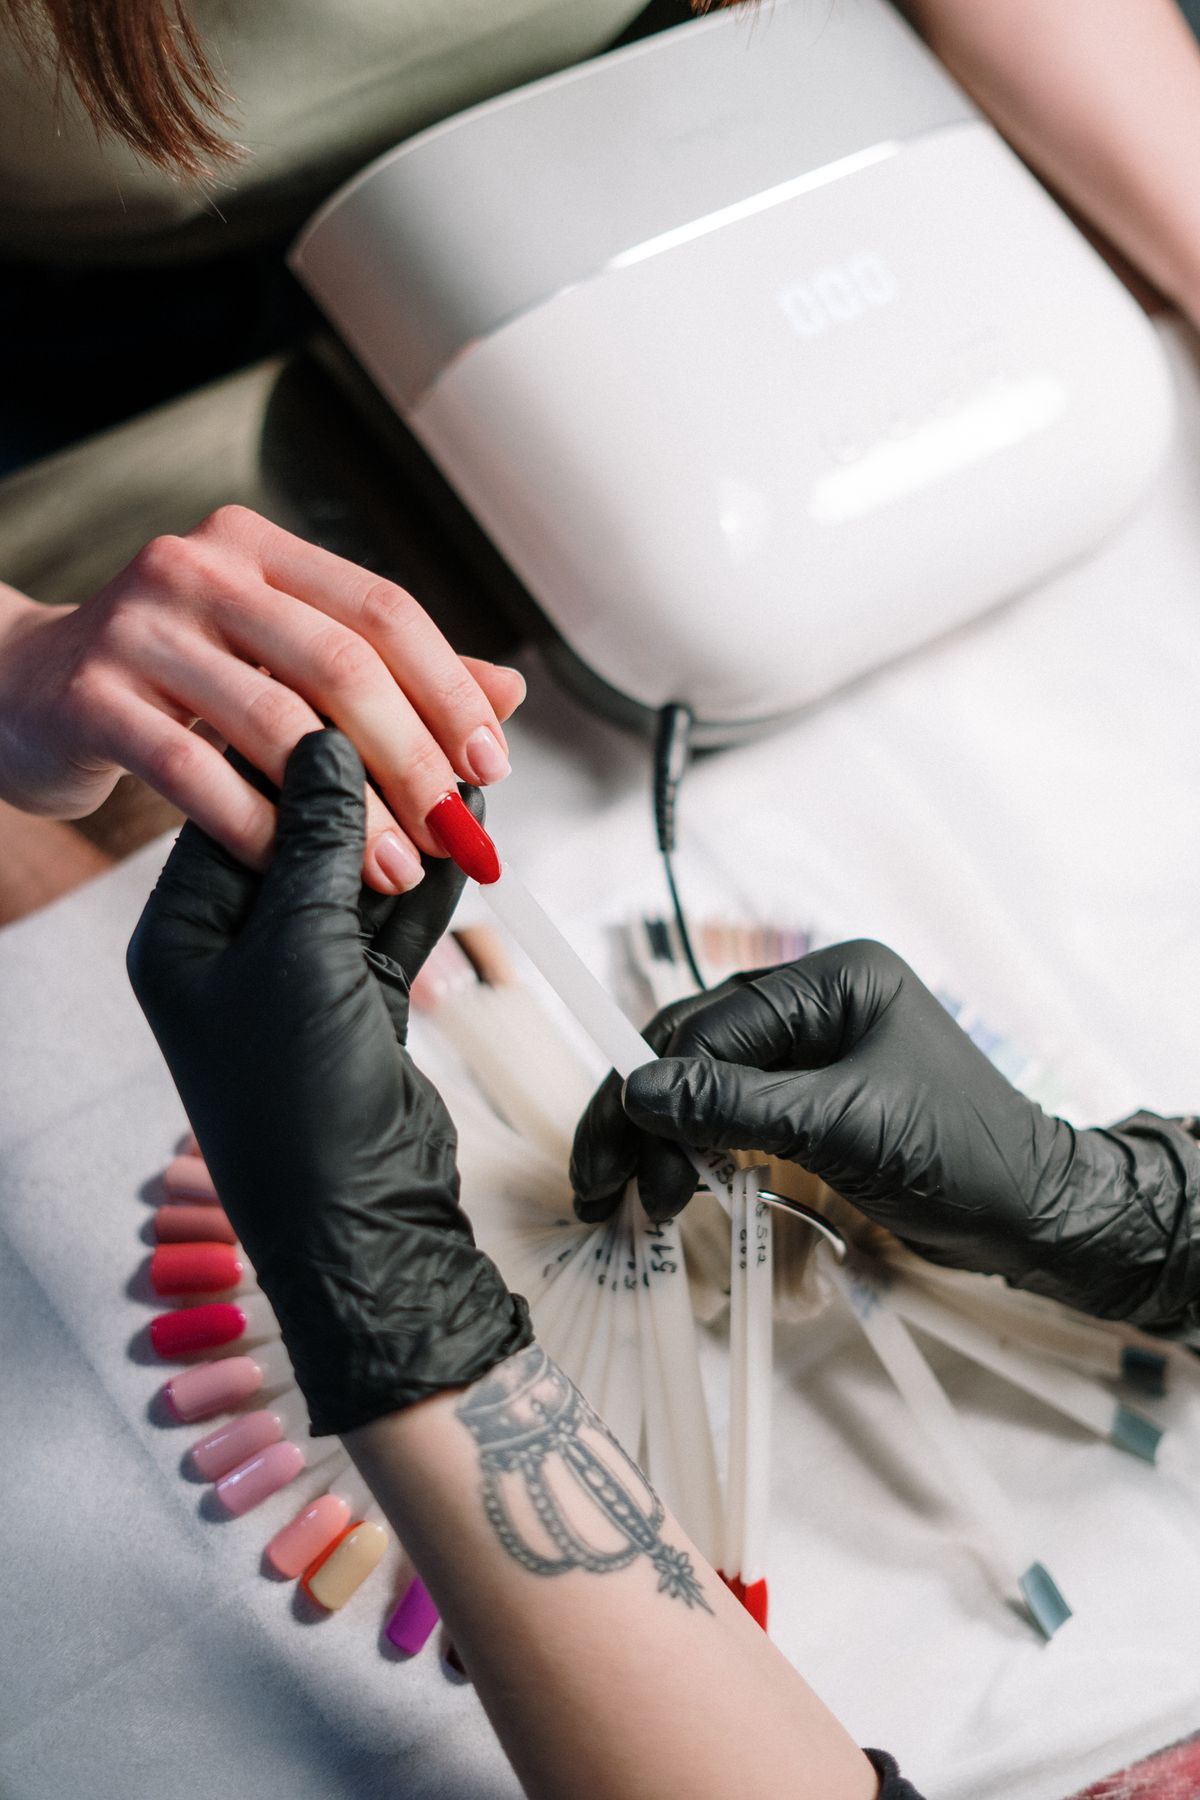
Gloves, clean tools and a gentle hand around the cuticle are the basics of a safe manicure. The cuticle is a seal that protects the nail from germs, so cutting it away invites trouble.
The AAD’s advice is blunt on this point: ask your nail tech not to cut or push back your cuticles, since that can lead to a serious infection. Moisturise rough cuticles with petroleum jelly at bedtime or with cuticle oil instead.
If a tech insists on cutting, say no kindly and move on. It is your hand.
Best for: everyone, because this applies to dip, gel and plain polish alike.
Upkeep: Cuticle oil once a day keeps the skin soft and helps polish stay put.
Styling tip: Keep a small bottle of oil in your bag and use it while you scroll.
7. Long almond nails: strength matters more than shine
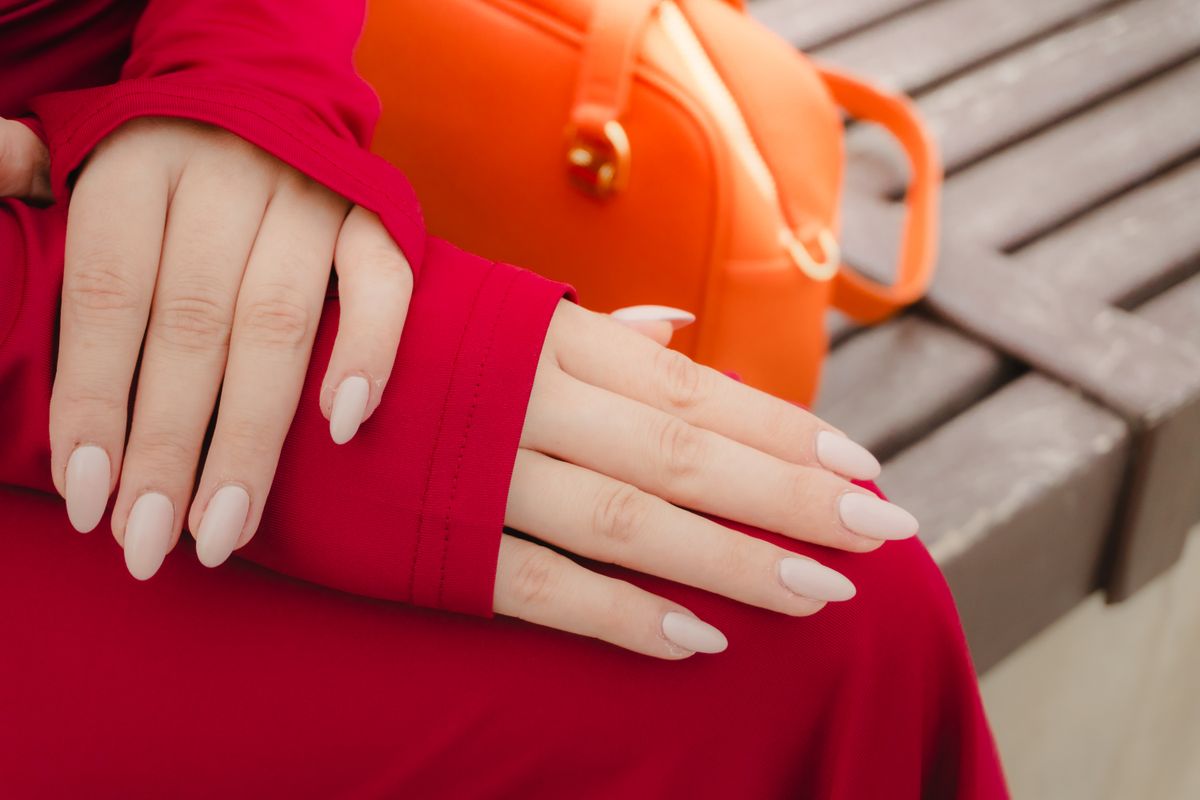
Long almond nails like these are the kind of manicure people ask dip powder for. The stiffer shell helps long nails resist snapping, and it can hold a shape better on day 25 than a thin gel coat might.
Gel can still work on length, especially with a builder gel base from a skilled tech, but that is a different service, and the thickness question comes back. If you want both strength and a slim feel, ask about it directly.
Our comparison of Gel X, builder gel and acrylic covers the other options for length.
Best for: long nails that need rigidity.
Upkeep: Wear gloves for cleaning and avoid using nails as tools. Long nails are fashionable, not crowbars.
Styling tip: Choose a soft almond over a sharp point to cut down on catching and breaks.
8. Sparkle and nude: where dip powder shines
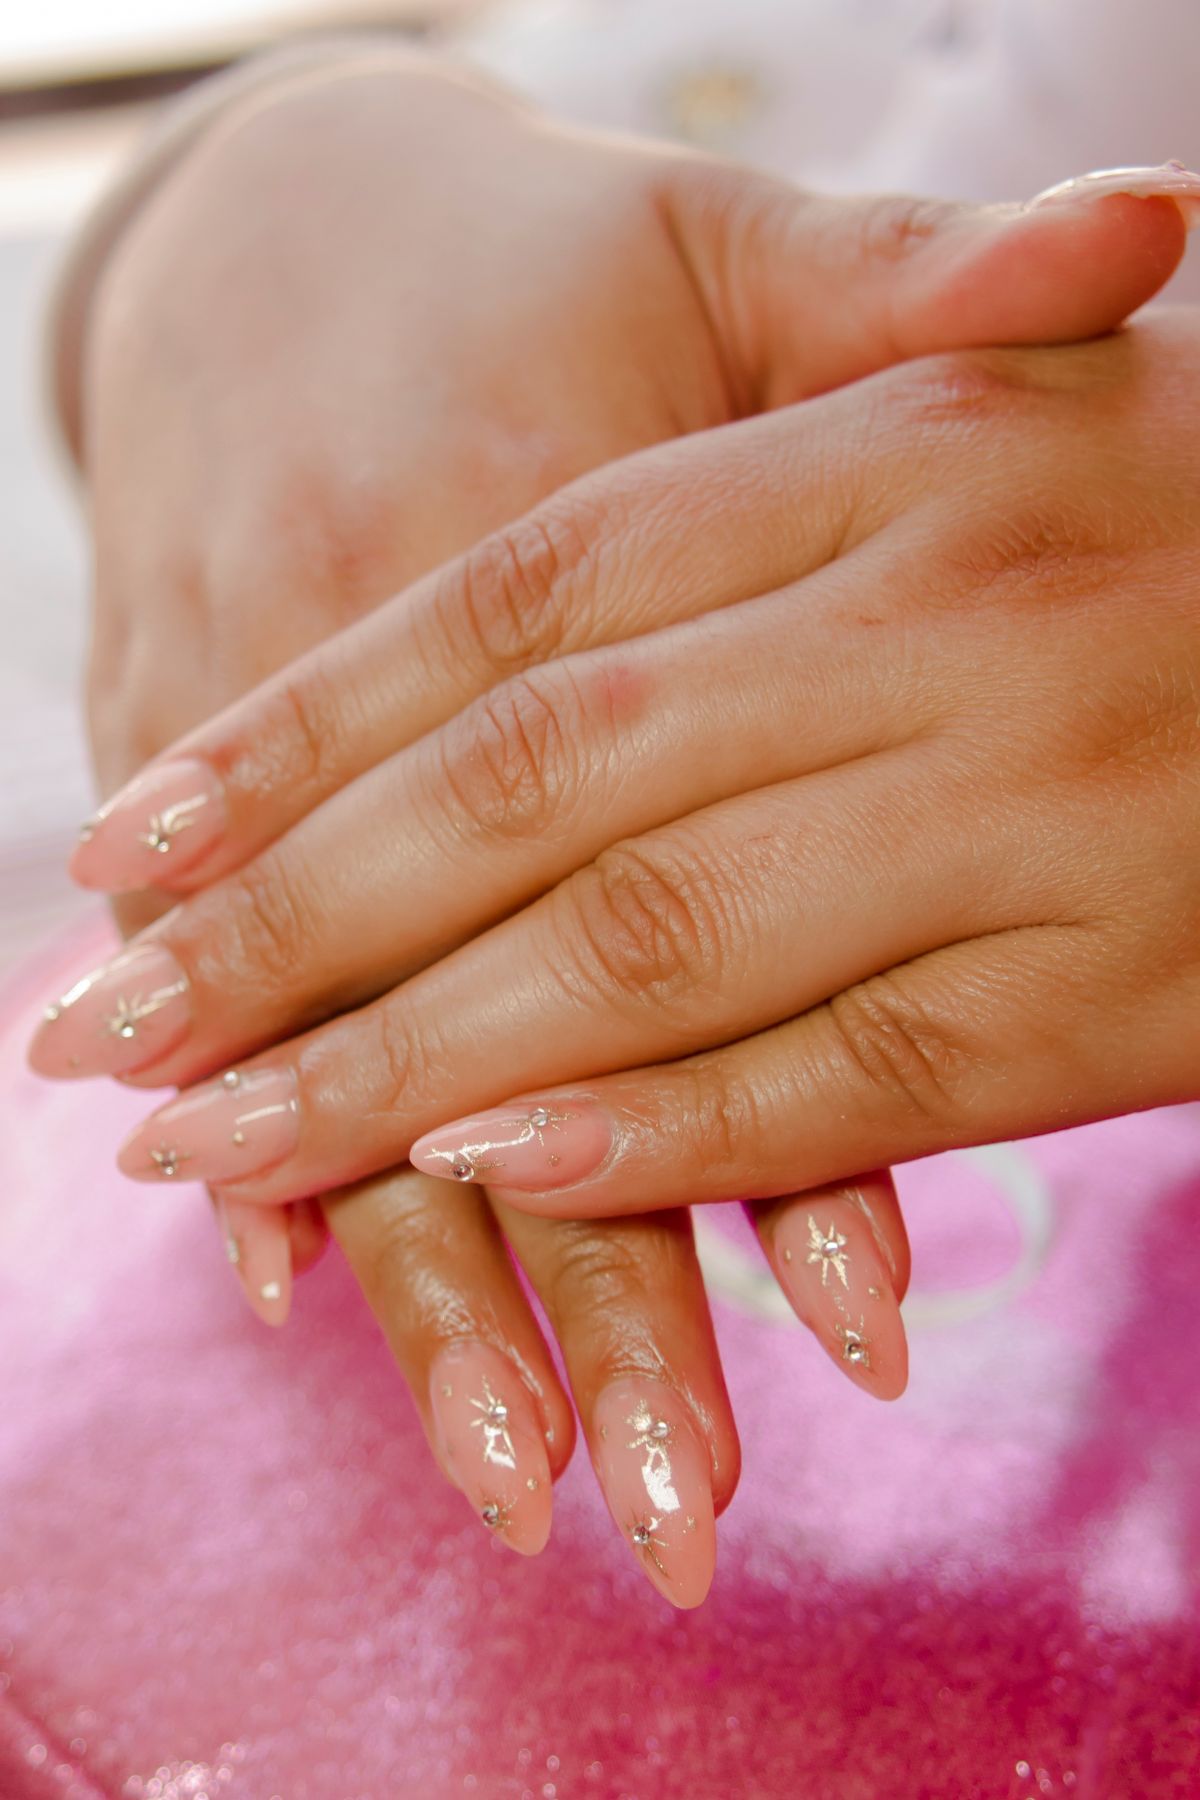
A fine sparkle over a nude base is one of dip powder’s best tricks. The powder gives an even, shimmering finish that is harder to get with a brush, and it is simple to match from nail to nail.
Gel can do glitter too, but it takes more layering and careful topcoat to keep a smooth surface. If you love a glimmer without lumps, dip often looks neater with less effort.
Our almond vs oval nails guide helps you choose the shape to pair with a finish like this.
Best for: shimmer lovers and anyone who wants a smooth, even sparkle.
Upkeep: Expect 3 to 4 weeks of wear, with a visible growth gap near the end.
Styling tip: Keep the sparkle on one finger or all ten, but go all in. A halfway sparkle looks accidental.
9. Leopard print and nail art: gel wins
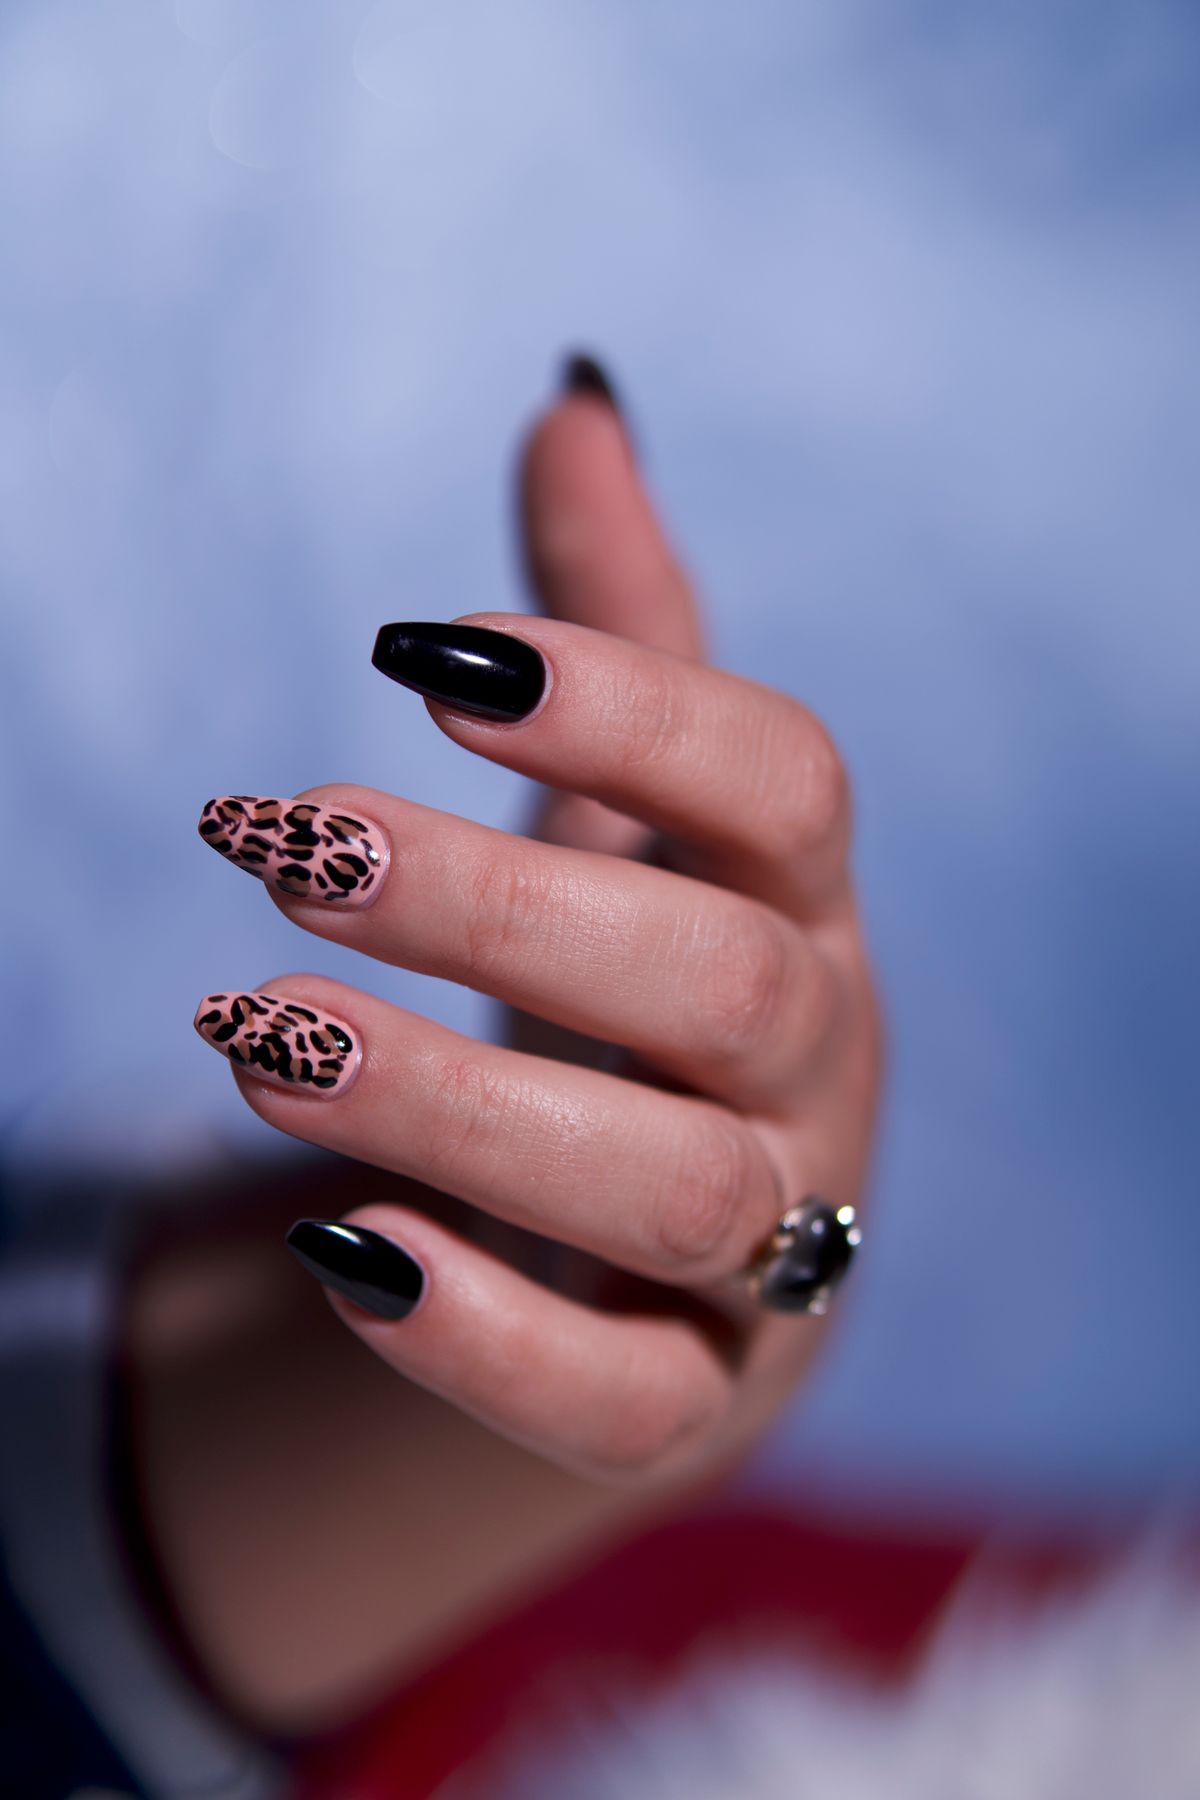
Detail work is where gel polish takes the lead. Fine lines, spots and a crisp black accent are painted with thin brushes and cured layer by layer, which gives sharp edges.
Dip powder is great for colour, but it is not the tool for tiny patterns. If your Pinterest board is full of hand painted art, gel is what your tech will recommend.
Honestly, skip dip for anything with fine detail. You will pay for art your powder cannot deliver.
Best for: hand painted designs, chrome, French lines and tiny accents.
Upkeep: Plan 2 to 3 weeks of wear and book a refresh before the design starts to look tired.
Styling tip: Show your tech two reference photos and ask what is realistic in the time you booked.
10. Classic red: either works if the technique is good
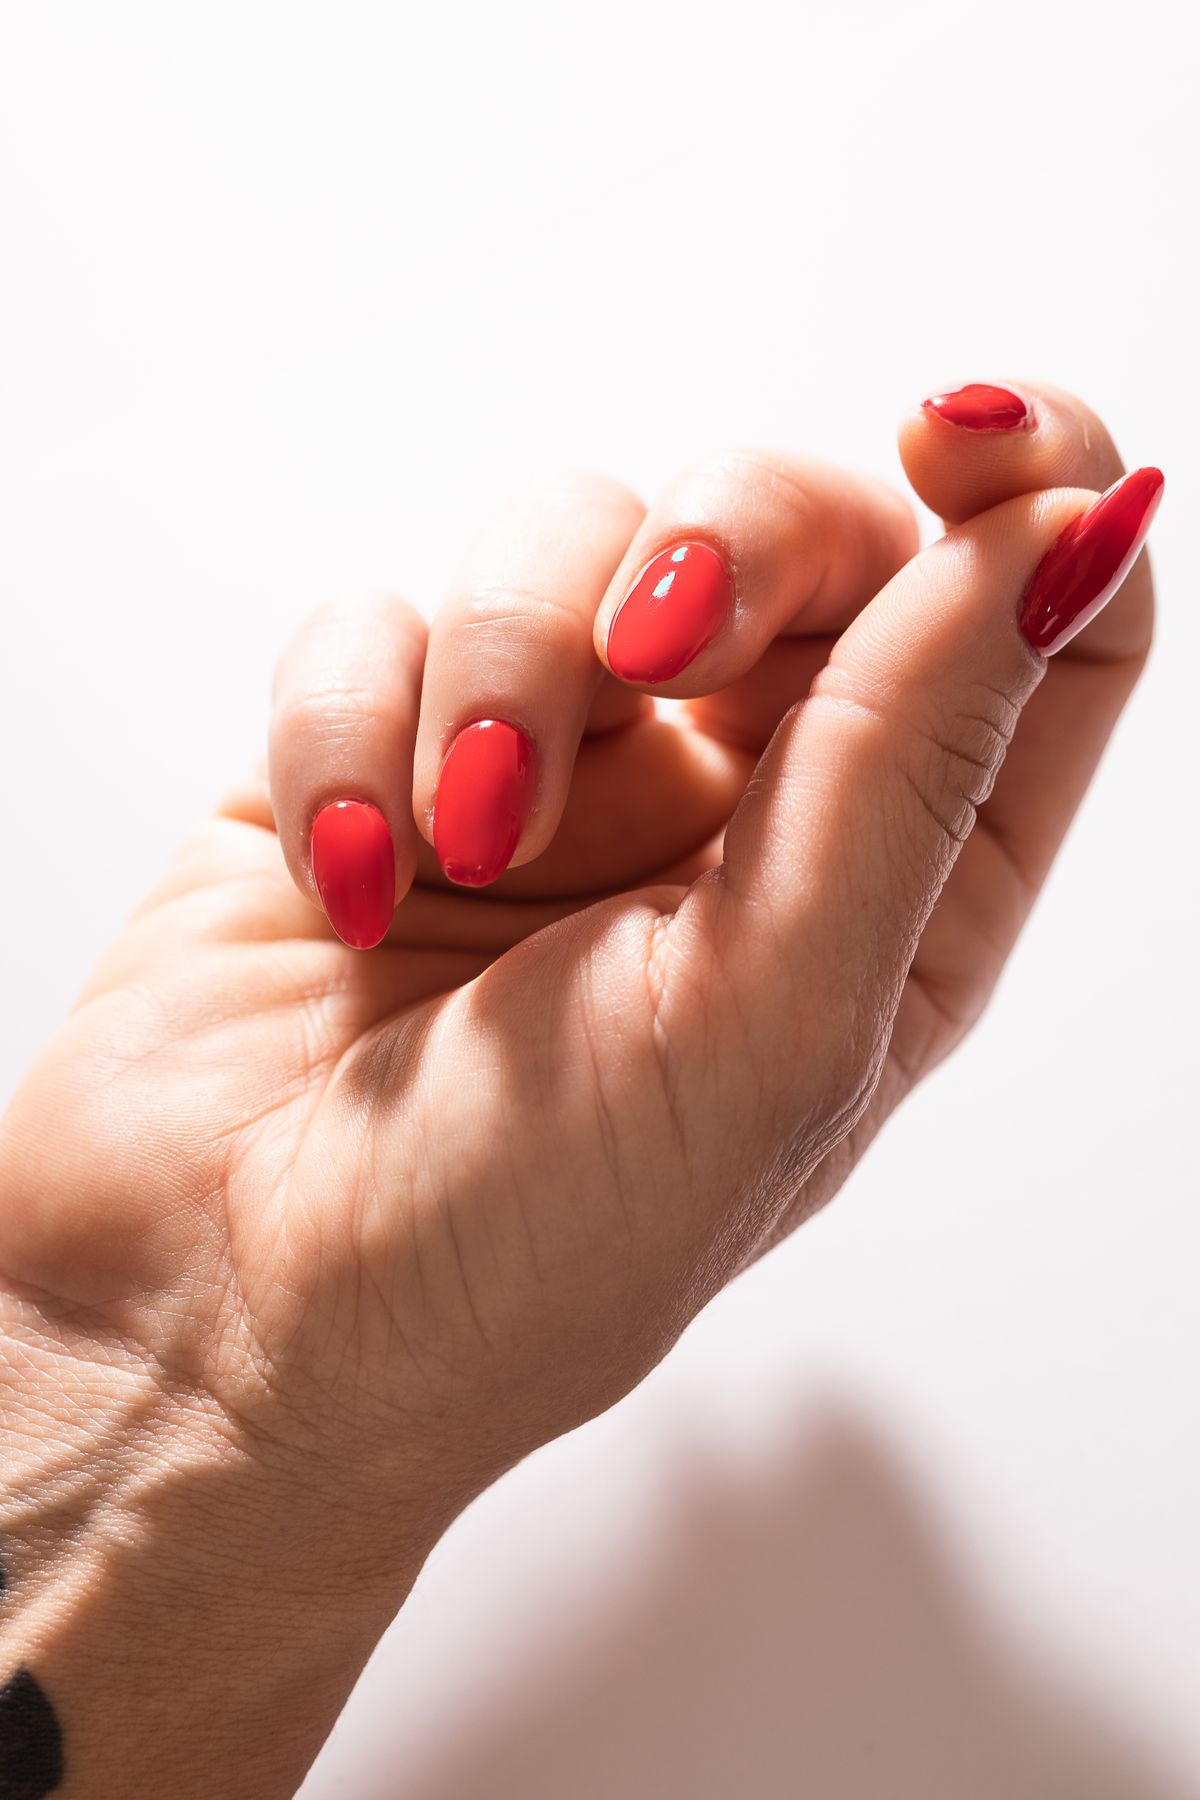
A short red manicure is a safe bet in any season, and either system does it well. Reds can show lumps and uneven edges, so a clean application matters more than the product.
If you want a perfect line and a high gloss, gel is easy to love. If you have a stressful job on your hands and want a bit more toughness, dip adds a hardier feel.
Both are best picked by your tech’s skill, not the label. Look at their previous work before booking.
Best for: anyone who wants a bold, simple, classic look.
Upkeep: Touch up edges with a tiny dab of colour only if your tech approves, and moisturise nightly.
Styling tip: Pair red with a very simple shape. A short square or oval looks sharp and modern.
What to say to your nail tech (copy and paste this)
“Hi, I would like a [dip / gel] manicure on my natural nails, with a thin, even application. Please do not cut my cuticles. Could you pour the powder into a separate container for me, and use a fresh file? I would also like to know the price before we start.”
Say it politely and mean it. A good tech will smile and get to work, and a tech who bristles has told you everything you needed to know.
Removal day: do it right
Both services come off with 100 percent acetone, and the AAD says that this can strip layers from the nail and irritate the skin, so the method matters. Its home removal steps are straightforward: protect your skin with petroleum jelly, soak cotton in acetone, wrap each nail in plastic food wrap and wait about 10 minutes, then wipe off the softened polish.
Do not peel or pick. If a manicure lifts, rebook rather than tearing it off. The AAD guide to removing gel polish walks through the steps, and moisturising your cuticles daily for a week afterwards helps.
The AAD also suggests waiting about a month after removing dip powder before another gel or dip manicure, and wearing plain polish in between. Check your bare nails every time you remove the colour so that you catch problems early.
Who should skip which
- Skip dip if your nails are very thin or soft and bend easily, you want a very thin finish, or you dislike the idea of shared powder jars.
- Skip gel if you want the longest wear or an extra stiff shell, or you dislike lamps and strong acetone soaks.
- Skip both for now if you notice swelling, itching or lifting under your nails. The AAD advises waiting 2 to 4 weeks and seeing a dermatologist if it lasts.
What it costs and what you really get
Using the ranges above, dip often costs a few dollars or pounds more per visit, but lasts about a week longer. If you rebook every three weeks, the costs end up close, so pick on lifestyle, not price.
Watch for extras: nail art, removal fees, extra length and fancy finishes add to the total. Ask for the all in price before you sit down.
Your first appointment, week by week
- Day 1: a glossy, fully hard finish. Gel is ready the moment it leaves the lamp, and dip is sealed with a topcoat.
- Week 1: wear should feel normal. Oil your cuticles nightly.
- Week 2: a thin growth line may appear. Gel starts to show wear toward the end of this week.
- Week 3: gel is due for a refresh, while dip still looks strong.
- Week 4: dip is due for removal. Book it, and plan a rest period afterwards.
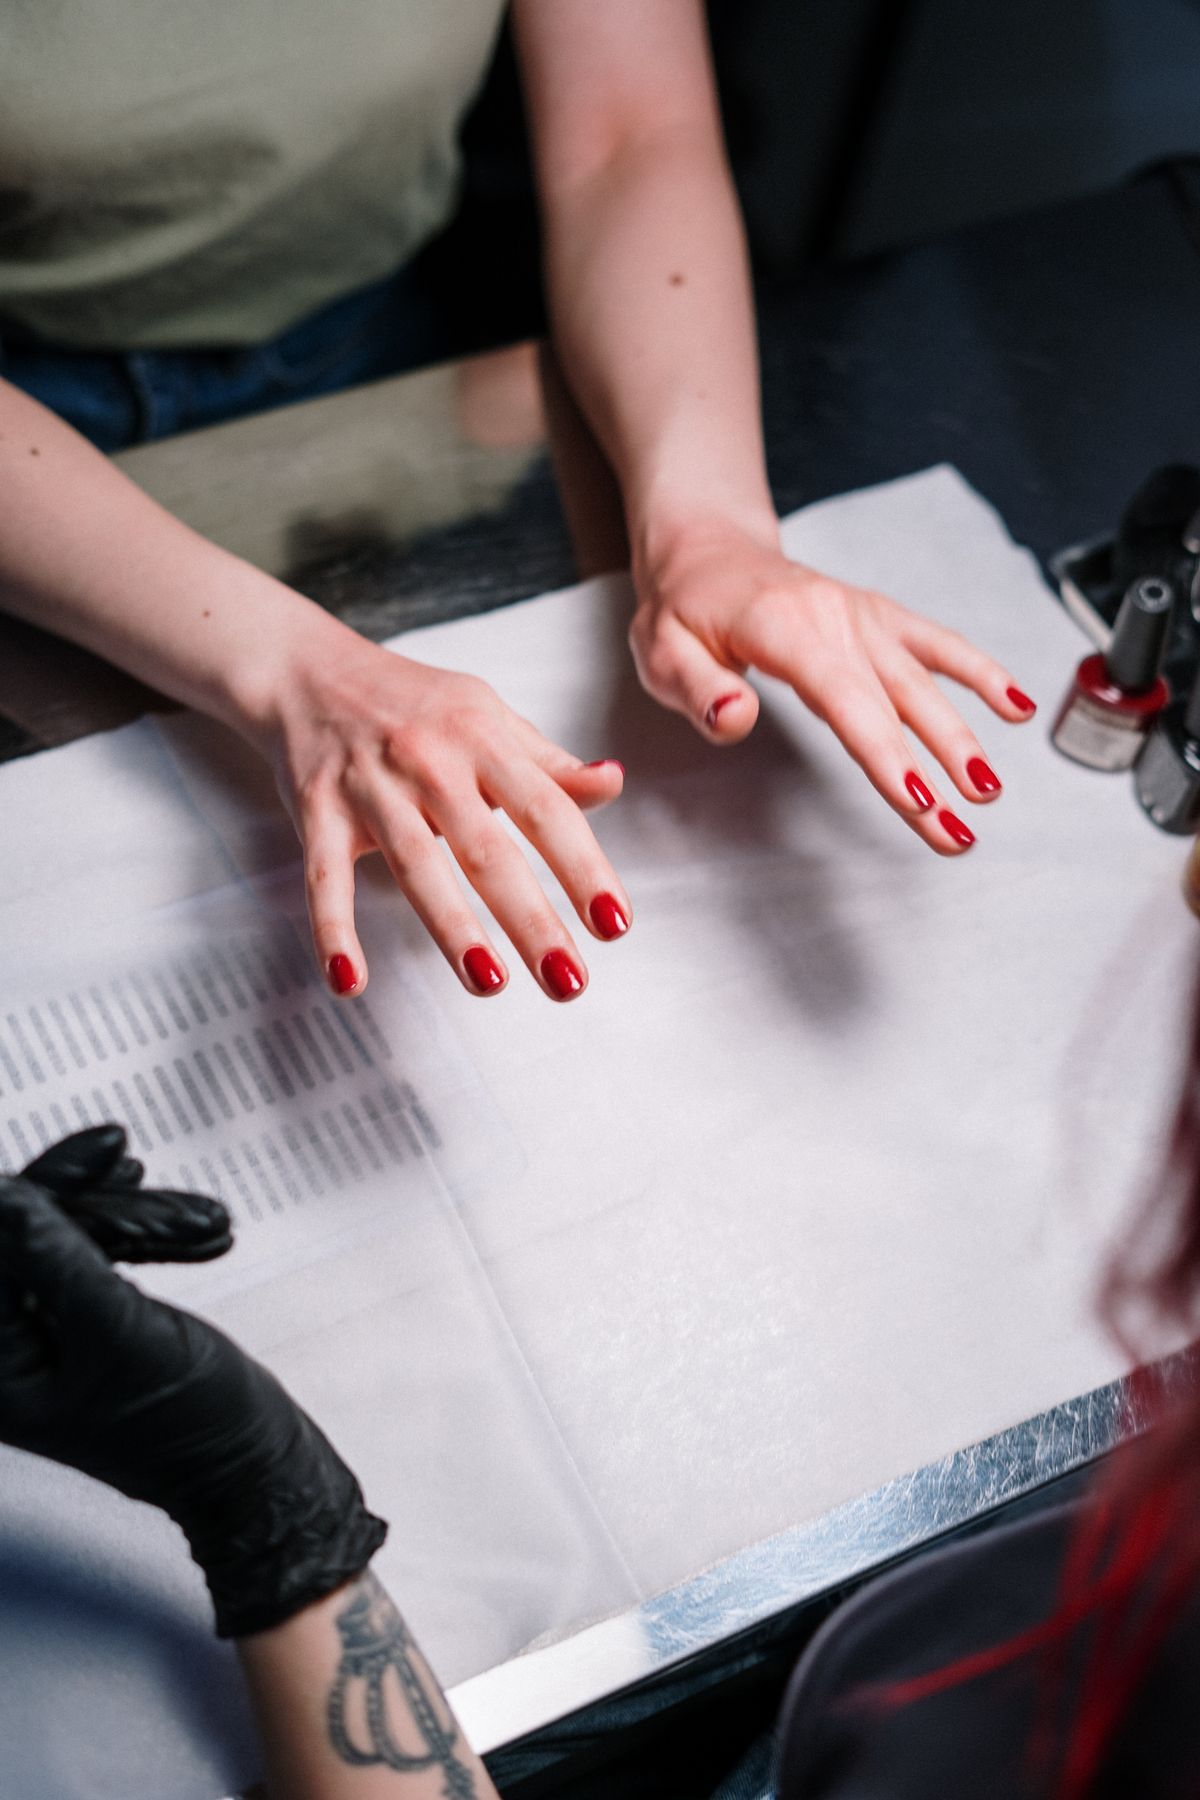
Pick one, try it once and judge it on day 20, not day 1. That is when the real winner shows up.
Save this: dip vs gel nails decision chart
Screenshot it, print it or keep it on your phone for your next salon visit. It has the differences, the cost ranges and the five things to tell your nail tech.
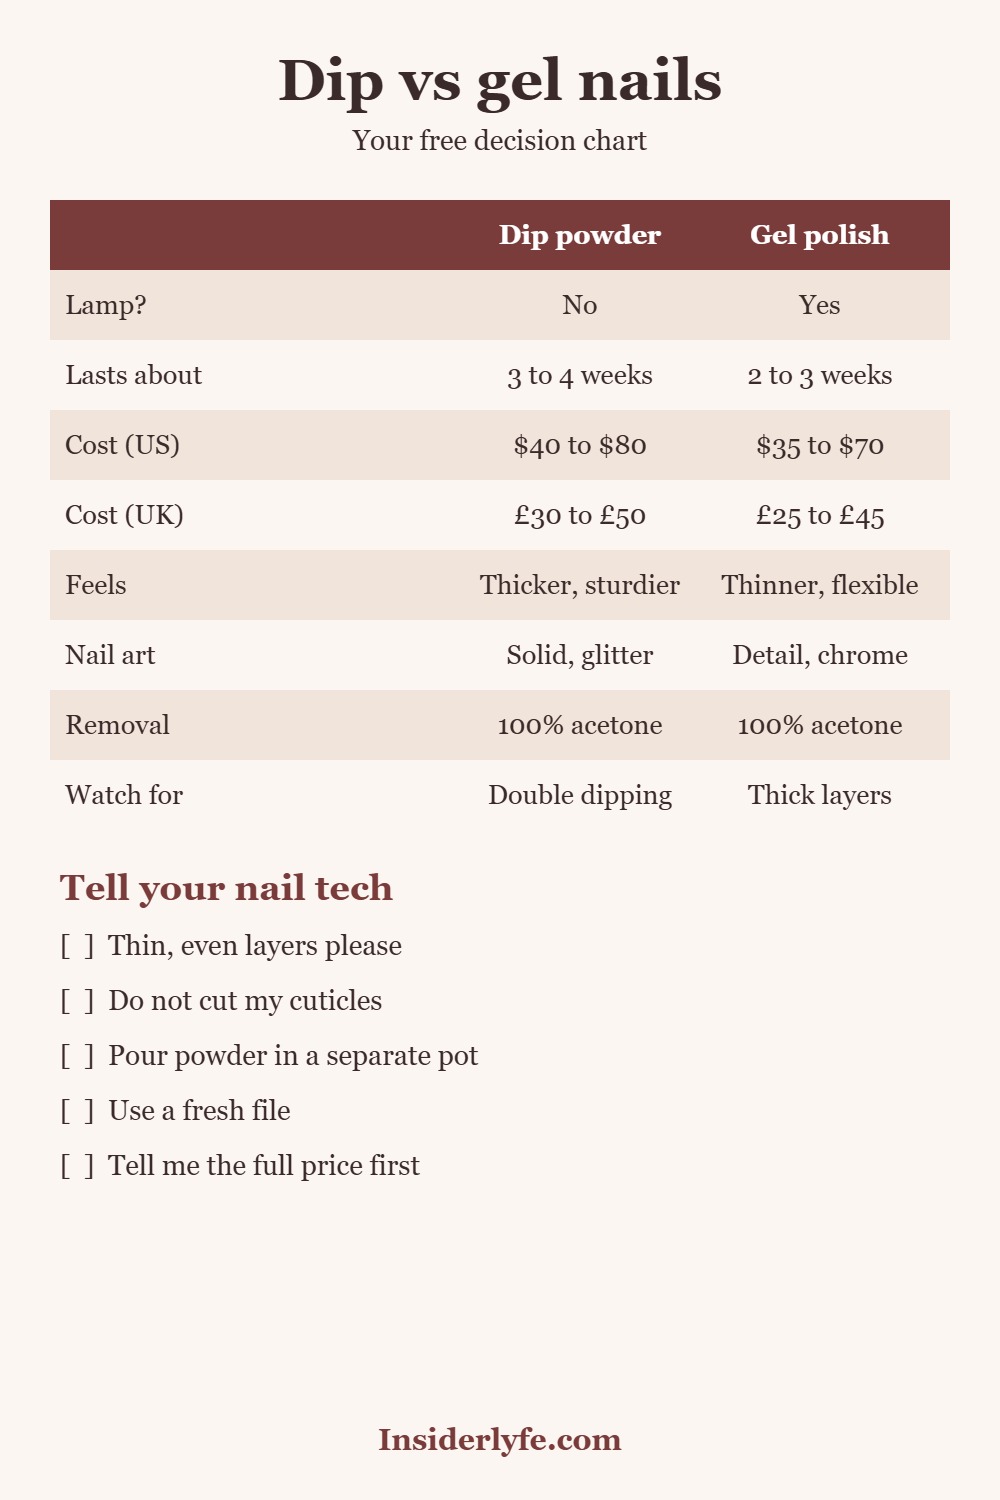
Download the full-size chart (free, no email needed)
Frequently asked questions
Is dip powder worse for your nails than gel?
Neither is automatically worse. The damage usually comes from rough prep, thick layers, picking and harsh removal, so technique matters more than the label.
Can I do dip powder at home?
You can, but a salon has trained technique and clean tools. If you try it at home, follow the AAD’s advice and test one nail first, then wait 7 days to see if your skin reacts.
How long should I wait between manicures?
The AAD suggests about a month after dip removal before another gel or dip. Plain polish is fine in the meantime.
Which one chips less?
Many people find dip is harder to chip because of its thicker shell, while gel is more flexible and tends to wear down slowly. Your own habits matter most.
Which is better for short nails?
Gel is usually the lighter option for short nails, while dip adds sturdiness if you want to grow them out.
Final thoughts
If you want strength and length, pick dip. If you want slim, flexible and detailed, pick gel. Take the printable chart with you, and always say no to cuticle cutting.
Which are you booking next, dip or gel, and what colour are you going for? Tell us in the comments.
Related Post