
Please note that we do not create all the designs featured in this article. Our primary focus is to curate and collect a diverse range of design collections and products to inspire and share with our audience. While we do not claim ownership or take full credit for the original designs and images, we occasionally make minor adjustments, particularly in home decor and fashion items, to present them more effectively. Additionally, we may produce and edit images to enhance their quality and composition before sharing them on our Pinterest page or website. For the design work we do on these creative designs, we also include our logo on the images shared on Pinterest and our website. This helps our audience recognize that these designs have been published on insiderlyfe.com!
Here is the quiet part nobody puts on the box: the cheaper manicure is not always the one with the smaller price tag. A $15 press-on set can cost you a lot more than a $60 gel appointment if it pops off on day two and you buy another.
So which one should you actually pick? The short verdict: choose press-on nails for events, colour experiments, tight budgets and nail breaks. Choose salon gel when you want two to three weeks of glossy, hard-wearing colour and you do not want to think about your hands. Plenty of people use both, and that is the smartest route of all.
Below you will find a side-by-side table, honest cost maths, ten real nail looks matched to the better route, a script for the salon, a week-by-week timeline and a free printable decision chart. If you only read one part, make it number 6 and the removal section near the end, because that is where most nails get hurt.
The quick verdict
Press-ons win on speed, price and flexibility. You can do a full set while a podcast plays, change shape or colour every week, and take them off before a job interview or a swim holiday.
Salon gel wins on staying power and finish. It is painted onto your own nail, cured under a lamp and sealed with a top coat, so it flexes with your nail and shrugs off dish water and keyboards.
If you are new to both, start with a press-on set in a colour you are unsure about. If you already know your colour and need it to last through a trip, book the salon.
Press-on nails vs salon gel at a glance
| Factor | Press-on nails | Salon gel |
|---|---|---|
| Typical cost | Around $8 to $25 (£6 to £20) a set | Around $40 to $80 (£30 to £55) a visit |
| Time | Around 20 to 40 minutes at home | Around 45 to 75 minutes in the chair |
| Wear time | Around 1 to 2 weeks with glue, 1 to 3 days with sticky tabs | Around 2 to 3 weeks |
| Where it fails | Edges lift, usually near the cuticle or sidewall | Chips at the free edge or lifts if prep was rushed |
| Removal | Warm soapy soak, then gentle lifting | Acetone soak, around 15 minutes with foil wraps |
| Nail art | Included in the set, cheap to swap | Charged per nail, hand painted |
| Length changes | Choose a size and shape in minutes | Natural length, or extensions at extra cost |
| Best for | Events, trials, busy weeks, breaks from gel | Daily life, travel, long stretches between visits |
Those ranges are rough and shift by city. A salon in central London or Manhattan will sit at the top end, while a suburban salon can sit well below it. Treat the table as a starting point, then check your local menu.
What each one really costs over three months
Let’s run the maths for a typical 12 week stretch, because the per-visit price hides the real story.
- Press-ons: if one set lasts around 10 days, you need about 8 or 9 sets. At around $15 to $25 each, that lands near $120 to $225 (roughly £90 to £170).
- Salon gel: a visit every 3 weeks means 4 visits. At around $40 to $80 each, that is roughly $160 to $320 (about £120 to £220), before a tip.
- The mix: gel for the stretches that matter and press-ons for parties usually lands somewhere in between, and your natural nails get a rest.
Reusable press-ons change the picture again. If you remove a set carefully and clean the backs, many sets can be worn two or three times, which drops the cost per wear a lot. The catch is that each wear needs fresh adhesive and a tidy prep.
Ten looks, and the route that suits each one
The photos below are stock images, so nobody can tell from a picture alone how a set was made. Treat each look as a style, then use my opinion on which route gets you there more easily.
1. Soft sage green squares
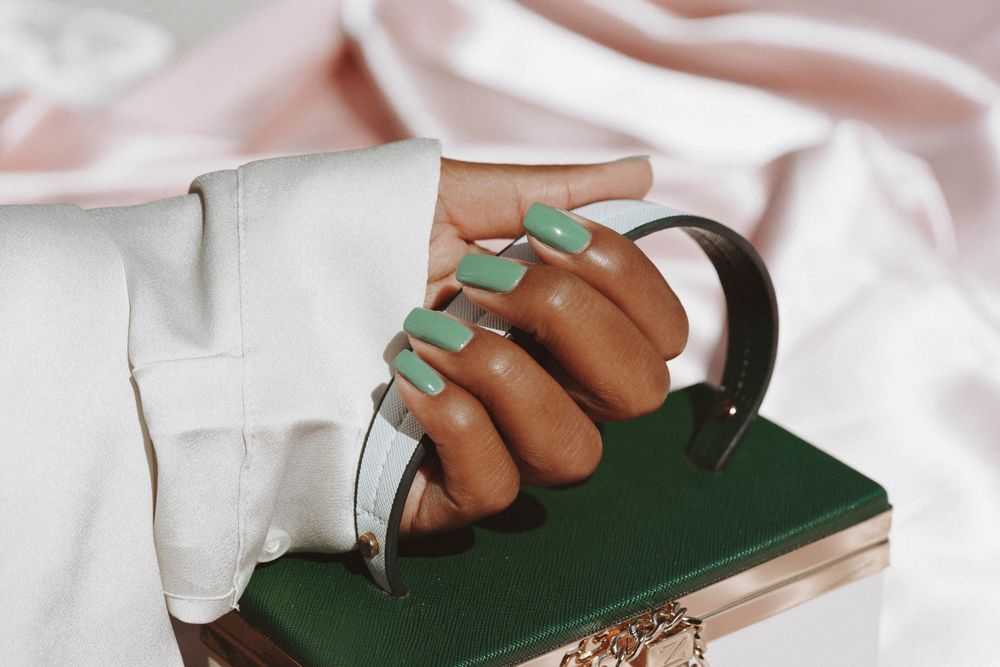
A muted sage green on short to medium square nails looks calm and expensive. It is also the sort of colour people hesitate over, which makes it a perfect press-on trial. Wear it for a week, and if you hate it you have lost a few dollars, not a salon afternoon.
Best route: press-ons. Upkeep: keep your hands out of hot dish water for the first day. Styling tip: pair sage with cream knitwear and a dark green bag, as in the photo.
2. Glossy short reds
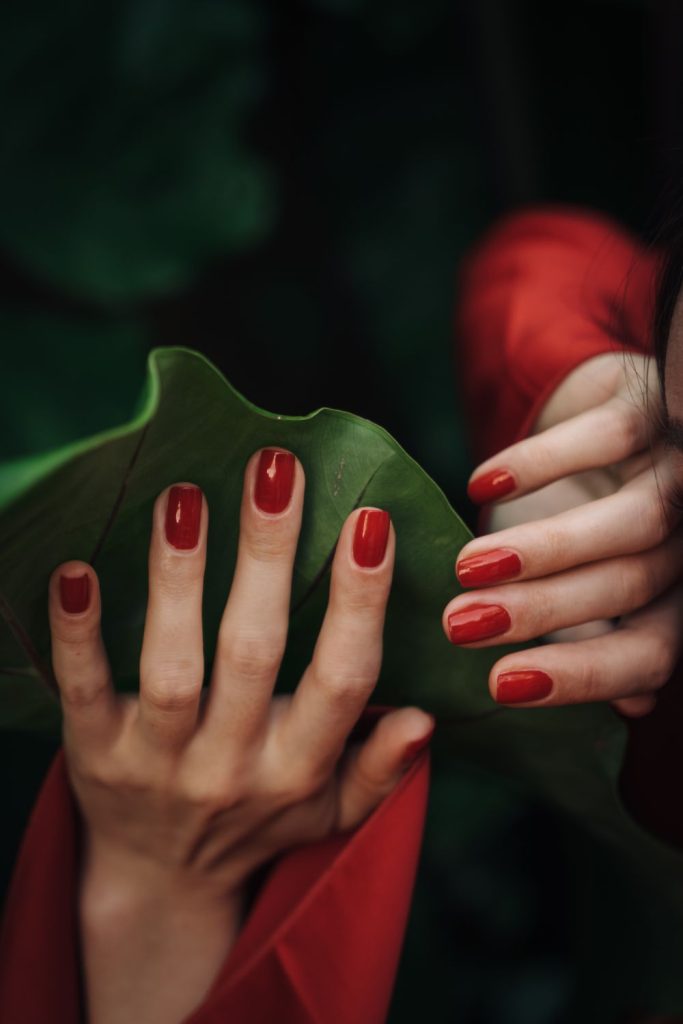
Red is a harsh judge. Streaks, thin patches and wobbly edges show instantly, and a chipped red looks worse than a chipped nude. Short, rounded nails with deep red like these are classic, and they reward careful, even coats.
Best route: salon gel. A good technician gets full coverage in two thin coats and seals the edge. Upkeep: a dab of cuticle oil daily. Styling tip: a red manicure needs no jewellery at all.
3. Leopard print accents
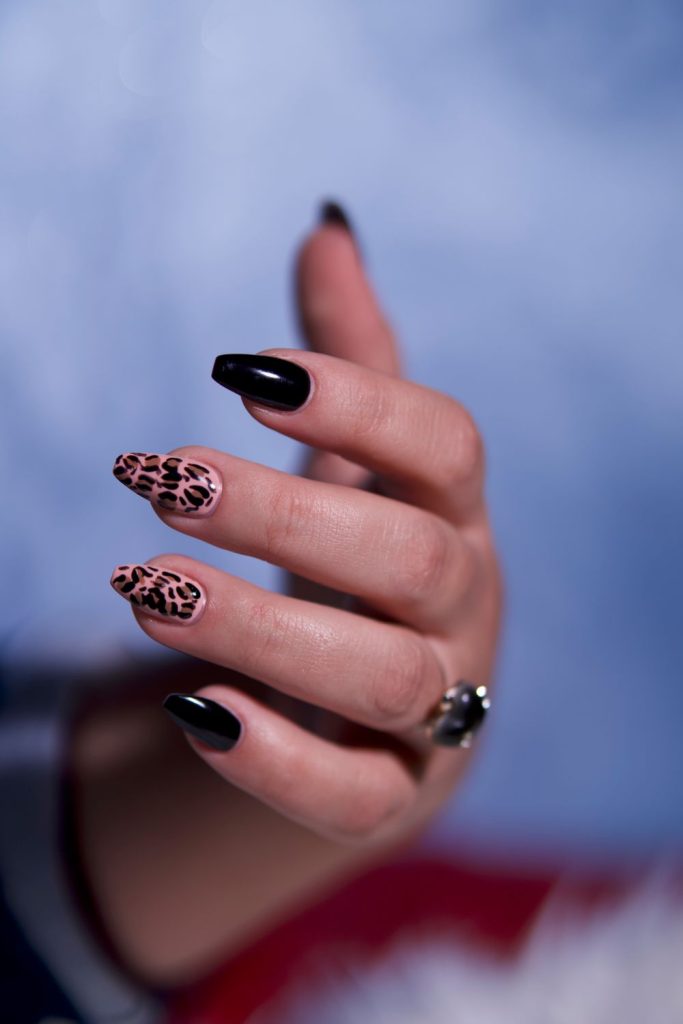
Black on some fingers and leopard print on others is the definition of a statement set. Hand painting spots on two nails takes real skill, and salons often charge extra per art nail. Press-on sets arrive with the art already done.
Best route: press-ons for the trend, salon gel if you want the pattern custom made. Upkeep: skip abrasive hand scrubs. Styling tip: keep your outfit plain so the nails do the talking.
4. Pale lilac, short and clean
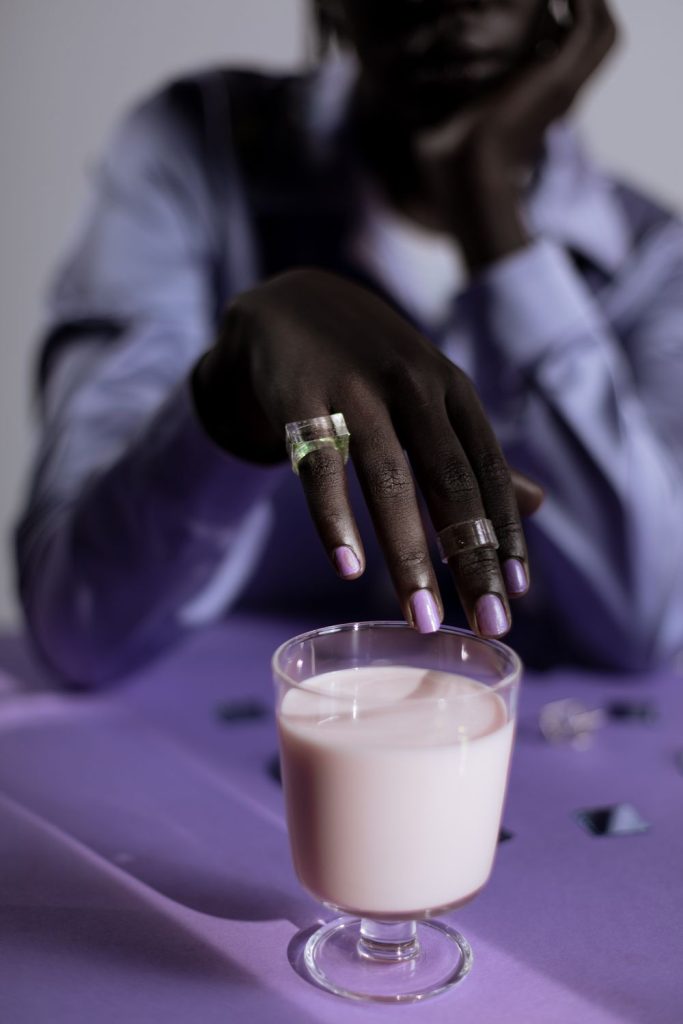
Pastels are tricky. A pale lilac can look patchy if the layers are uneven, but it is gorgeous on short nails and looks even better against a matching shirt. Because the colour is light, small chips hide well.
Best route: either one. Choose press-ons for a quick event look, or salon gel if you want it to survive two weeks. Upkeep: a glossy top coat keeps pastels from dulling. Styling tip: chunky silver rings suit lilac better than gold.
5. Pink with lilac glitter tips
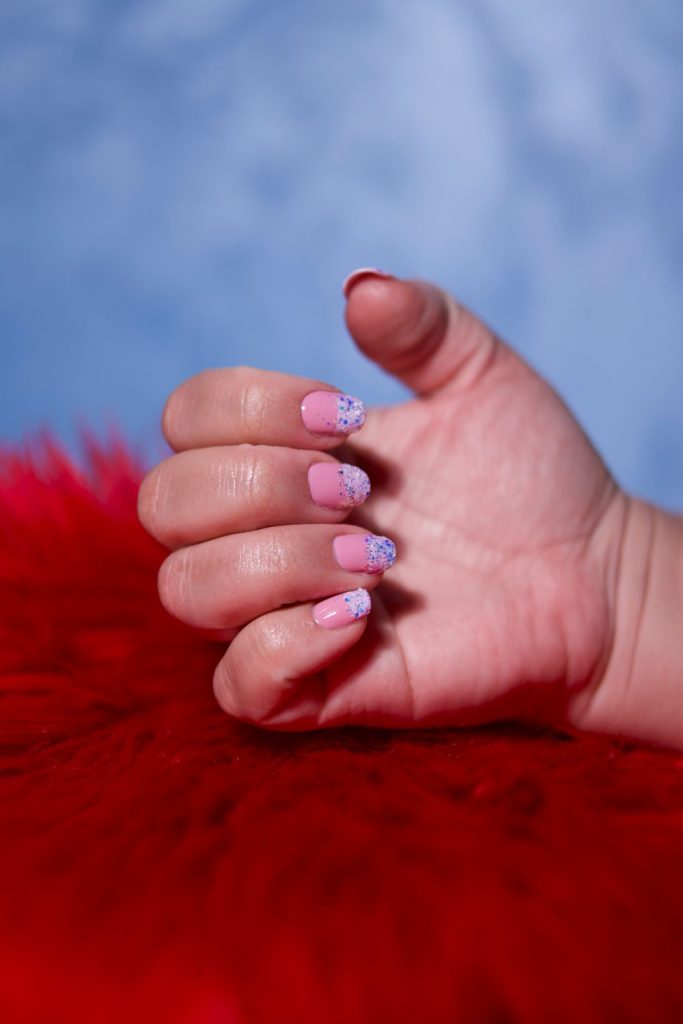
Short pink nails with a scatter of lilac glitter near the tips are playful without being loud. Glitter is also the messiest thing to do at home and the hardest to remove, so this look often works best as a ready-made set.
Best route: press-ons. Upkeep: avoid picking at the glitter edges. Styling tip: this suits a party week, especially with a red or burgundy outfit.
6. Champagne almond nails with a gold charm
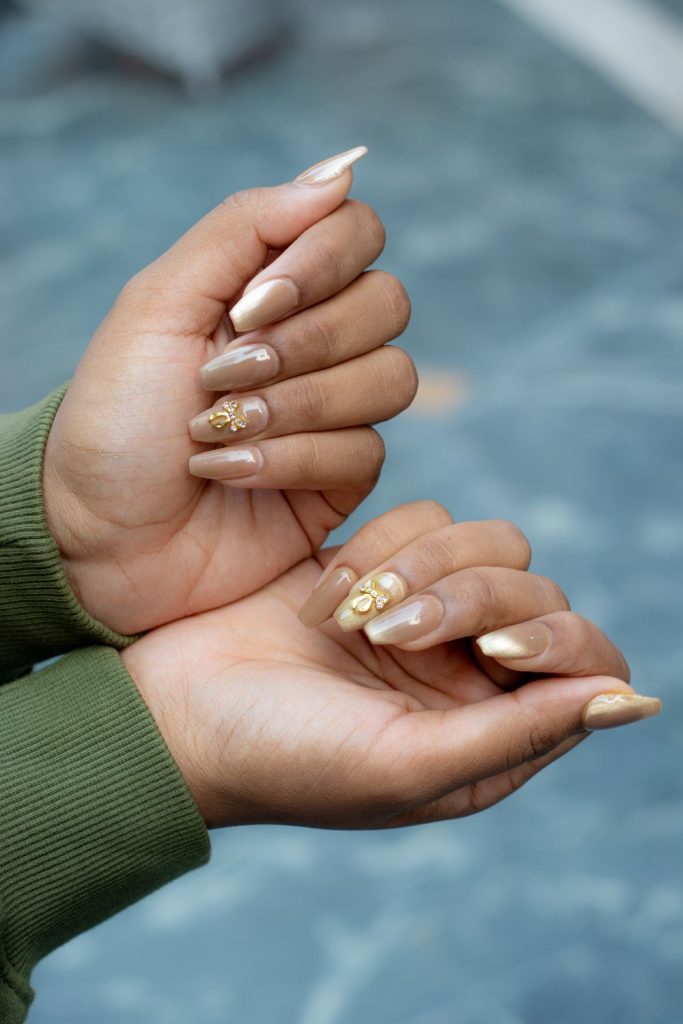
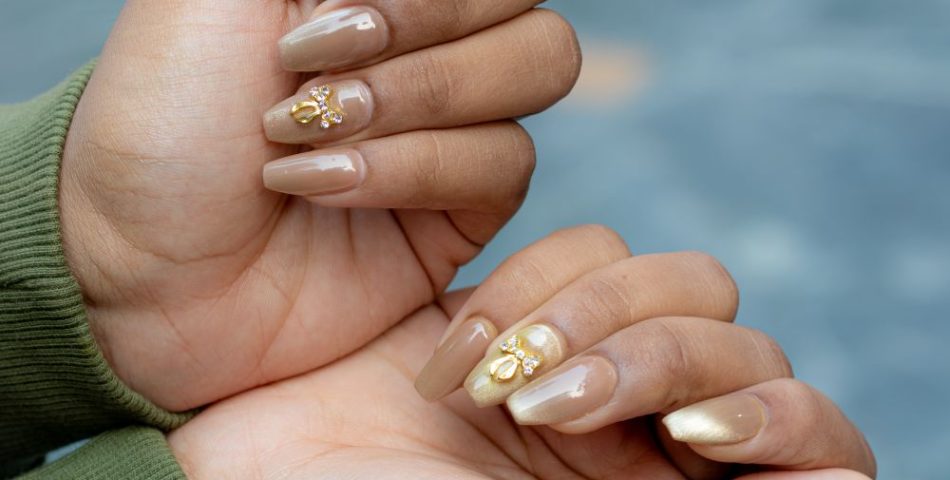
This is the one I told you to look at early. A small gold charm on a champagne almond nail looks lovely and snags beautifully on every knit you own. Charms need to be sealed properly, and a technician can lock them in under builder gel or top coat so they stay put through sweaters, bags and hair.
Best route: salon gel for daily wear, press-ons for a single evening. Upkeep: check the charms when you dress and press them down if a corner lifts. Styling tip: wear it with cream and soft green, as shown.
7. Long raspberry almond nails
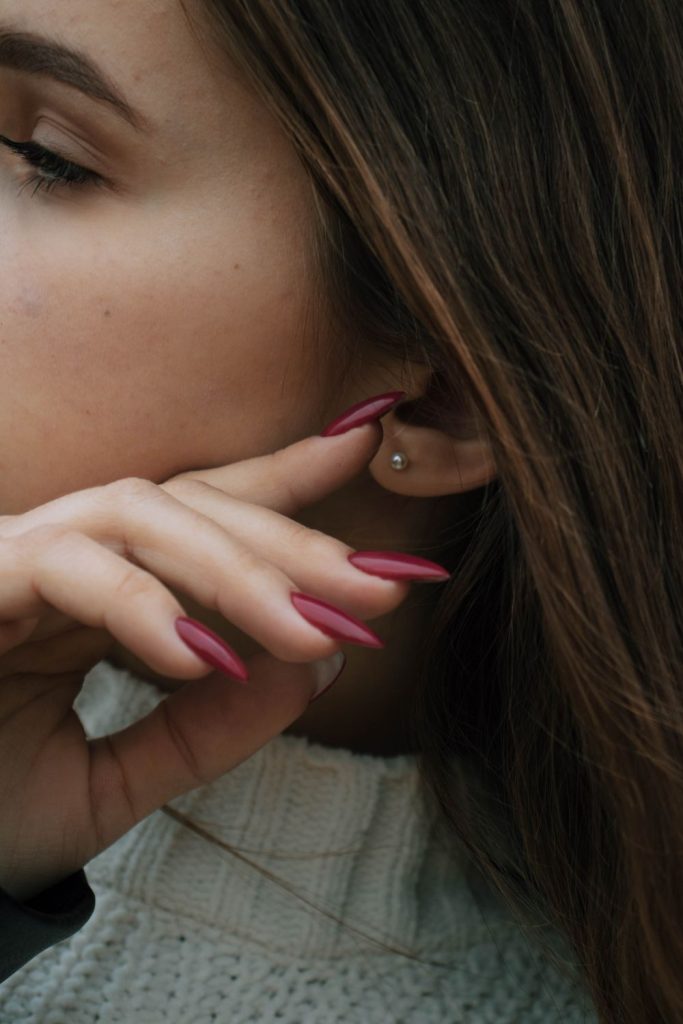
Long, pointed raspberry nails are dramatic, and they change how you type, button and open cans. Press-ons are a smart way to test a length before you commit, because a long set that annoys you comes off in a few minutes.
Best route: press-ons to test, salon extensions if you love it. Upkeep: use the pads of your fingers for phones and zips. Styling tip: long nails look sharper with hair tucked behind one ear.
8. Long marble pink
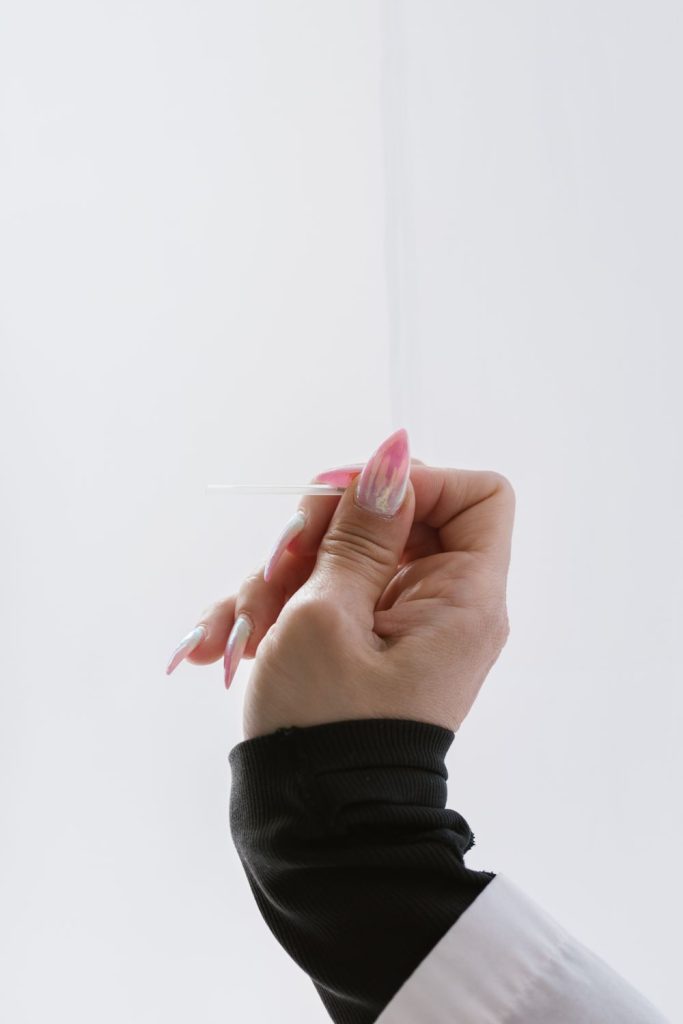
Swirled marble is gorgeous, and it is also one of the best arguments for a talented nail artist. Hand painted veining looks natural, while most sets use a printed pattern that reads flatter in sunlight.
Best route: salon gel if you want the swirl to look organic. Upkeep: a thick top coat protects the long free edge. Styling tip: a plain white or black top makes marble feel intentional.
9. Natural short nails with pink polish
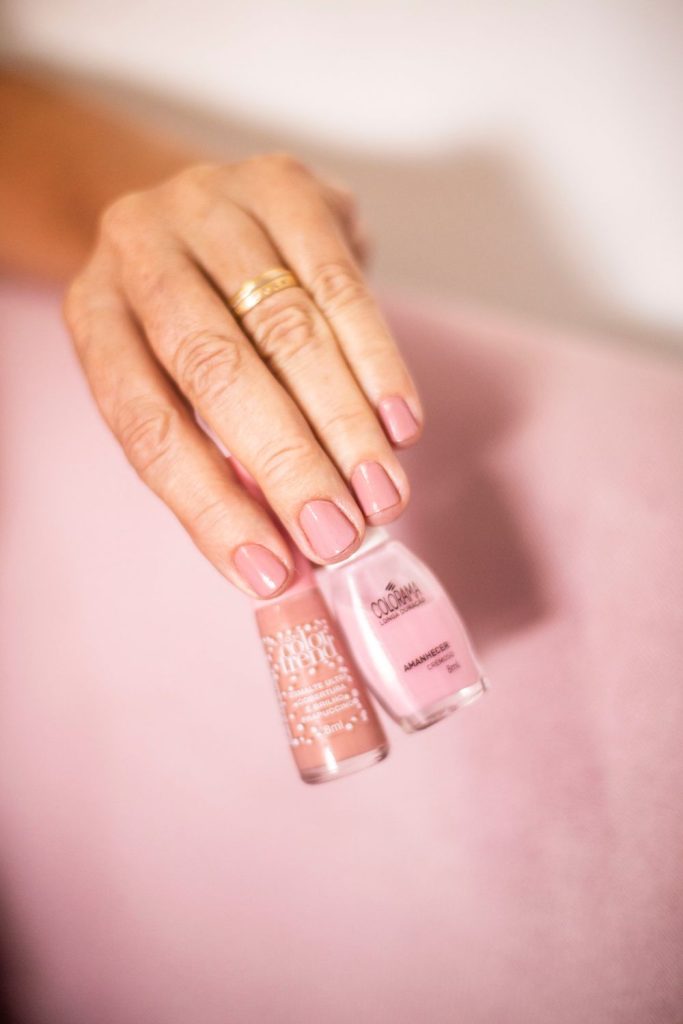
Short natural nails with a sheer pink are the unsung third option. If your nails are brittle or peeling, a regular polish that you can remove with plain remover often beats both gel and press-ons for a few weeks.
Best route: neither, for now. The American Academy of Dermatology suggests a polish break of one to two weeks or longer between gel manicures so your nails can recover. Upkeep: moisturise cuticles several times a day. Styling tip: a simple gold ring is all this look needs.
10. Deep brown polish, fresh from the brush
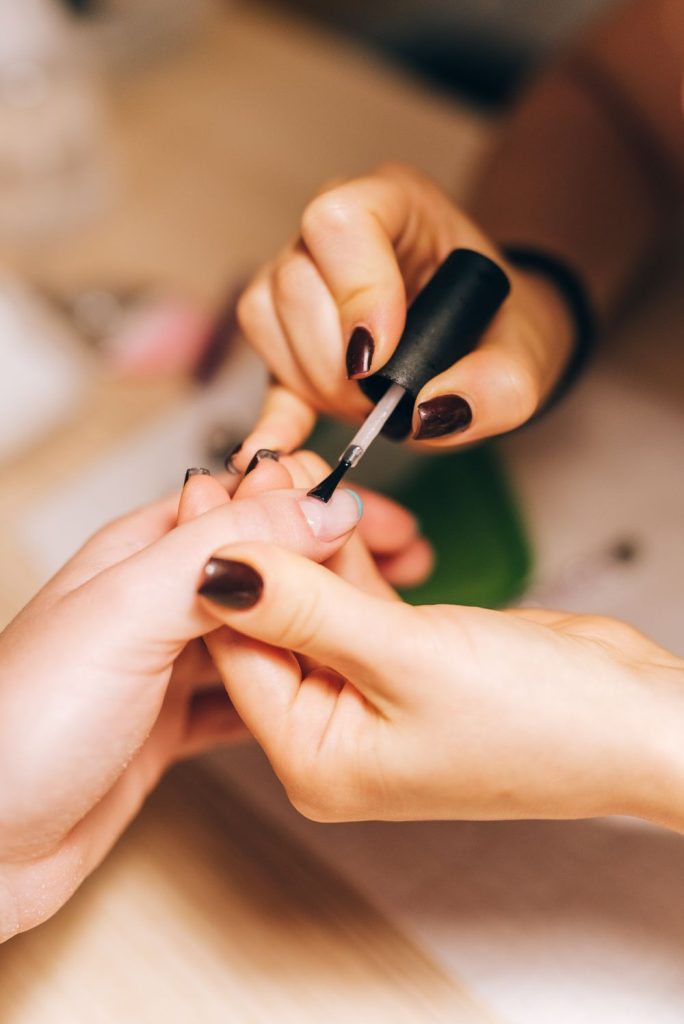
Dark browns, plums and blacks show every streak, so application matters more than anything. This is the moment where you can see why technicians work in thin, controlled coats and why a rushed home job leaves ridges.
Best route: salon gel. If you want to try dark nails at home, press-ons give you an even finish without the brush skills. Upkeep: dark colours hide chips for longer, but the edges still need a top coat. Styling tip: chocolate nails look best with warm neutrals and gold jewellery.
What prep looks like in the chair
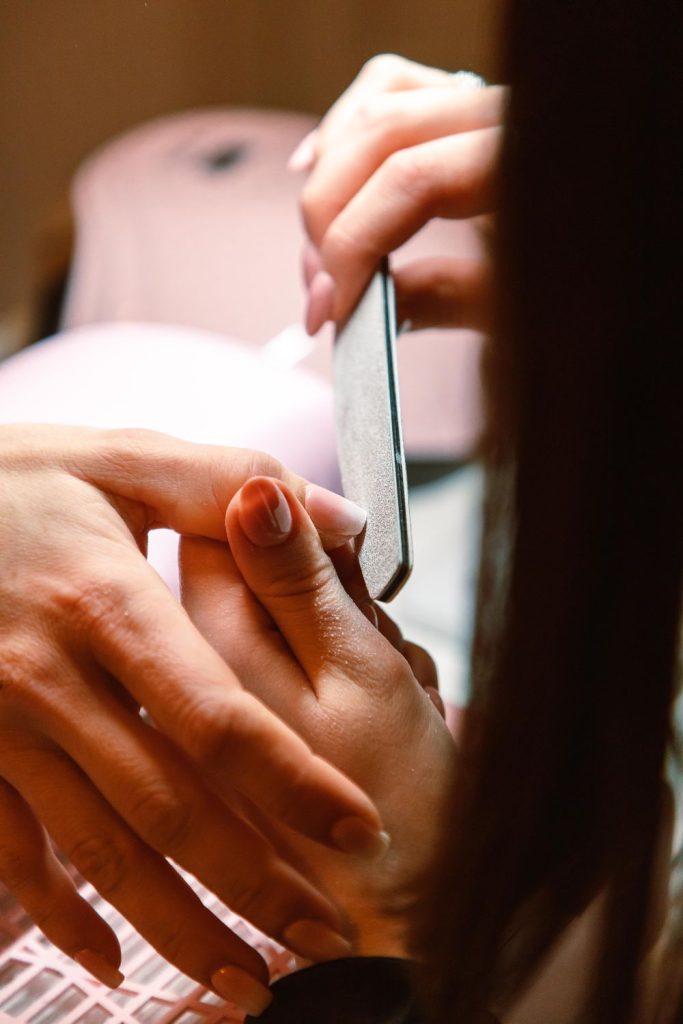
Prep is the quiet reason salon gel lasts. The technician buffs the shine off your nail, pushes back the cuticle, wipes away oil and then builds the colour in thin layers, curing each one under a lamp. That is where most of those 45 to 75 minutes go.
The American Academy of Dermatology notes that gel needs a lamp, and recommends a broad-spectrum, water-resistant sunscreen of SPF 30 or higher on your hands beforehand, or fingerless gloves, because of the UV exposure. Many salons now use LED lamps, which the AAD says emit less UV and cure faster. You can read the details in its gel manicure tips.
Press-ons ask for much less. Wash your hands, push back the cuticle gently, give the nail a very light buff to remove shine, wipe with alcohol and let it dry. Then size each press-on before you glue anything. Sizing is the step people skip, and it is the main reason sets pop off.
Removal and aftercare, where nails get hurt
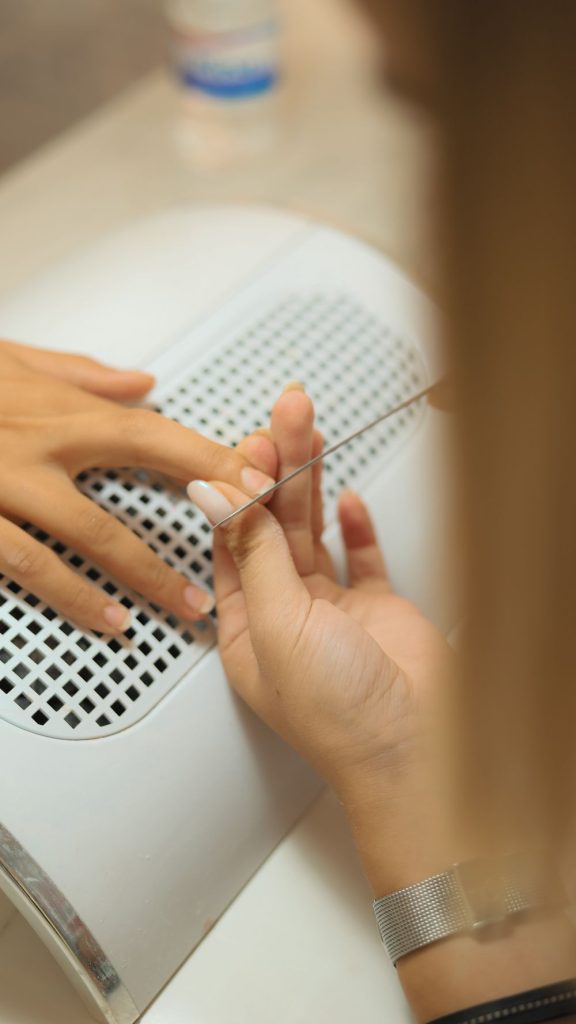
Removal is where the two options differ most. The same dermatology guidance says not to peel or pick chipped gel polish, and not to use other nails or tools to get it off, because peeling takes layers of your own nail with it. Soak only your fingertips in acetone, or use acetone soaked cotton wrapped in small pieces of foil for around 15 minutes, then remove it gently.
Press-ons need patience instead. Soak your fingertips in warm soapy water for 10 to 15 minutes, add a little oil along the edge and ease each nail off. If it fights you, soak longer. Never rip, which is what thins and splits the nail plate.
If you prefer a salon removal, many salons offer soak-off for a small fee. The AAD’s page on artificial nails also advises asking for soak-off gel rather than filing it off, and asking your technician not to trim cuticles because they help block infection. See a board-certified dermatologist for persistent nail changes.
Save this: the press-on vs salon gel decision chart
Screenshot this chart, print it, or save it to your phone for your next nail day. It sums up the cost, wear time and removal in one page.
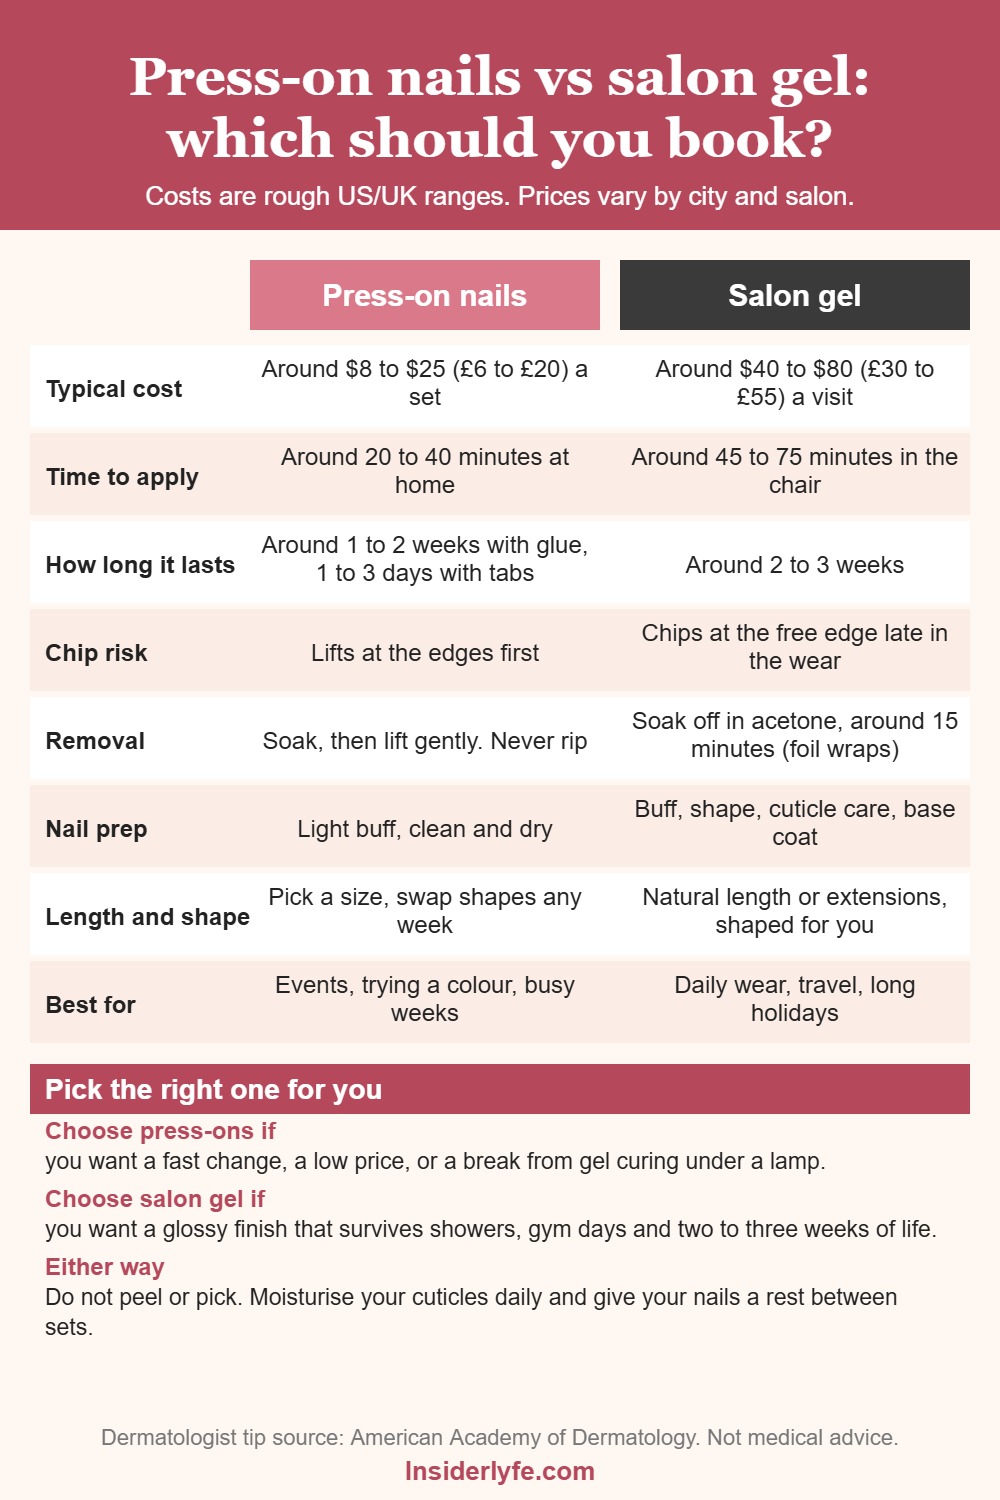
Download the full-size chart (free, no email needed)
What to say at the salon
If you book gel, a clear request saves time and money. Copy and paste this into your booking note.
Hi, I would like a gel manicure on my natural nails, short and softly rounded. Please use LED curing, keep my cuticles untrimmed if possible, and use a soak-off formula. I would like two thin coats of colour and a glossy top coat. Could you also seal the free edge so it lasts at least two weeks?
If you are bringing a press-on set you want applied, say so up front. Some salons will apply them for a small fee, and some will not.
A week-by-week timeline of what to expect
- Day 1: both look their best. Press-ons may feel tight for an hour as the glue sets, and gel feels slightly thicker than plain polish.
- Days 2 to 4: press-ons are where the first lift appears if the sizing or prep was off. Gel stays smooth.
- Week 1: press-ons with glue are still fine for most people. Gel looks the same, with a thin line of regrowth by the end.
- Week 2: press-ons are usually due off. Gel still looks good, and you may see regrowth near the cuticle.
- Week 3: gel is due for removal or a refill. Keep to the three week mark if you can, because longer wear can lead to lifting and trapped moisture.
Mistakes that wreck both
- Picking. Whether it is glue or gel, picking pulls off the top layer of your nail.
- Skipping prep. Oily nails and press-ons do not mix, and oily nails and gel lift fast.
- Wrong size. A press-on that is too wide strains the glue, and one that is too narrow leaves gaps.
- Using your nails as tools. Open cans with a spoon, not a nail.
- Never resting. The AAD suggests saving gel for special occasions and taking a polish break of one to two weeks or longer.
Shop the look
Drugstore brands such as Kiss, Static Nails and Glamnetic sell press-on sets at a range of prices, usually in the $8 to $25 range, while a mid-range salon in most US and UK cities will charge in the ranges above for gel. Always check the size chart, and buy a set with a few spare sizes.
If you want more ideas to match your set, read our guide to dip powder vs gel nails, browse holographic nails for the holidays, or try cranberry nails for the season and deep teal nails for winter.
Frequently asked questions
Do press-on nails damage your natural nails?
They can if you rip them off or use strong glue and heavy filing. Used with a light buff and a gentle soak removal, most people find them kinder than repeated gel removals.
Is gel safer than acrylic?
Gel is more flexible than acrylic, so natural nails are less likely to crack, though it can still cause brittleness, peeling and cracking, according to the AAD.
How long do press-on nails last with glue?
Around one to two weeks with glue is a fair guess, and one to three days with sticky tabs. Good sizing and prep make the biggest difference.
Can I reuse press-on nails?
Many sets can be worn two or three times if you remove them gently, clean off old adhesive and store them flat. Cheap or very thin sets may bend and not hold.
Which is better for short nails?
Both work. Press-ons make it easy to try a longer shape, while salon gel gives short, natural nails a polished look that lasts.
So, which one are you booking?
For most people, the answer is a mix: gel when you need it to last, press-ons when you want a fast change or a break. Which look from the list are you trying first? Tell us in the comments.
Related Post