
Please note that we do not create all the designs featured in this article. Our primary focus is to curate and collect a diverse range of design collections and products to inspire and share with our audience. While we do not claim ownership or take full credit for the original designs and images, we occasionally make minor adjustments, particularly in home decor and fashion items, to present them more effectively. Additionally, we may produce and edit images to enhance their quality and composition before sharing them on our Pinterest page or website. For the design work we do on these creative designs, we also include our logo on the images shared on Pinterest and our website. This helps our audience recognize that these designs have been published on insiderlyfe.com!
Quick, before you read on: how long does your current “no effort” bun actually take you? If the honest answer is “three tries and a lost hair tie”, this guide is for you.
A bun is the most useful hairstyle you can own. It hides second day roots, survives a gym session, and, done right, looks like you planned it. The trick is that there is not one bun, there are at least eight, and each suits a different hair length, outfit and amount of patience.
Below you will find eight bun styles with what they actually look like, how long they take, and the one small detail that makes each one look polished instead of accidental. Two spots to bookmark: number 3 is for anyone with short hair who thinks a bun is off the table, and number 8 is the 60 second method that fixes a bun that keeps sliding.
Everything here works on most hair types, and each section tells you who it suits best. Skim the table, pick two, and try them this week.
Bun styles at a glance
| Bun style | Time | Best for | Hair length |
|---|---|---|---|
| Loose low bun | About 3 minutes | Work, dinners, errands | Medium to long |
| Twisted nape bun | About 5 minutes | Neat, quiet polish | Medium to long |
| Short hair side coil | About 5 minutes | Bobs with a fringe | Chin to shoulder |
| Messy high bun | About 2 minutes | Weekends, travel | Medium to long |
| Sleek top knot | About 6 minutes | Events, dance, gym | Medium to long |
| Space buns | About 6 minutes | Festivals, casual fun | Medium to long |
| Scarf wrapped bun | About 4 minutes | Adding colour to a plain outfit | Medium to long |
| Scrunchie bun | About 1 minute | Everyday, first try | Medium to long |
1. The loose low bun: soft, quiet and endlessly useful
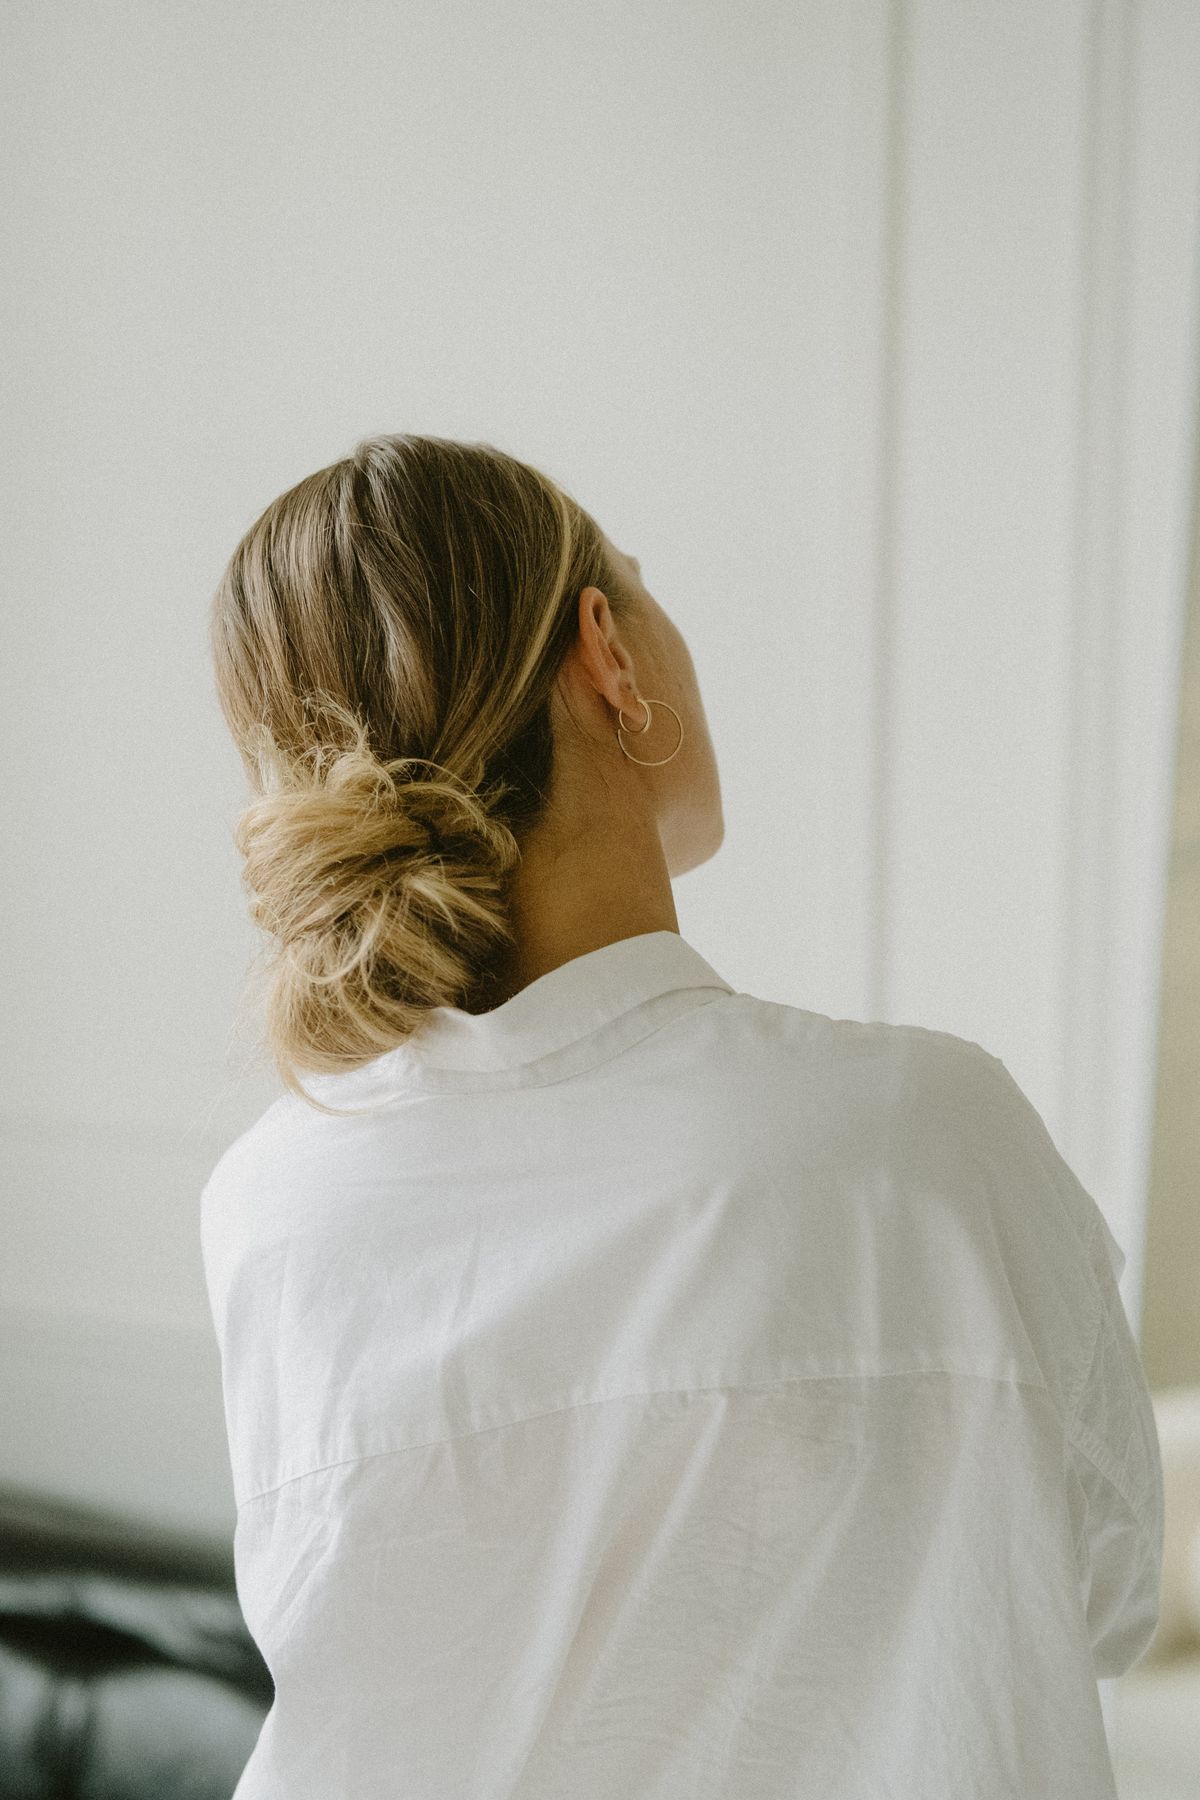
This is the bun you wear when you want to look put together without looking like you tried. It sits low on the nape, the shape is soft rather than tight, and a few strands stay loose around the edges.
I like it for two reasons: it is forgiving, and it works with almost every neckline. A high bun can fight a collar. A low bun just sits there looking relaxed.
The only rule is to keep it loose. Pull the hair into a low ponytail, twist it gently and wrap it around the base, then secure it with pins instead of a tight band.
Best for: work, dinners and days you want polish with zero stress.
Time and upkeep: Takes about 3 minutes. Pin it rather than tying it tight, which also saves your hairline.
Styling tip: Pull out two thin pieces at the front so the bun looks soft instead of strict.
2. The twisted nape bun: neat without feeling stiff
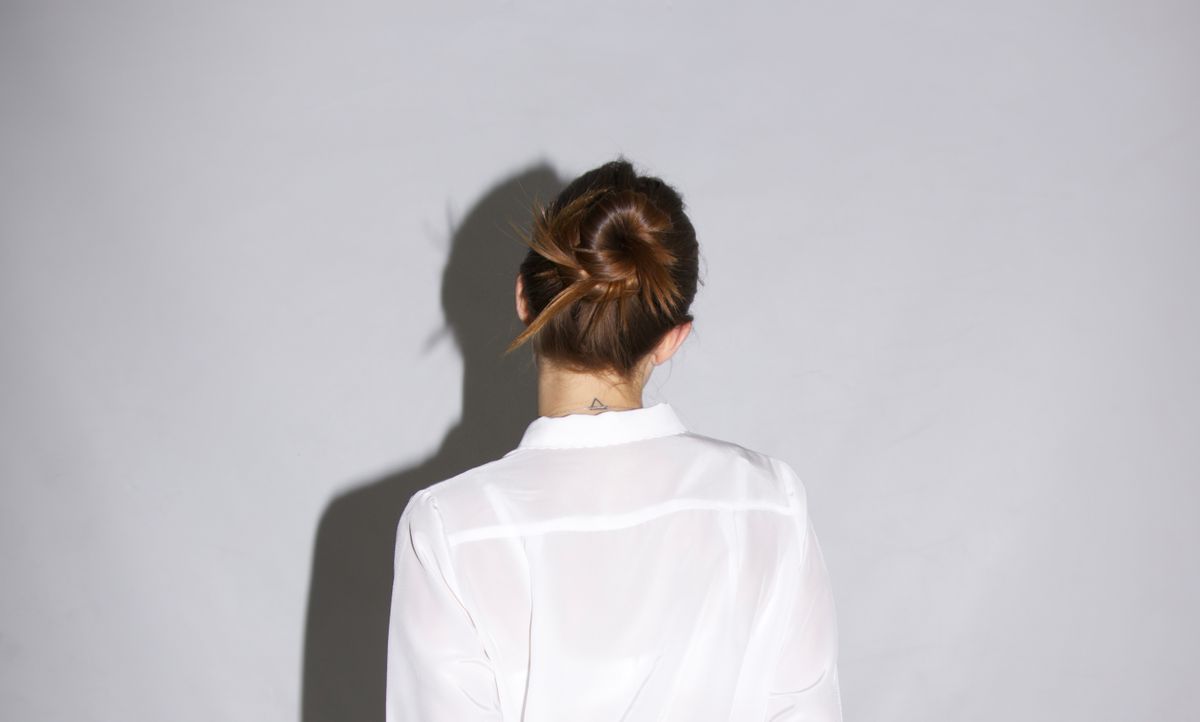
This small twisted bun is the tidy cousin of the loose one. The hair is smoothed, twisted and tucked at the nape, which gives you a clean, compact shape that suits a collared shirt or a blazer.
It is the one I reach for when I want to look sharp in a meeting without anything dramatic going on. The compact shape also stays put much better than a big, heavy bun.
Smooth the hair first with a little cream so the twist looks glossy rather than frizzy, then pin it flat to the head.
Best for: office days, interviews and anyone who likes a neat finish.
Time and upkeep: Takes about 5 minutes. A few pins hold it all day, and it travels well.
Styling tip: Use pins in a cross shape so the twist cannot slide out by the afternoon.
3. The short hair side coil: yes, you can bun a bob
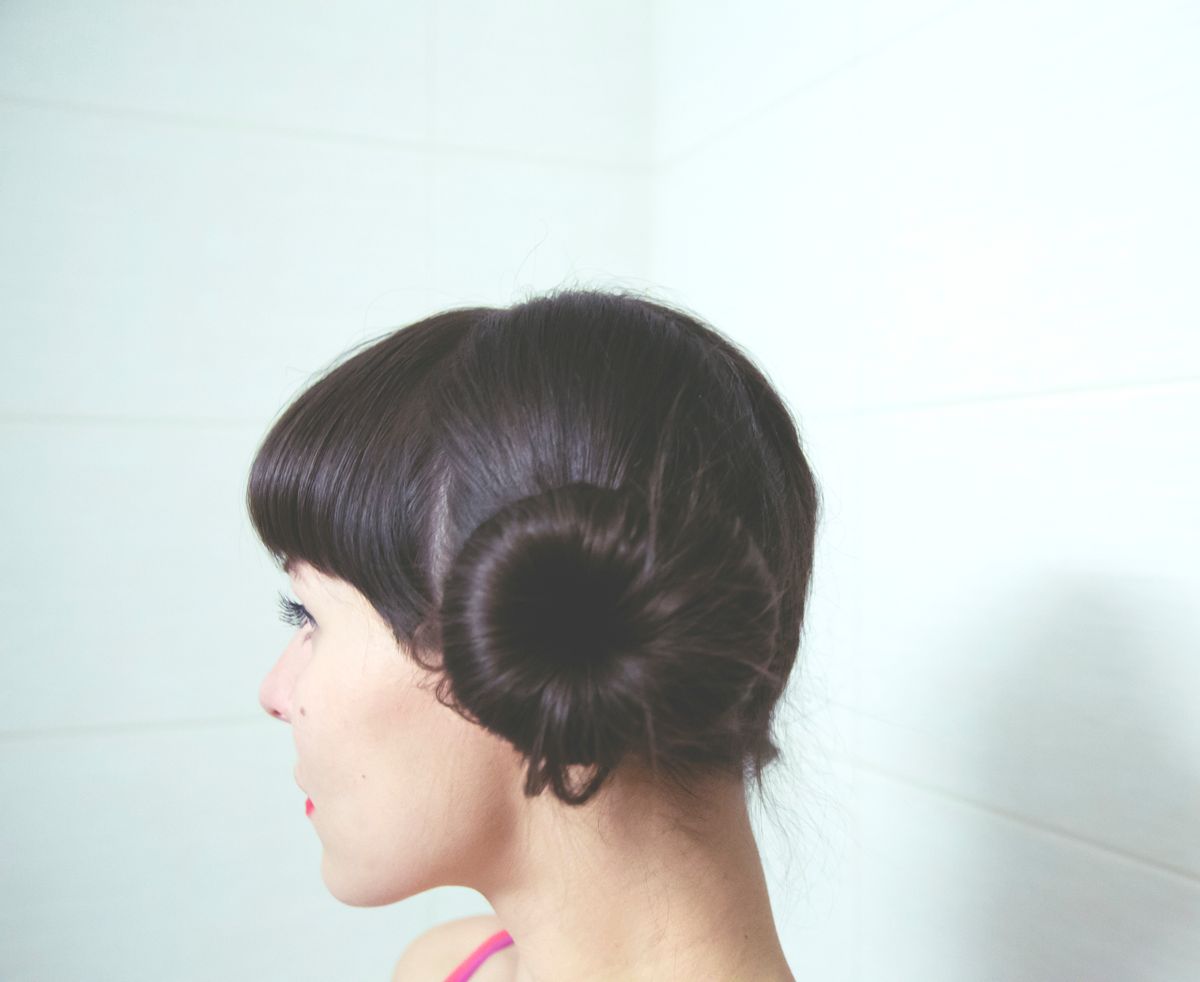
Here is the bun for everyone who has been told short hair cannot do it. This look keeps the fringe in place and curls the back sections into a small coil low at the side.
It looks deliberate and a little retro, which is exactly why it works. It also keeps the hair off the neck on warm days, without needing length.
If your hair is only chin length, start with a few small sections and pin them in a coil one at a time. Do not try to gather everything at once.
Best for: bobs and chin length hair that needs a break from being down.
Time and upkeep: Takes about 5 minutes. Use small pins and a light hairspray for the loose ends.
Styling tip: Keep the fringe flat with a little cream and a comb, so the shape stays clean and sharp.
4. The messy high bun: effortless, and honestly a little genius
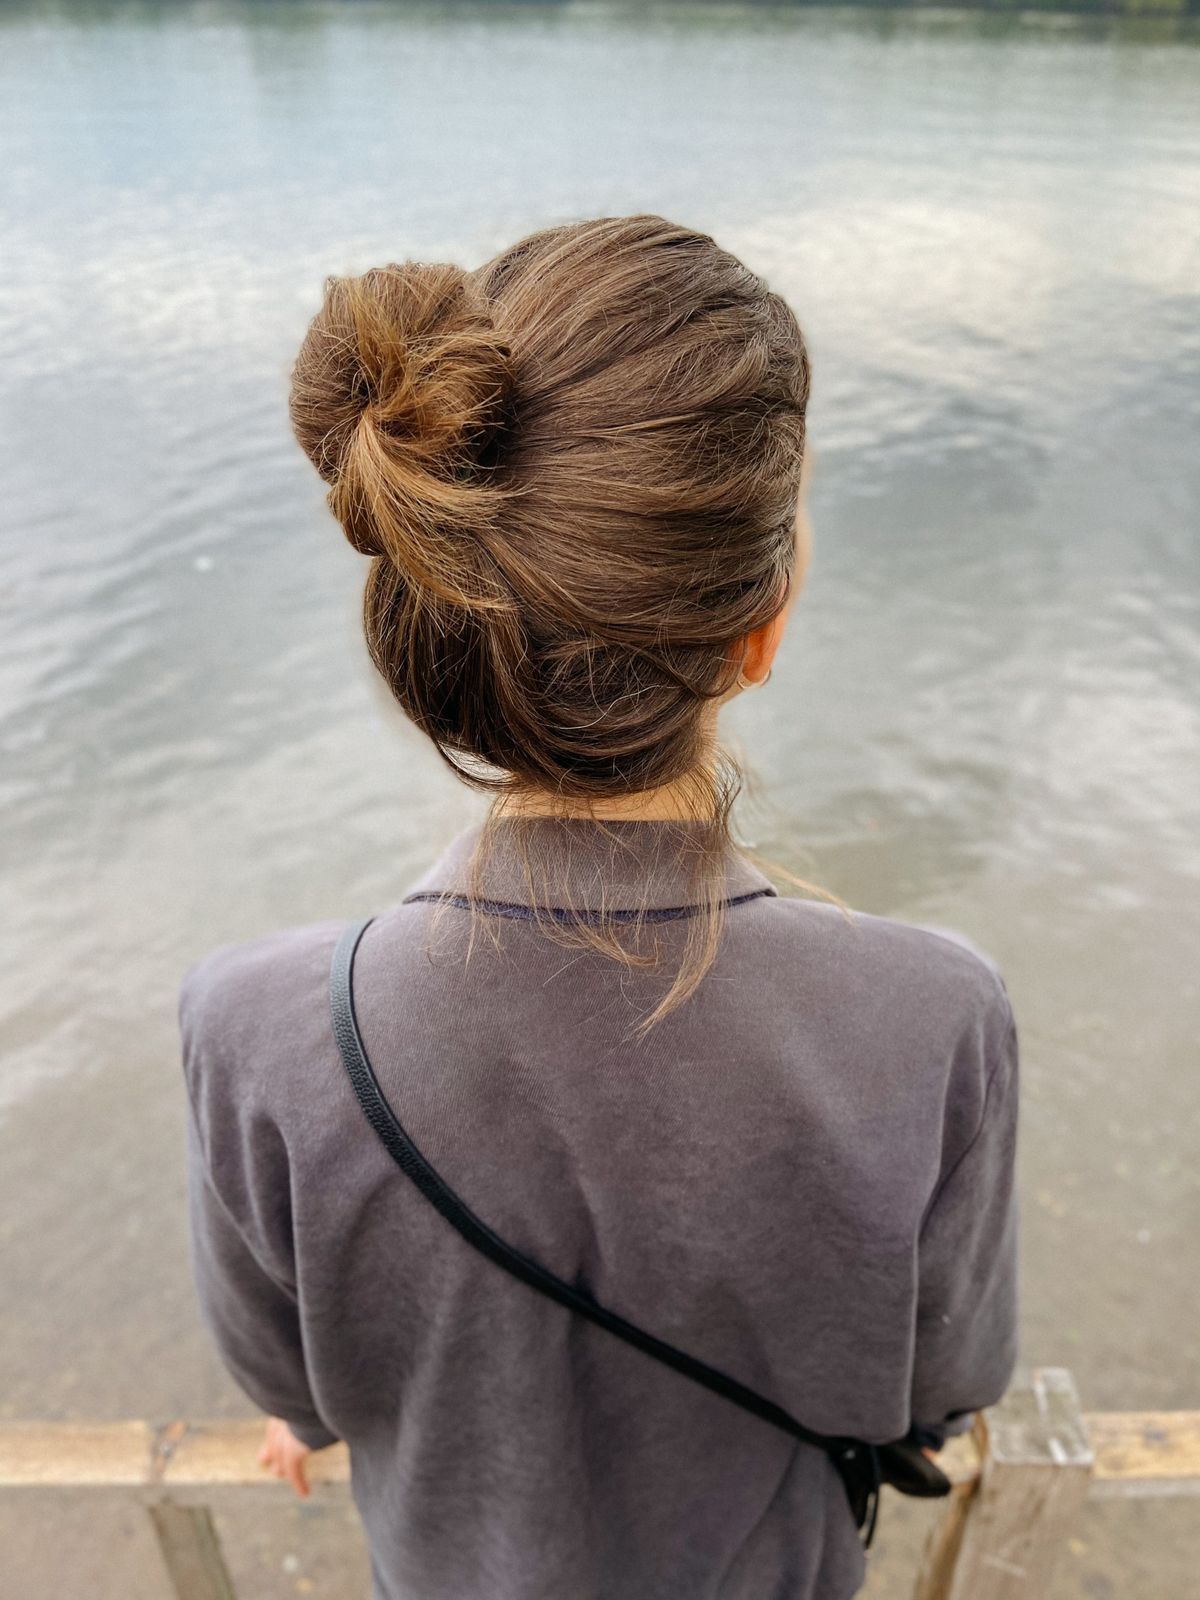
The messy high bun is the style that made the whole category famous, and it is still the quickest one here. The hair is piled up high and secured, with the ends left loose and relaxed.
It works because nobody expects it to be perfect. The loose pieces are the point. A bun that is too neat can look stiff, while one that is a bit undone looks relaxed and casual.
If yours collapses, try tying a ponytail first, then wrapping the hair around it and securing the end with a pin.
Best for: weekends, travel days and bad hair days.
Time and upkeep: Takes about 2 minutes. Dry shampoo at the crown makes it hold better.
Styling tip: Pull the bun slightly apart at the sides for extra volume that looks relaxed.
5. The sleek top knot: crisp lines and a bit of drama
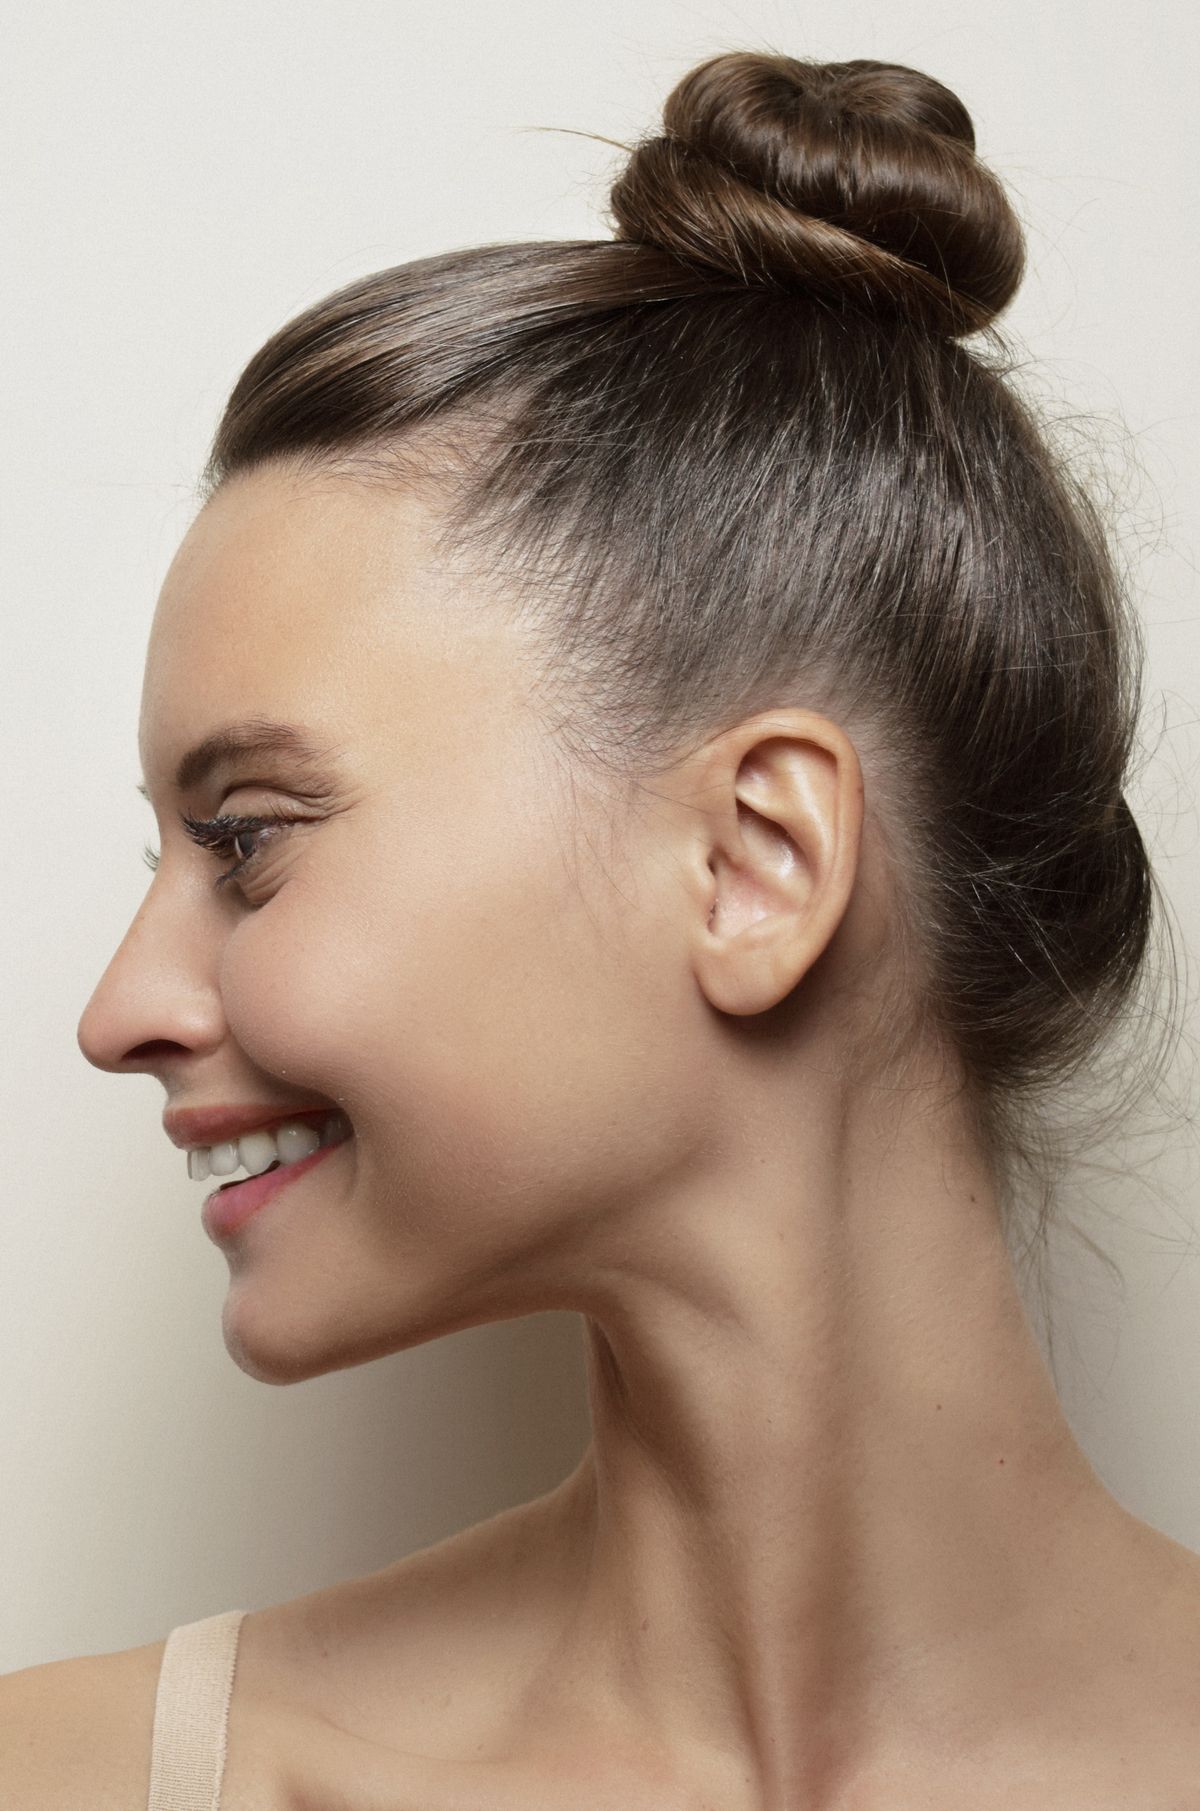
Sleek is the opposite of messy, and it needs a bit more care. The hair is pulled back smoothly from the hairline, tied high and wrapped into a small, tight knot.
This is the bun that looks most deliberate, which makes it great for dressy occasions and for showing off earrings, a neckline or a good cheekbone.
A little gel or smoothing cream and a soft brush are all you need. Take your time over the lines, since they are what makes this look expensive.
Best for: events, dance classes, the gym and any look where the face and neckline take centre stage.
Time and upkeep: Takes about 6 minutes. Hairspray at the end keeps the surface smooth.
Styling tip: Smooth the baby hairs with a clean toothbrush and a touch of gel.
6. Space buns: playful, but not just for festivals

Space buns are two small buns on the top of the head, with the rest of the hair left down. They are fun, they are quick to learn and they work well for adults when the rest of the outfit is simple.
Pair them with a plain top, as in this photo, and they look charming rather than costume like.
Part the hair down the middle, make two high pony tails and twist each into a small bun. Check in a mirror that they are level.
Best for: casual days, concerts and festivals.
Time and upkeep: Takes about 6 minutes. Hair ties and a few pins hold them well.
Styling tip: Keep them small and slightly high for a modern shape, rather than low and heavy.
7. The scarf wrapped bun: a cheap way to add colour
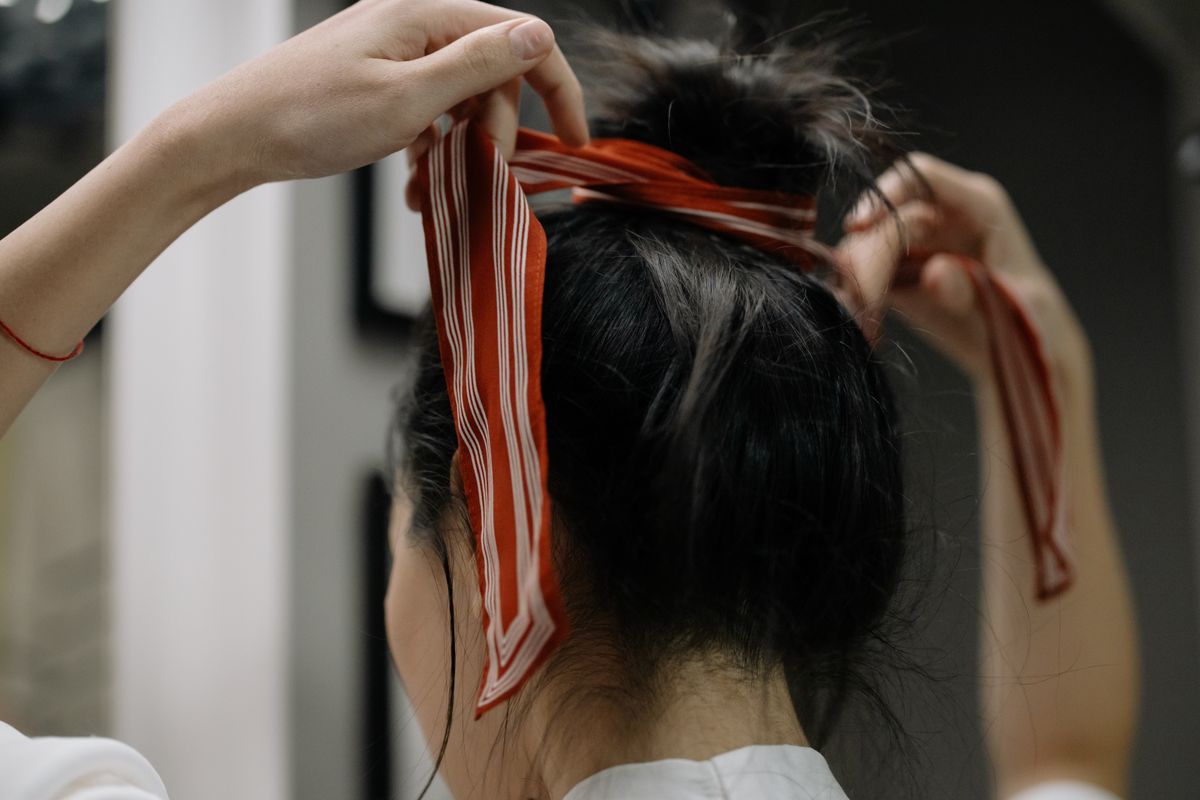
A scarf turns a plain bun into a finished look in under a minute. Tie a silk scarf or a long ribbon around the base of the bun and finish with a knot or a bow.
It is also the neatest way to hide a hair tie, and it gives you a colour pop without buying anything new. A scarf you already own is usually enough.
Choose a scarf that picks up one colour from your outfit, and keep the rest of your styling simple.
Best for: plain outfits that need a finishing touch.
Time and upkeep: Takes about 4 minutes. Keep a spare scarf in your bag for a quick change.
Styling tip: Tie the knot slightly off centre for a relaxed look.
8. The scrunchie bun: the 60 second fix that stays put
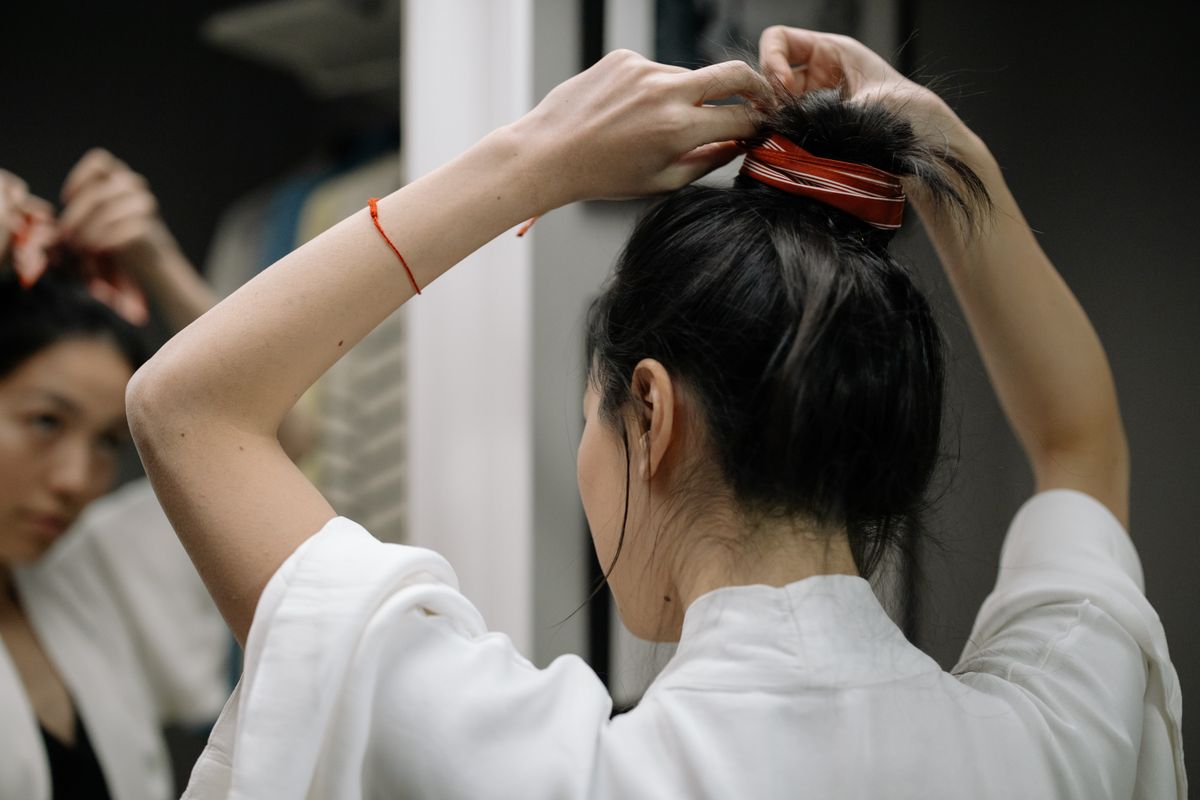
This is the practical one. Gather your hair, lift it to the position you want, and wrap a soft tie around it. A soft scrunchie is gentler on the hair than a thin elastic and holds just as well.
Check it in the mirror, as in this photo, because most bun problems are about position, not skill. Too low looks sleepy, too high looks hurried.
If a bun keeps sliding, it is usually because the hair is too clean and slippery. A little texture spray or dry shampoo gives you the grip you need.
Best for: beginners and anyone who needs a fast, reliable bun.
Time and upkeep: Takes about 1 minute. A soft tie avoids dents and breakage.
Styling tip: Wrap the tie twice for hold, and loosen the front slightly.
The bun toolkit: what is actually worth owning
- Soft scrunchies or snag free ties: they hold the hair without the dents or breakage thin elastics can cause.
- U shaped pins: the secret to a bun that looks soft but stays in place. Cross two of them over the base.
- Texture spray or dry shampoo: clean, slippery hair is the main reason a bun collapses.
- A silk scarf or ribbon: adds colour and hides the tie in seconds.
- A small claw clip: for the mornings when pins feel like too much.
The one safety rule: do not pull it tight
Buns look best when they are comfortable, and that is also better for your hair. The American Academy of Dermatology says that tight buns, ponytails and updos can cause traction alopecia, a type of hair loss from repeated pulling, and the hairline is often where it shows first.
Its advice is simple. Limit pulling styles to occasional use, rotate your styles, and give your hair breaks. The AAD also says that if your hairstyle feels painful, it is too tight, so loosen it straight away.
That is why the loose low bun and the messy high bun are such good everyday choices: they look relaxed because they are relaxed.
Which bun fits which hair type
- Fine hair: choose the loose low bun or the twisted nape bun, and add texture spray for grip. Skip heavy products that weigh it down.
- Thick hair: use a bigger, softer tie and more pins. The scrunchie bun and the messy high bun are the easiest.
- Curly hair: use a satin scrunchie and keep the shape loose. Curls look best when you do not flatten them.
- Short hair: the side coil is your friend, along with small pins and a light spray.
Common bun mistakes (and the quick fix)
- The bun slides down: add grip with texture spray, and secure it with crossed pins.
- It looks lopsided: check it in a mirror from the side before you finish.
- Too tight at the hairline: loosen the front sections and rest your hair from tight styles every few days.
- It looks flat: pull a few pieces apart at the top and sides for volume.
- It leaves a dent: use a soft scrunchie and avoid sleeping in a bun.
What to ask your stylist
“I would like a few easy ways to wear a bun. Could you show me how to put one up in under five minutes, and tell me which cut or length makes buns easier for my hair?”
Stylists love this question, and a two minute lesson in the chair is worth more than ten videos. Ask them to show you the pin placement.
If you are thinking about a new cut to go with your favourite bun, our guide to winter bob haircuts shows how a shorter length can still look good pulled back, and our winter braided hairstyles post has more options if you want something different.
A 7 day plan to master your buns
- Day 1: practise the scrunchie bun until you can do it in a minute.
- Day 2: try the messy high bun, and note where it slides.
- Day 3: learn the loose low bun with pins.
- Day 4: try the twisted nape bun for a neater look.
- Day 5: add a scarf to any bun you like.
- Day 6: test the sleek top knot with a bit of gel.
- Day 7: pick your favourite two and keep them in rotation.
By the end of the week, you will know which buns suit your hair, your mornings and your outfits. That is the real goal: a small set of looks you can do without thinking.
Where to start if you are short on time
If you only have two minutes, go with the messy high bun or the scrunchie bun. If you have five, the loose low bun and the twisted nape bun look the most polished for the effort.
Keep a spare tie, a few pins and a small scarf in your bag, and you can switch between styles anywhere. That tiny kit has saved more bad hair days than any product I have tried.
Save this: bun hairstyles cheat sheet
Screenshot it, print it or keep it on your phone. It has the key details from this guide in one place.
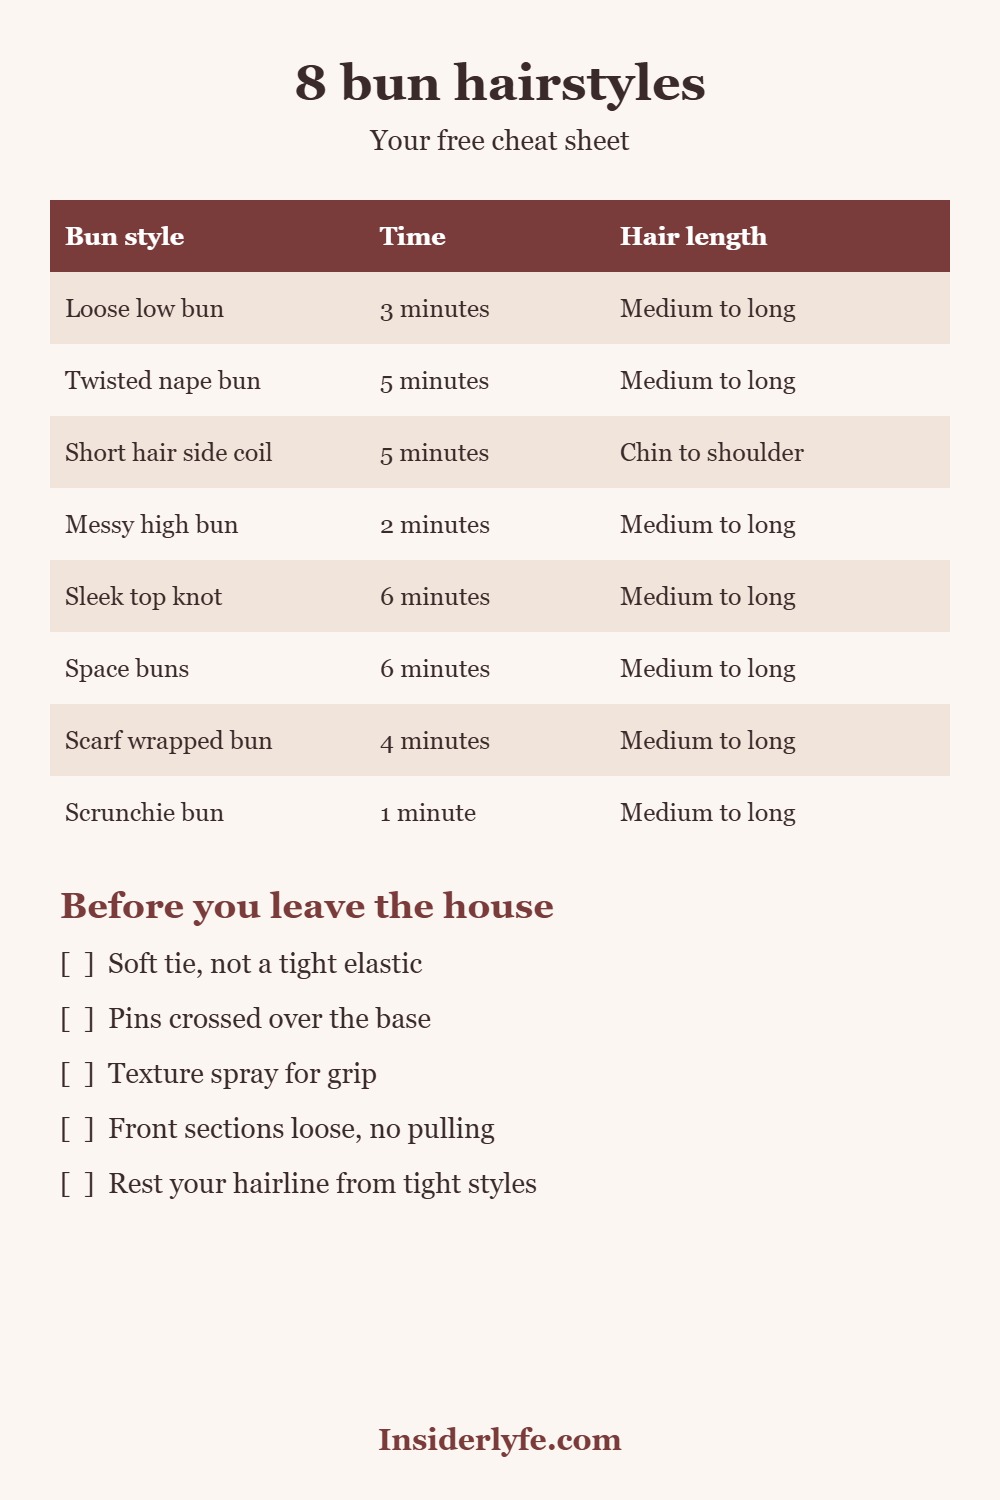
Download the full-size chart (free, no email needed)
Prep that makes every bun look better
Great buns start before the first pin. Day old hair usually holds better than freshly washed hair, because it has a little natural grip. If your hair is freshly washed, add a touch of texture spray at the roots and through the lengths.
Brush gently to remove tangles, then decide the height of the bun before you gather the hair. Most bun problems come from gathering first and guessing the position later.
Finally, check the back with a hand mirror. A bun that looks great from the front can look lopsided from behind, and that two second check saves you a whole day of wondering.
Frequently asked questions
How do I make a bun look less messy?
Smooth the hair first with a light cream or gel, pull everything to the same height and secure it with a soft tie. Then wrap the hair and pin it flat.
Can I wear a bun every day?
You can, but vary the position and keep it loose. The AAD recommends limiting pulling styles and giving your hair breaks.
Which bun is best for short hair?
The side coil or a small low bun with a few pins. Use small sections and keep a fringe flat for the cleanest finish.
How do I stop my bun from falling out?
Add texture spray or dry shampoo for grip, and use U shaped pins crossed over the base.
What is the easiest bun for beginners?
The scrunchie bun. It takes about a minute, and you can improve it with pins or a scarf once you are comfortable.
Final thoughts
Pick two of these buns and make them your own. Keep one for busy mornings and one for days you want to feel put together, and your hair will look better and last longer.
Which of these buns will you try first, and which one do you already wear every week? Tell us in the comments.
Related Post